Variations (1)
Revolved Head-to-Knee Pose B
Revolved Head-to-Knee Pose B · परिवृत्त जानु शीर्षासन B
Also known as: Parivrtta Janu Sirsasana B
Revolved Head-to-Knee Pose B, also called Parivrtta Janu Sirsasana B is a classical yoga posture in the Iyengar tradition. In this posture, the body rotates the spine, creating space between each vertebra. The posture works to lengthen the hamstrings and engage the obliques. Increases spinal mobility and flexibility, especially in the thoracic spine. Stimulates abdominal organs, aiding digestion and detoxification. It is particularly valued for developing greater flexibility and improving overall posture. Suitable for advanced practitioners with developed body awareness, it is a meaningful addition to any practice, particularly beneficial for athletes and runners. A blanket and strap can be used to make the posture more accessible and support correct alignment. Practitioners with knee injury and hip injury should approach with care or consult a qualified teacher.
Anatomy Involved
Benefits
Hamstrings(lengthening)
While the hamstrings are deeply lengthened in the root pose, this variation often requires an even more profound stretch, especially if attempting a deeper bind or a more forward fold within the twist. The demand for increased elongation allows for a greater tilting of the pelvis, which in turn facilitates a more upright and elongated spine before the rotation commences. This intensified lengthening helps to create the necessary space for a deeper and safer spinal twist.
Obliques(activating)
The obliques are crucial for initiating and sustaining the spinal rotation, and in 'Pose B,' their activation is considerably heightened. Both internal and external obliques work synergistically to draw the rib cage around the axis of the spine with greater intensity and control. This deeper engagement ensures that the twist originates from the core rather than forcing the neck or shoulders, protecting the lumbar spine while invigorating the abdominal organs more profoundly.
Spinal Extensors(lengthening)
In the root pose, spinal extensors work to lengthen the spine. In 'Pose B,' their role is even more critical, as they must create immense length along the entire spinal column *before* and *during* the deeper twist. This sustained lengthening prevents compression of the vertebral discs, especially in the thoracic region, allowing the chest to truly open and the twist to penetrate more deeply into the upper back. The extensors actively resist the tendency for the spine to round, ensuring integrity and space.
- Full anatomical benefits — muscles, joints, organs →
Avoid If
Knee Injury
Deep flexion or rotation at the knee can strain ligaments, meniscus, or cartilage, especially in a compromised joint.
Never push into pain; use a folded blanket under or between the knees and reduce the depth of the bend.
Hip Injury
Deep hip flexion, external rotation, or weight-bearing can aggravate labral tears, impingement, or bursitis.
Limit the range of hip movement, avoid positions that cause clicking or sharp pain, and use props to support the hip.
Back Injury / Back Pain
Spinal flexion, extension, or rotation under load can compress vertebral discs or strain the paraspinal muscles.
Initiate the twist from the upper spine and ribs rather than forcing from the waist; keep both sitting bones grounded.
Recent Surgery
Surgical wounds and healing tissues need time before being subjected to the mechanical stress of yoga postures.
Wait for full medical clearance from your surgeon; begin with gentle breath work and progress only as healing allows.
Props That Can Help
Optional supports — use when helpful, not required
Folded Blanket
Use a blanket for cushioning, elevation, or support — it adapts the pose to your body's current needs without compromising alignment.
Yoga Strap
A strap extends your reach and allows the pose to be held with correct alignment before full flexibility is established.
Yoga Block
Use a block to reduce the reach distance, support alignment, and make the posture accessible at your current level of flexibility.
Common Mistakes to Avoid
Teaching Cues
For yoga teachers — verbal cues to guide students
7 cues
Teaching Cues
For yoga teachers — verbal cues to guide students
- 1Lengthen the spine on the inhalation, deepen the twist on the exhalation
- 2Initiate the rotation from the navel, then the chest, finally the head
- 3Keep both sitting bones grounded equally
- 4Maintain the length of the spine — do not collapse into the twist
- 5Use the breath to create space for the rotation
- 6Allow the hip joints to open gradually — never force
- 7Hinge from the hips, leading with the chest
Pose Details
Helps With
Pose Type
Body Focus
Focus Areas
Best For
Yoga Styles
When to Practice
Position
Modify If You Have
knee injury
Place a rolled blanket under the bent knee to reduce pressure.
hamstring injury
Use a strap around the foot if unable to reach, avoiding overstretching.
spinal injury
Perform a milder twist, keeping hands on the floor for support, do not force.
Target Areas
Practice Flow

How to Practice
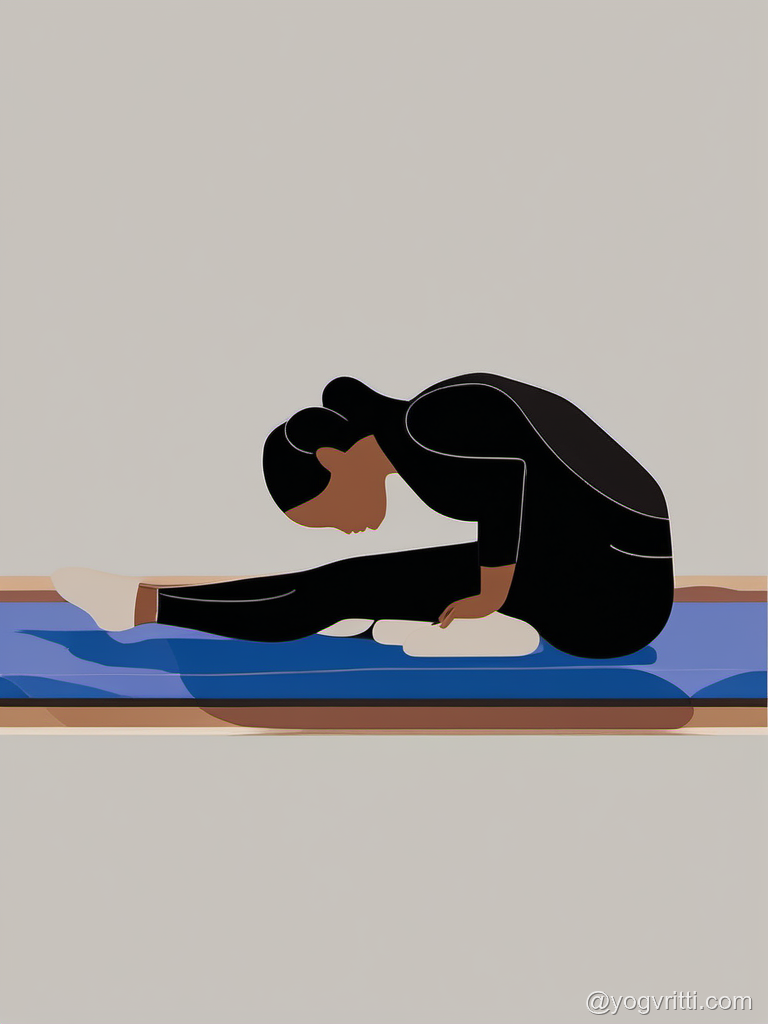
1. Sit in Dandasana (Staff Pose). Place a folded blanket under your sitting bones to help tilt the pelvis forward and keep the spine erect.
2. Bend your right leg, bringing the right heel towards your perineum, and let the right knee open out to the side.
3. Bend your left leg, placing the left heel onto the inner right thigh, with the left knee pointing forward. This is the setup for Janu Sirsasana B.
4. Inhale, lengthen your spine upwards, extending through the crown of your head. Raise your arms overhead.
5. Exhale, twist your torso deeply to the right. Place your right hand on the floor behind you, aligning it with your sacrum, and reach your left arm towards your left foot.
6 more steps remaining
Register free to see the complete instructions
Register Free to ContinueAlready registered? Login
Frequently Asked Questions
Common questions about Revolved Head-to-Knee Pose B
What is Revolved Head-to-Knee Pose B?
Revolved Head-to-Knee Pose B, also called Parivrtta Janu Sirsasana B is a classical yoga posture in the Iyengar tradition. In this posture, the body rotates the spine, creating space between each vertebra. The posture works to lengthen the hamstrings and engage the obliques. Increases spinal mobility and flexibility, especially in the thoracic spine. Stimulates abdominal organs, aiding digestion and detoxification. It is particularly valued for developing greater flexibility and improving overall posture. Suitable for advanced practitioners with developed body awareness, it is a meaningful addition to any practice, particularly beneficial for athletes and runners. A blanket and strap can be used to make the posture more accessible and support correct alignment. Practitioners with knee injury and hip injury should approach with care or consult a qualified teacher.
What are the benefits of Revolved Head-to-Knee Pose B?
Deeply stretches the hamstrings, groins, and inner thighs.. Increases spinal mobility and flexibility, especially in the thoracic spine.. Stimulates abdominal organs, aiding digestion and detoxification.. Opens the chest and shoulders, improving posture.. Calms the mind and reduces stress.. Strengthens the core and oblique muscles..
Who should avoid Revolved Head-to-Knee Pose B?
Avoid this pose if you have: Knee injury or pain., Hip injury or severe hip pain., Spinal injury or disc problems., Recent abdominal surgery., Sciatica (severe)., Menstruation or pregnancy..
How many steps are in Revolved Head-to-Knee Pose B?
Revolved Head-to-Knee Pose B is practiced in 11 steps. Sit in Dandasana (Staff Pose). Place a folded blanket under your sitting bones to help tilt the pelvis forward and keep the spine erect.
Is Revolved Head-to-Knee Pose B suitable for beginners?
Revolved Head-to-Knee Pose B is an advanced-level pose. Beginners should practice with props or under guidance.
What props are needed for Revolved Head-to-Knee Pose B?
You may use: blanket, strap, block. Props make the pose more accessible and comfortable.
What conditions does Revolved Head-to-Knee Pose B help with?
Revolved Head-to-Knee Pose B is therapeutic for: flexibility, posture correction, digestive problems, sciatica.
What poses should I do before Revolved Head-to-Knee Pose B?
Prepare with: Staff Pose, Bharadvajasana I (seated), Marichyasana I (seated). These warm up the relevant muscles and joints.
Build Your Own Sequence
Combine Revolved Head-to-Knee Pose B with other poses