Reclining Spinal Twist
Reclining Spinal Twist · जठरपरिवर्तनासन
Also known as: Supine Twist · Abdominal Twist · Jathara Parivartanasana
Reclining Spinal Twist, also called Supine Twist is a classical yoga posture whose Sanskrit roots break down as: Jathara (Abdomen) · Parivartana (Rotation) · Asana (Pose). In this posture, the body rotates the spine, creating space between each vertebra. The posture works to engage the core, strengthen and extend the back and engage the obliques. Improves digestion. Relieves stress. It is particularly valued for alleviating back discomfort. Suitable for beginners and regular practitioners alike, it is a calming cool-down, particularly beneficial for beginners and seniors. A blanket can be used to make the posture more accessible and support correct alignment. Practitioners with spinal injury and back pain should approach with care or consult a qualified teacher.
Anatomy Involved
Benefits
Obliques (Internal and External)(lengthening)
These sheet-like muscles run along the sides of your waist, wrapping from your lower ribs to your pelvis. In this twist, the obliques on the side you are twisting away from receive a sustained and gentle lengthening, allowing the torso to rotate more deeply and release superficial tension. This unwinding creates a feeling of spaciousness in the abdomen and sides of the waist, which can often hold tension from everyday movements. Energetically, this opening allows for a freer flow of samana vayu, aiding digestion and internal balance.
Erector Spinae (Spinal Extensors)(lengthening)
These are the long, powerful muscles running parallel to your spine, from your tailbone up to your skull. As the spine gently rotates, the deep spinal extensors on the side of the twist are subtly lengthened and released, rather than aggressively stretched. This action helps to decompress the vertebral segments and encourages the muscles to soften their grip, which is often tight from prolonged sitting or standing. The release of these muscles directly contributes to relieving chronic lower and mid-back pain, allowing prana to flow more freely along the sushumna nadi.
Quadratus Lumborum (QL)(lengthening)
This deep muscle sits in your lower back, connecting your lowest rib to your pelvis and lumbar spine. The QL on the side opposite the twist experiences a gentle, sustained stretch, helping to release its often-contracted state, which is a common culprit in lower back pain and can contribute to lateral pelvic tilts. Its lengthening helps to re-establish symmetry and reduce discomfort, creating a sense of release in the lumbar region. From a yogic perspective, releasing the QL can free up energy trapped in the lower back, often associated with feelings of being stuck or burdened.
- Full anatomical benefits — muscles, joints, organs →
Avoid If
Back Injury / Back Pain
Spinal flexion, extension, or rotation under load can compress vertebral discs or strain the paraspinal muscles.
Initiate the twist from the upper spine and ribs rather than forcing from the waist; keep both sitting bones grounded.
Pregnancy
Deep twists, abdominal compression, and lying flat on the back can restrict blood flow or cause discomfort as pregnancy progresses.
Twist from the upper thoracic spine only, opening the chest rather than compressing the abdomen; use a chair for support.
Recent Surgery
Surgical wounds and healing tissues need time before being subjected to the mechanical stress of yoga postures.
Wait for full medical clearance from your surgeon; begin with gentle breath work and progress only as healing allows.
Props That Can Help
Optional supports — use when helpful, not required
Folded Blanket
Use a blanket for cushioning, elevation, or support — it adapts the pose to your body's current needs without compromising alignment.
Common Mistakes to Avoid
Teaching Cues
For yoga teachers — verbal cues to guide students
6 cues
Teaching Cues
For yoga teachers — verbal cues to guide students
- 1Lengthen the spine on the inhalation, deepen the twist on the exhalation
- 2Initiate the rotation from the navel, then the chest, finally the head
- 3Keep both sitting bones grounded equally
- 4Maintain the length of the spine — do not collapse into the twist
- 5Use the breath to create space for the rotation
- 6Surrender the weight of the body to the props and the floor
Pose Details
Helps With
Pose Type
Body Focus
Focus Areas
Best For
Yoga Styles
When to Practice
Position
Modify If You Have
hip injury
Keep knees closer to chest, reduce twist depth, use support under knees.
shoulder injury
Keep arms closer to the body, or use a blanket under the arm.
neck pain
Keep head in neutral position or turn to the same side as knees.
Target Areas
Practice Flow

How to Practice
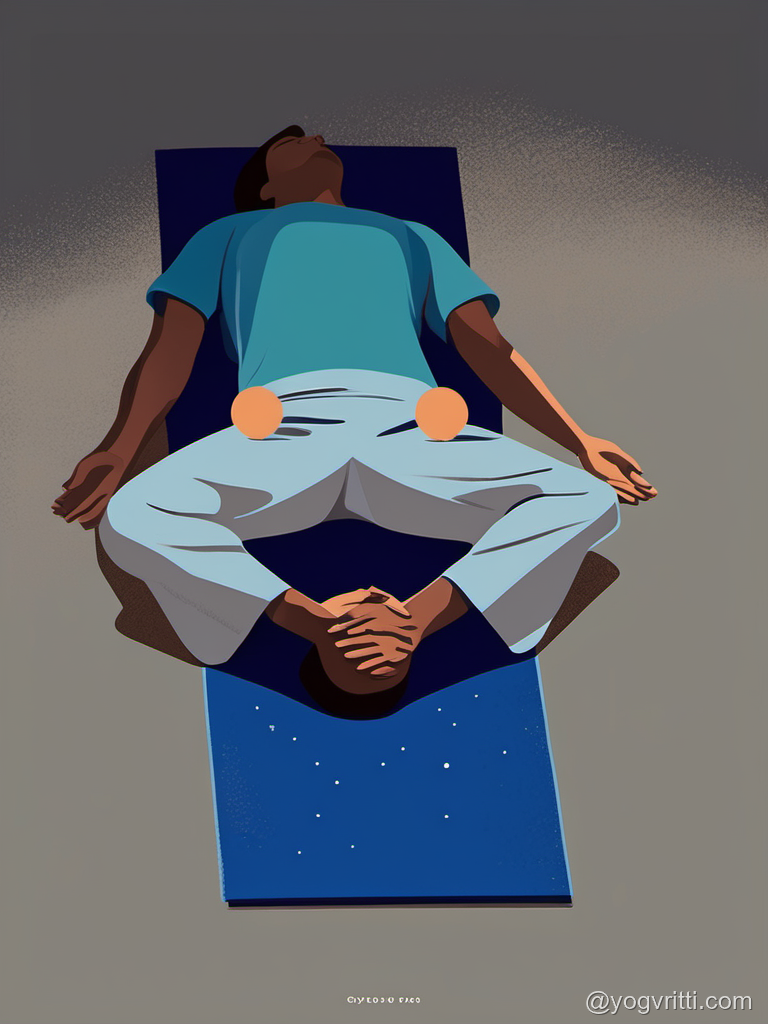
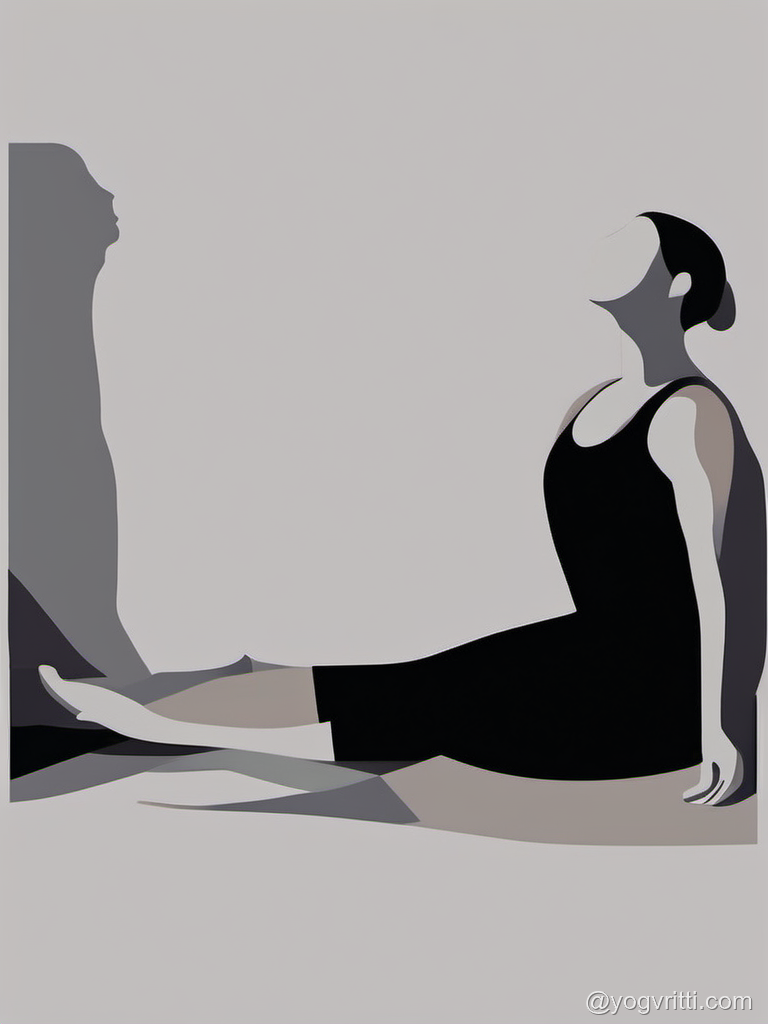
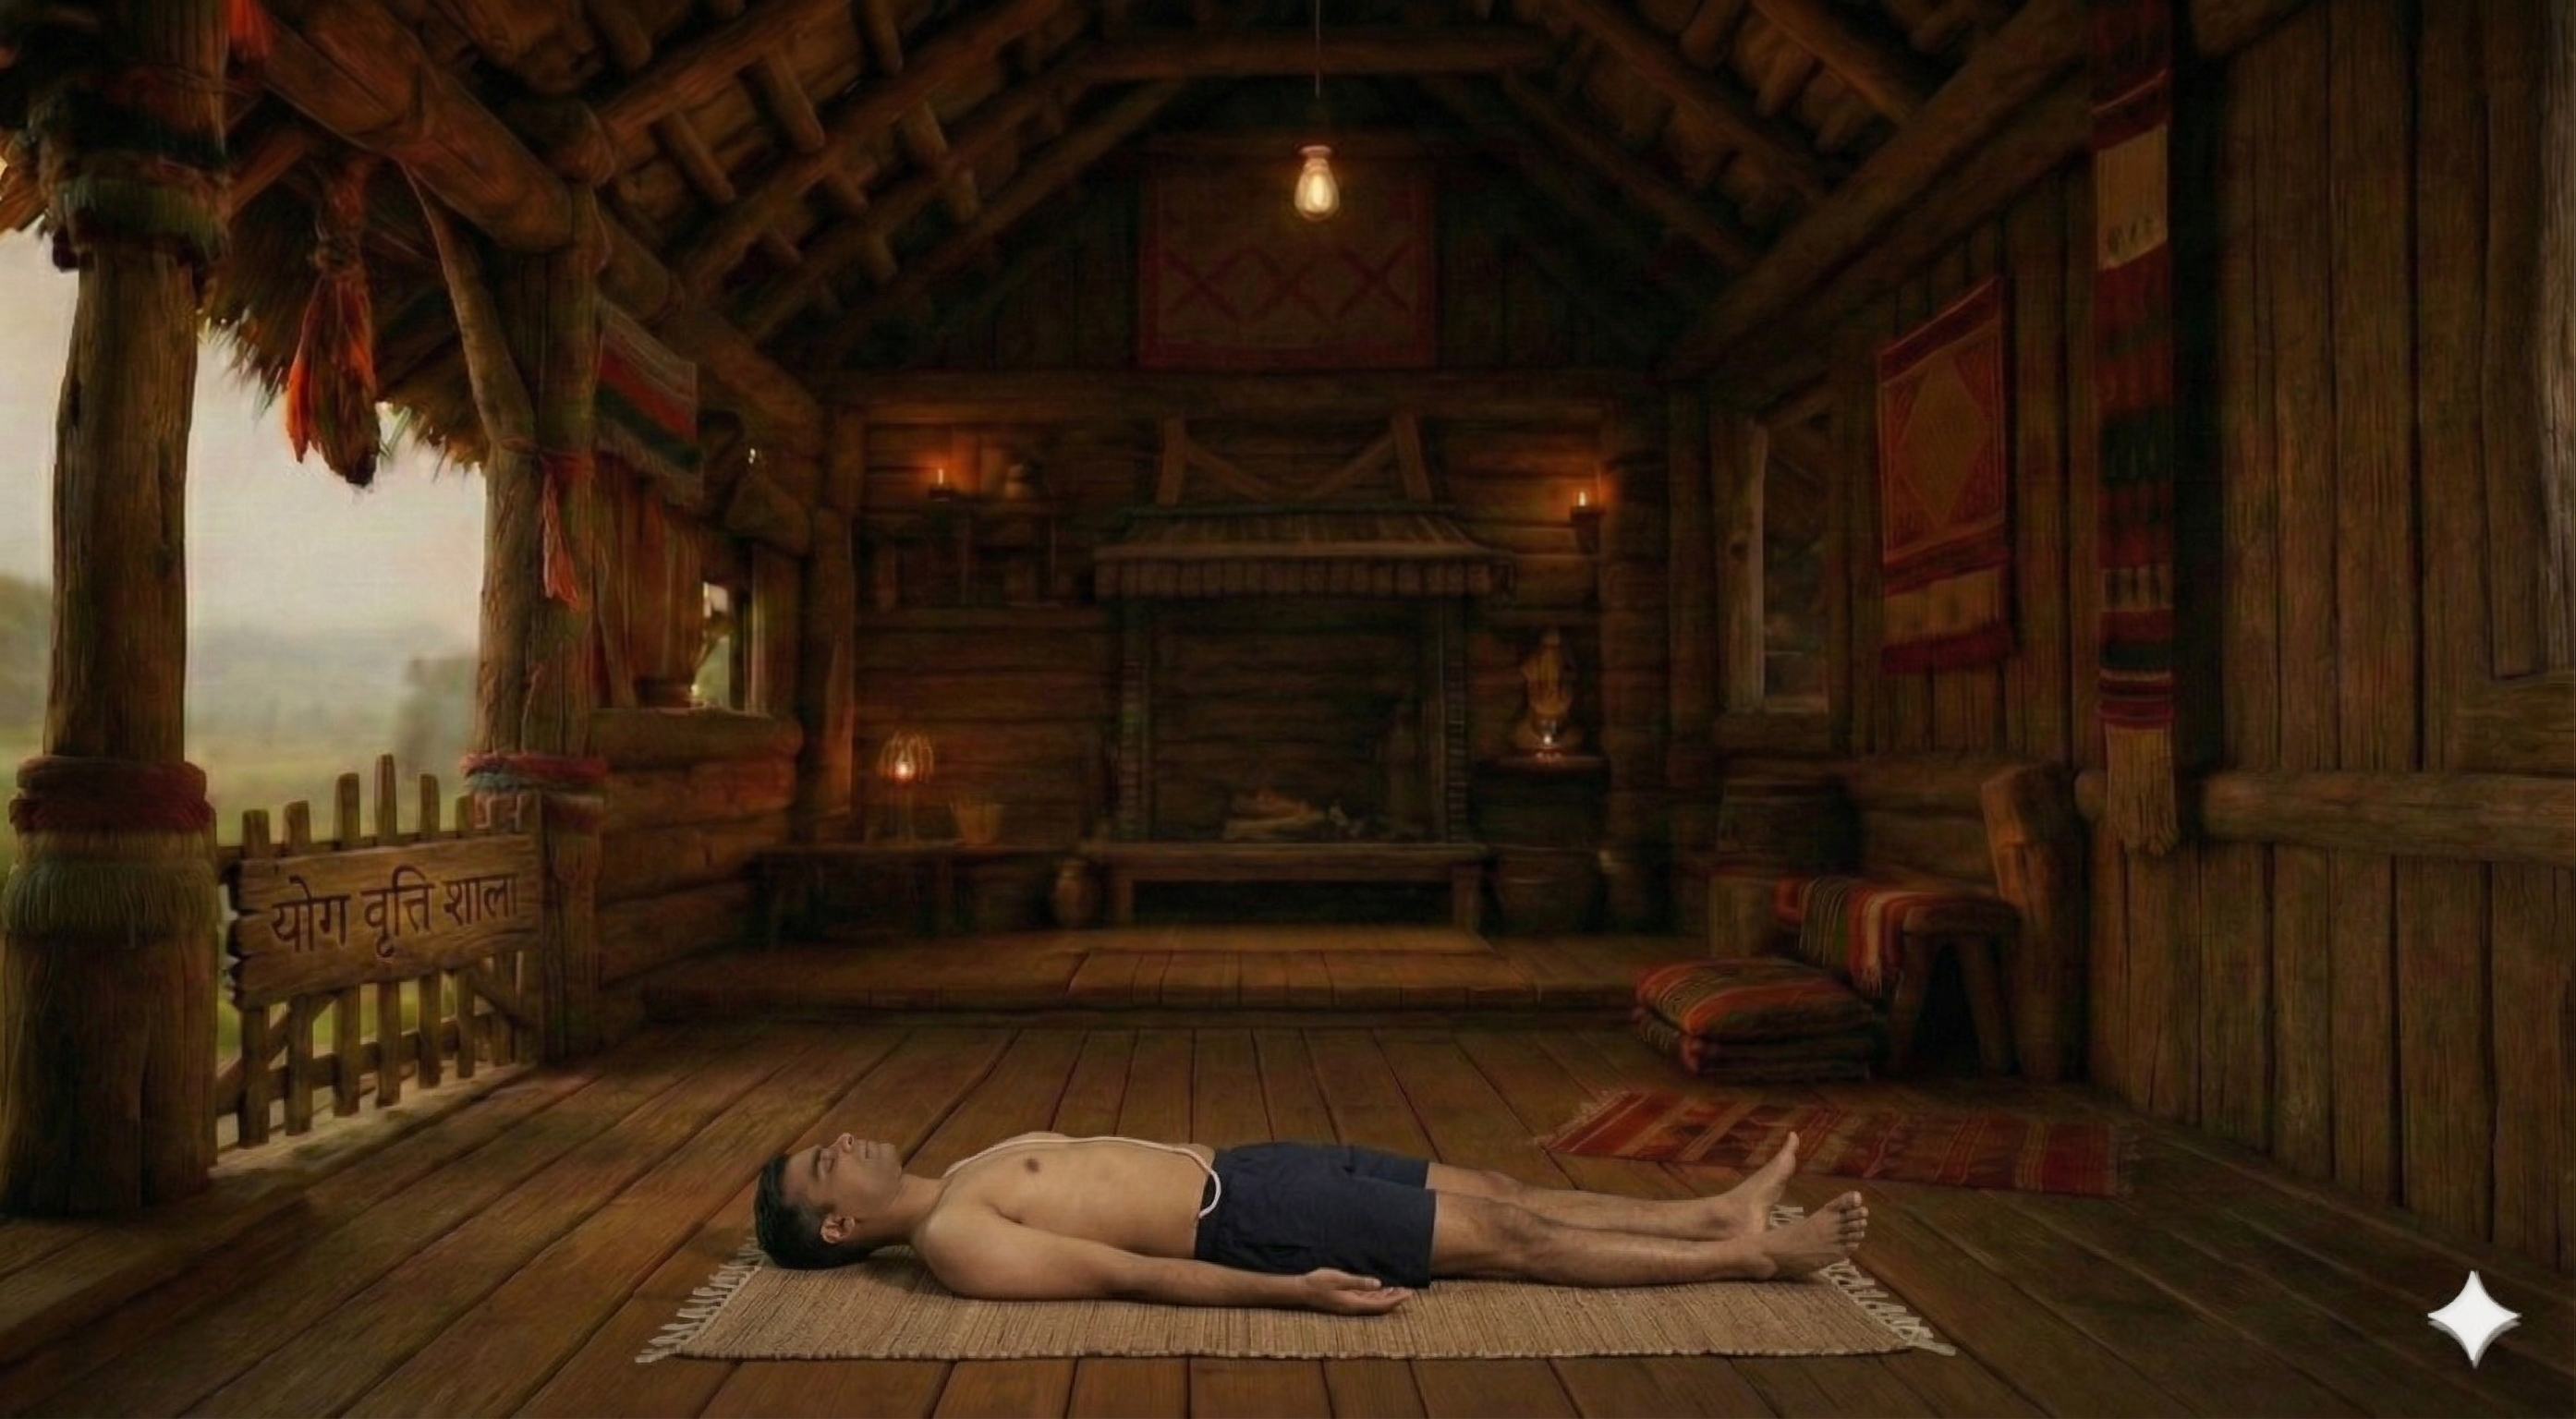
1. Lie on your back with legs straight and arms alongside your body.
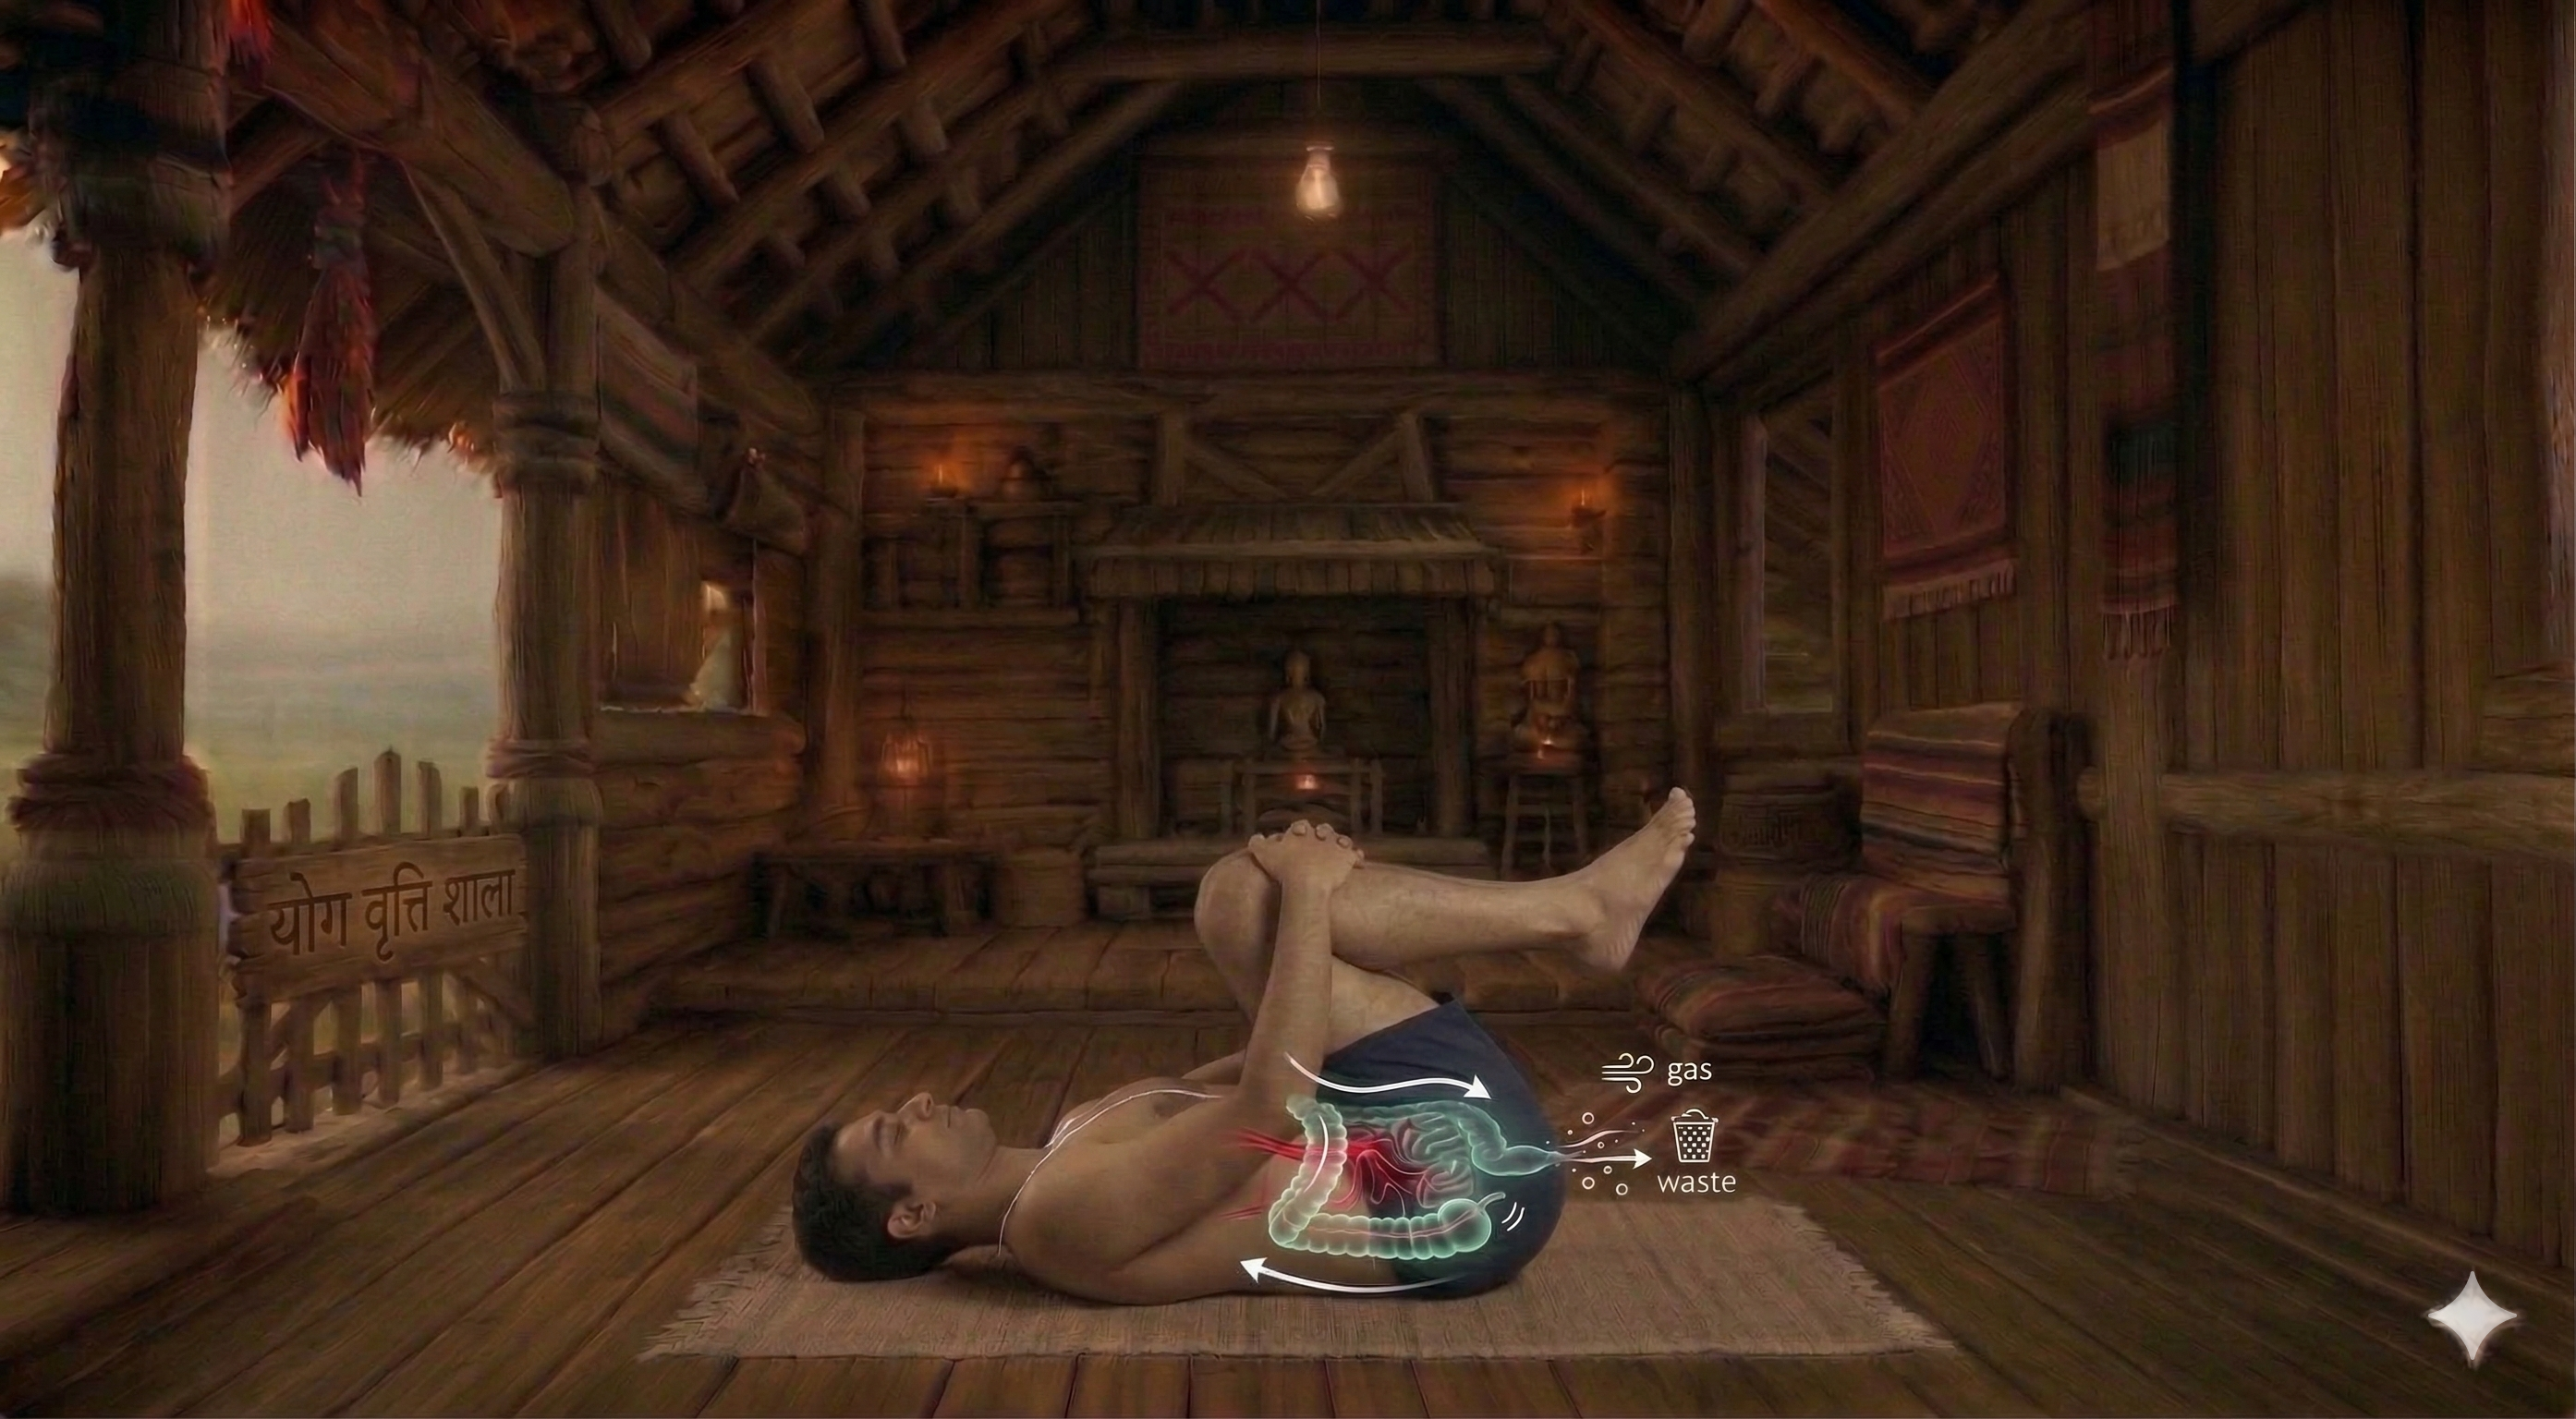
2. Bend your knees and draw them towards your chest.
3. Extend your arms out to the sides in line with your shoulders, palms facing up.
4. Exhale, gently lower your knees to the right side towards the floor.
5. Turn your head to the left.
7 more steps remaining
Register free to see the complete instructions
Register Free to ContinueAlready registered? Login
Frequently Asked Questions
Common questions about Reclining Spinal Twist
What is Reclining Spinal Twist?
Reclining Spinal Twist, also called Supine Twist is a classical yoga posture whose Sanskrit roots break down as: Jathara (Abdomen) · Parivartana (Rotation) · Asana (Pose). In this posture, the body rotates the spine, creating space between each vertebra. The posture works to engage the core, strengthen and extend the back and engage the obliques. Improves digestion. Relieves stress. It is particularly valued for alleviating back discomfort. Suitable for beginners and regular practitioners alike, it is a calming cool-down, particularly beneficial for beginners and seniors. A blanket can be used to make the posture more accessible and support correct alignment. Practitioners with spinal injury and back pain should approach with care or consult a qualified teacher.
What are the benefits of Reclining Spinal Twist?
Stretches back and abdominal muscles. Improves digestion. Relieves stress. Stimulates abdominal organs. Promotes relaxation.
Who should avoid Reclining Spinal Twist?
Avoid this pose if you have: Back injury, Spinal injury, Pregnancy, Recent abdominal surgery.
How many steps are in Reclining Spinal Twist?
Reclining Spinal Twist is practiced in 12 steps. Lie on your back with legs straight and arms alongside your body.
Is Reclining Spinal Twist suitable for beginners?
Yes, Reclining Spinal Twist is a beginner-friendly pose suitable for all levels.
What props are needed for Reclining Spinal Twist?
You may use: blanket. Props make the pose more accessible and comfortable.
What conditions does Reclining Spinal Twist help with?
Reclining Spinal Twist is therapeutic for: back pain, digestive problems, anxiety, insomnia, flexibility.
What poses should I do before Reclining Spinal Twist?
Prepare with: Supta Tadasana, Apanasana, Seated Tadasana. These warm up the relevant muscles and joints.
Build Your Own Sequence
Combine Reclining Spinal Twist with other poses