Variations (1)
Tripod Headstand
Sirsasana II · शीर्षासन II
Also known as: Headstand II · Three-Legged Headstand
Tripod Headstand, also called Headstand II is a classical yoga posture. Its Sanskrit name Sirsasana II translates word-for-word as: Sirsa (Head) · Asana (Pose — II (Tripod)). In this posture, the body reverses the pull of gravity, bringing the hips or legs above the heart. The posture works to engage the core, open and strengthen the shoulders and release the neck. Calms the brain and relieves stress. Stimulates the pituitary and pineal glands. Suitable for advanced practitioners with developed body awareness, it is a meaningful addition to any practice, particularly beneficial for athletes and teens. A wall and blanket can be used to make the posture more accessible and support correct alignment. Practitioners with neck pain and hypertension should approach with care or consult a qualified teacher.
Anatomy Involved
Benefits
Deep Core Stabilizers(strengthening)
These deepest abdominal and spinal muscles, wrapping around your trunk like a natural corset, are meticulously engaged to stabilize the lumbar and sacral spine. Their isometric contraction creates an inner lift, preventing compression and providing a firm foundation for the entire inversion. This engagement is subtle yet powerful, channeling your inner energy (prana) upwards, creating a sense of lightness and unwavering support from your very center.
Shoulder Girdle Muscles(strengthening)
The muscles surrounding your shoulder joint, particularly the rotator cuff, are intensely active here, stabilizing the humerus within the glenoid fossa as you bear weight through your forearms. They work in concert with the deltoids to create a broad, stable base, preventing the shoulders from collapsing towards the ears. This intelligent engagement builds immense upper body strength and helps you feel powerfully connected to the earth through your arms, channeling a grounded steadiness into the pose.
Scapular Stabilizers(stabilizing)
These muscles, located between and beneath your shoulder blades, are crucial for drawing the scapulae down and towards the spine, preventing winging and creating a stable platform for your neck and head. By actively engaging them, you broaden across the upper back and chest, creating space and preventing undue strain on the cervical spine. This action fosters a feeling of openness and expansion in the heart center, allowing for a freer flow of breath and energy.
- Full anatomical benefits — muscles, joints, organs →
Avoid If
Neck Injury / Cervical Issues
Looking up, bearing head weight, or unsupported neck rotation can compress cervical vertebrae and irritate nerves.
Keep the head in a neutral position aligned with the spine; avoid deep neck extension, flexion, or unsupported rotation.
Back Injury / Back Pain
Spinal flexion, extension, or rotation under load can compress vertebral discs or strain the paraspinal muscles.
Bend the knees to protect the lumbar spine, engage the core throughout, and stop if pain sharpens.
High Blood Pressure
Vigorous effort and inverted positions temporarily raise blood pressure in the head, increasing strain on blood vessels.
Hold no longer than five breaths, breathe continuously, and come out at the first sign of pressure in the head.
Glaucoma / Eye Pressure
Inverted and head-below-heart positions increase intraocular pressure, which can be harmful for those with elevated eye pressure.
Keep the head above the heart; avoid Down Dog and practice a standing forward fold with head elevated instead.
Props That Can Help
Optional supports — use when helpful, not required
Wall
Practise with hands on the wall at 90° to experience the pose shape, build shoulder strength, and decompress the spine — ideal as a daily preparation or when wrists are sensitive.
Folded Blanket
Use a blanket for cushioning, elevation, or support — it adapts the pose to your body's current needs without compromising alignment.
Common Mistakes to Avoid
Teaching Cues
For yoga teachers — verbal cues to guide students
5 cues
Teaching Cues
For yoga teachers — verbal cues to guide students
- 1Engage the core to maintain stability
- 2Press firmly through the foundation — hands, forearms, or head
- 3Keep the body in one straight line from base to feet
- 4Breathe steadily — do not hold the breath
- 5Come down slowly and with control
Pose Details
Pose Type
Body Focus
Focus Areas
Best For
Yoga Styles
When to Practice
Position
Target Areas
Practice Flow
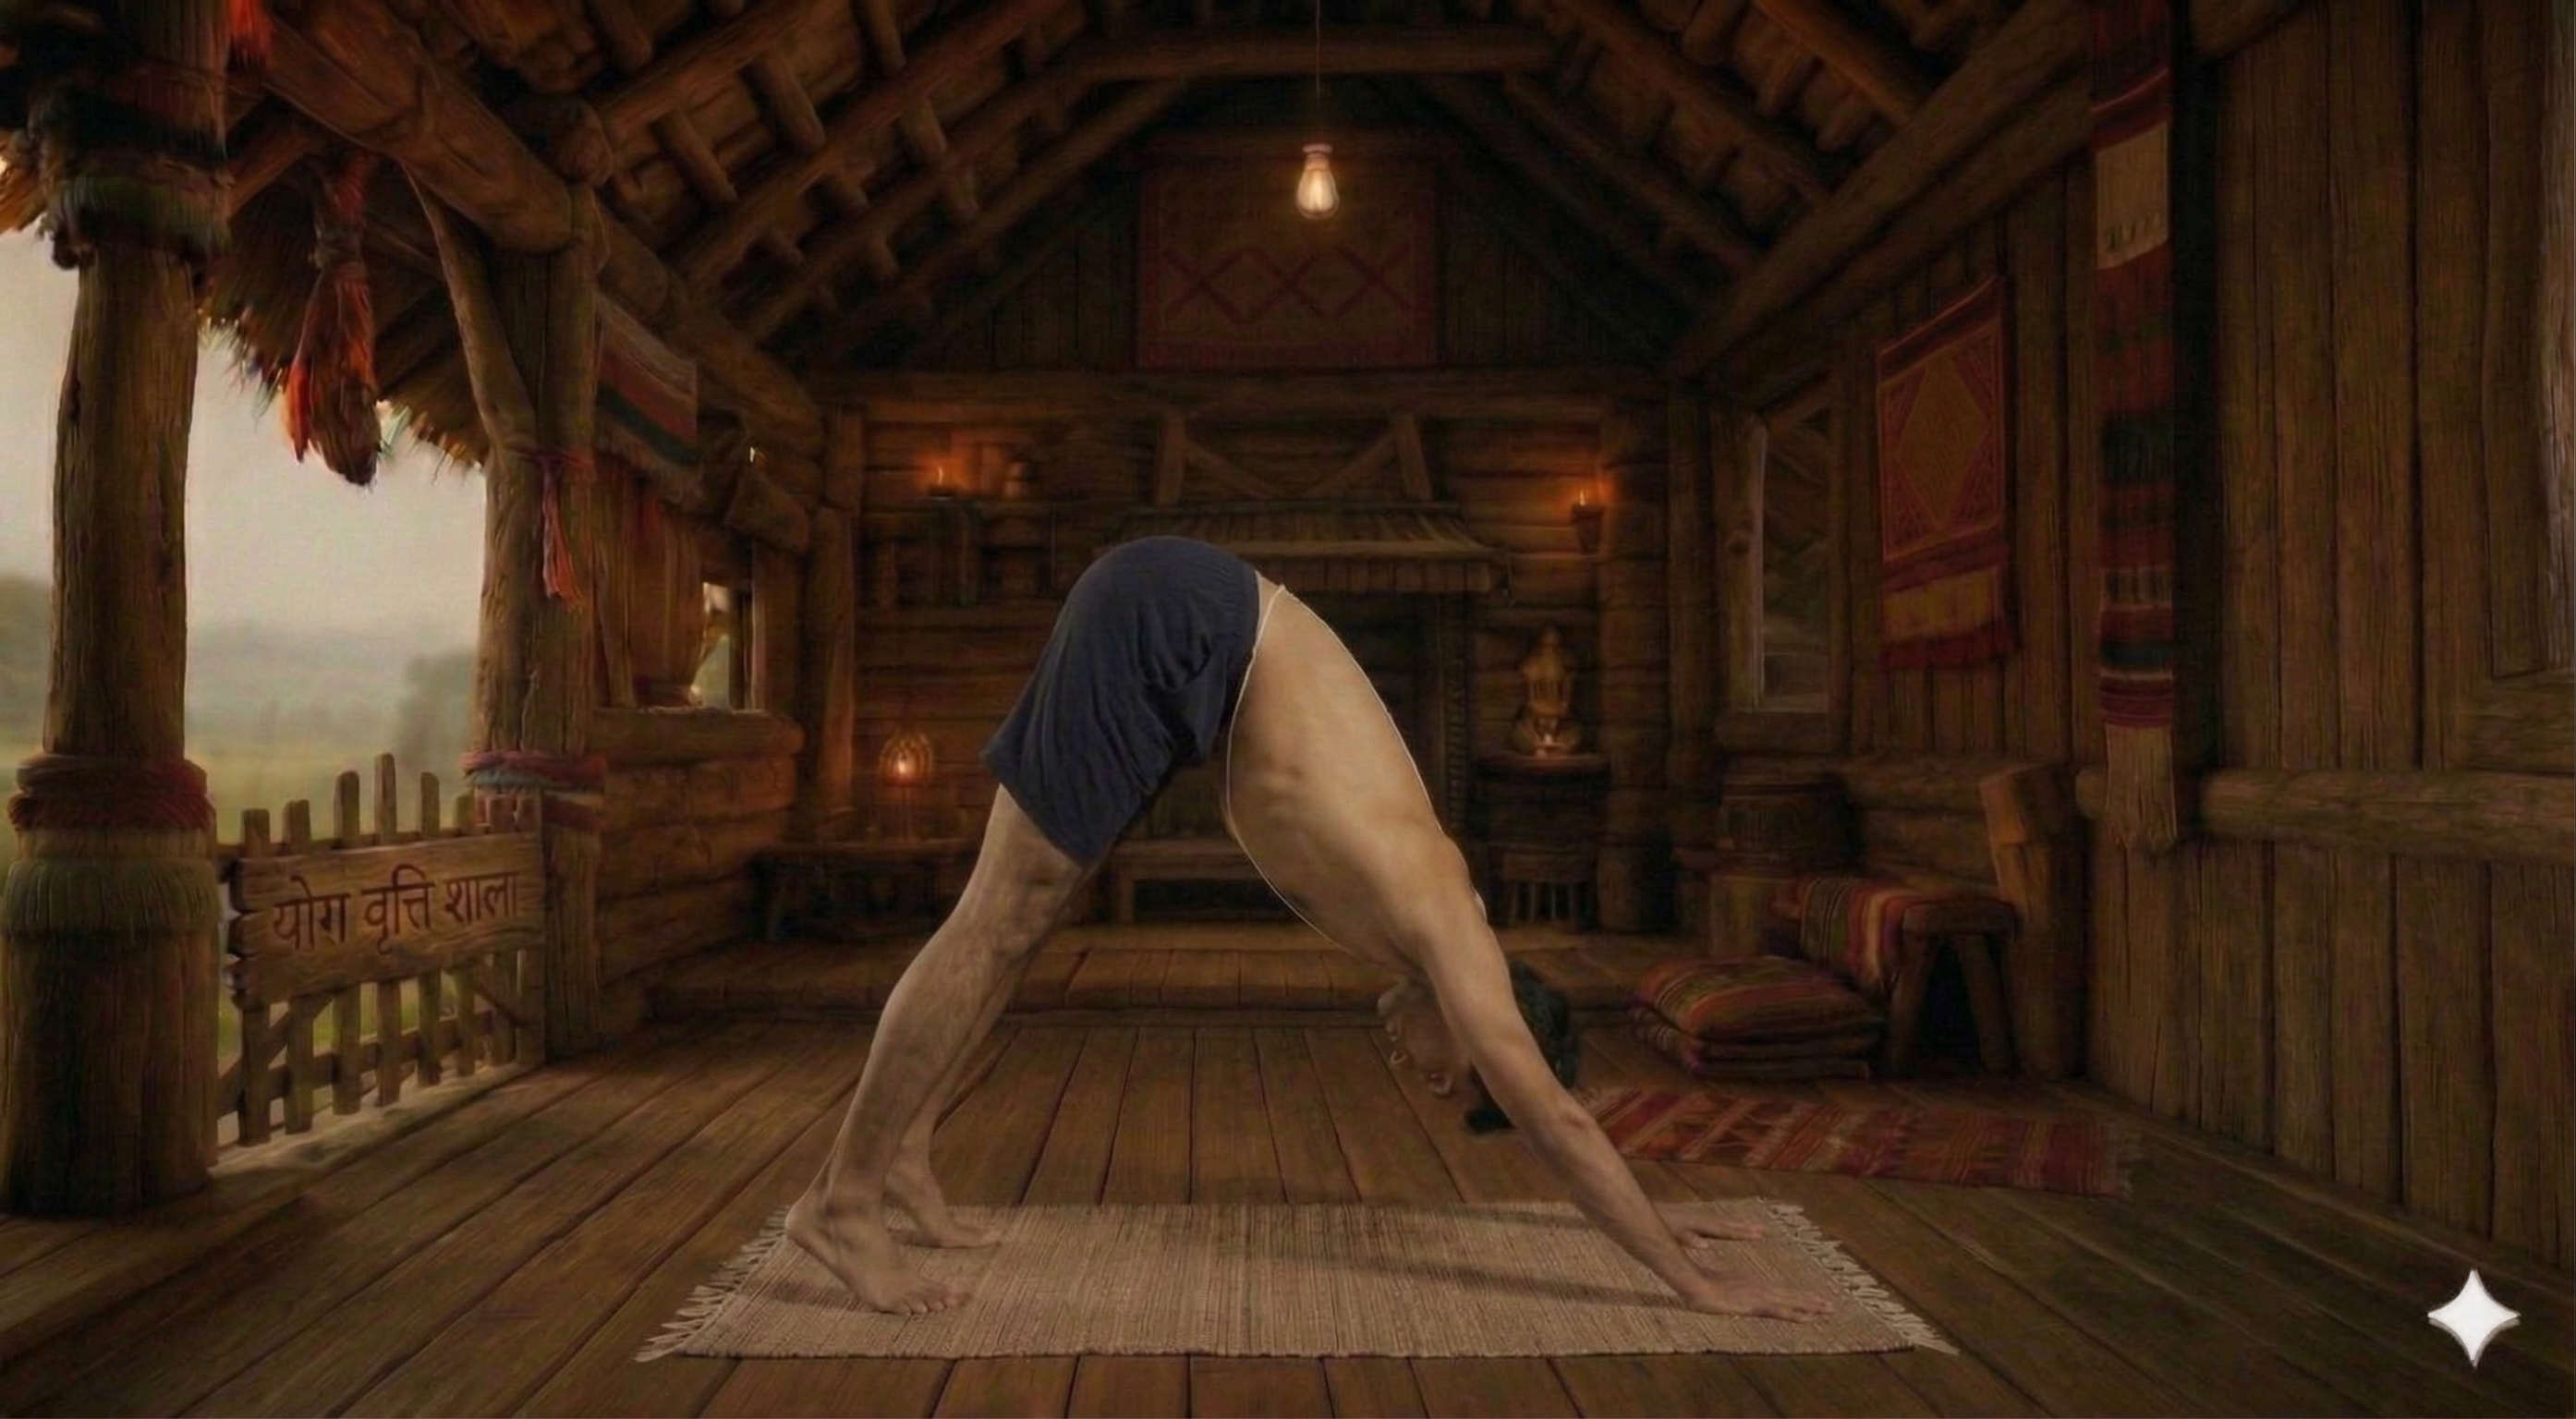


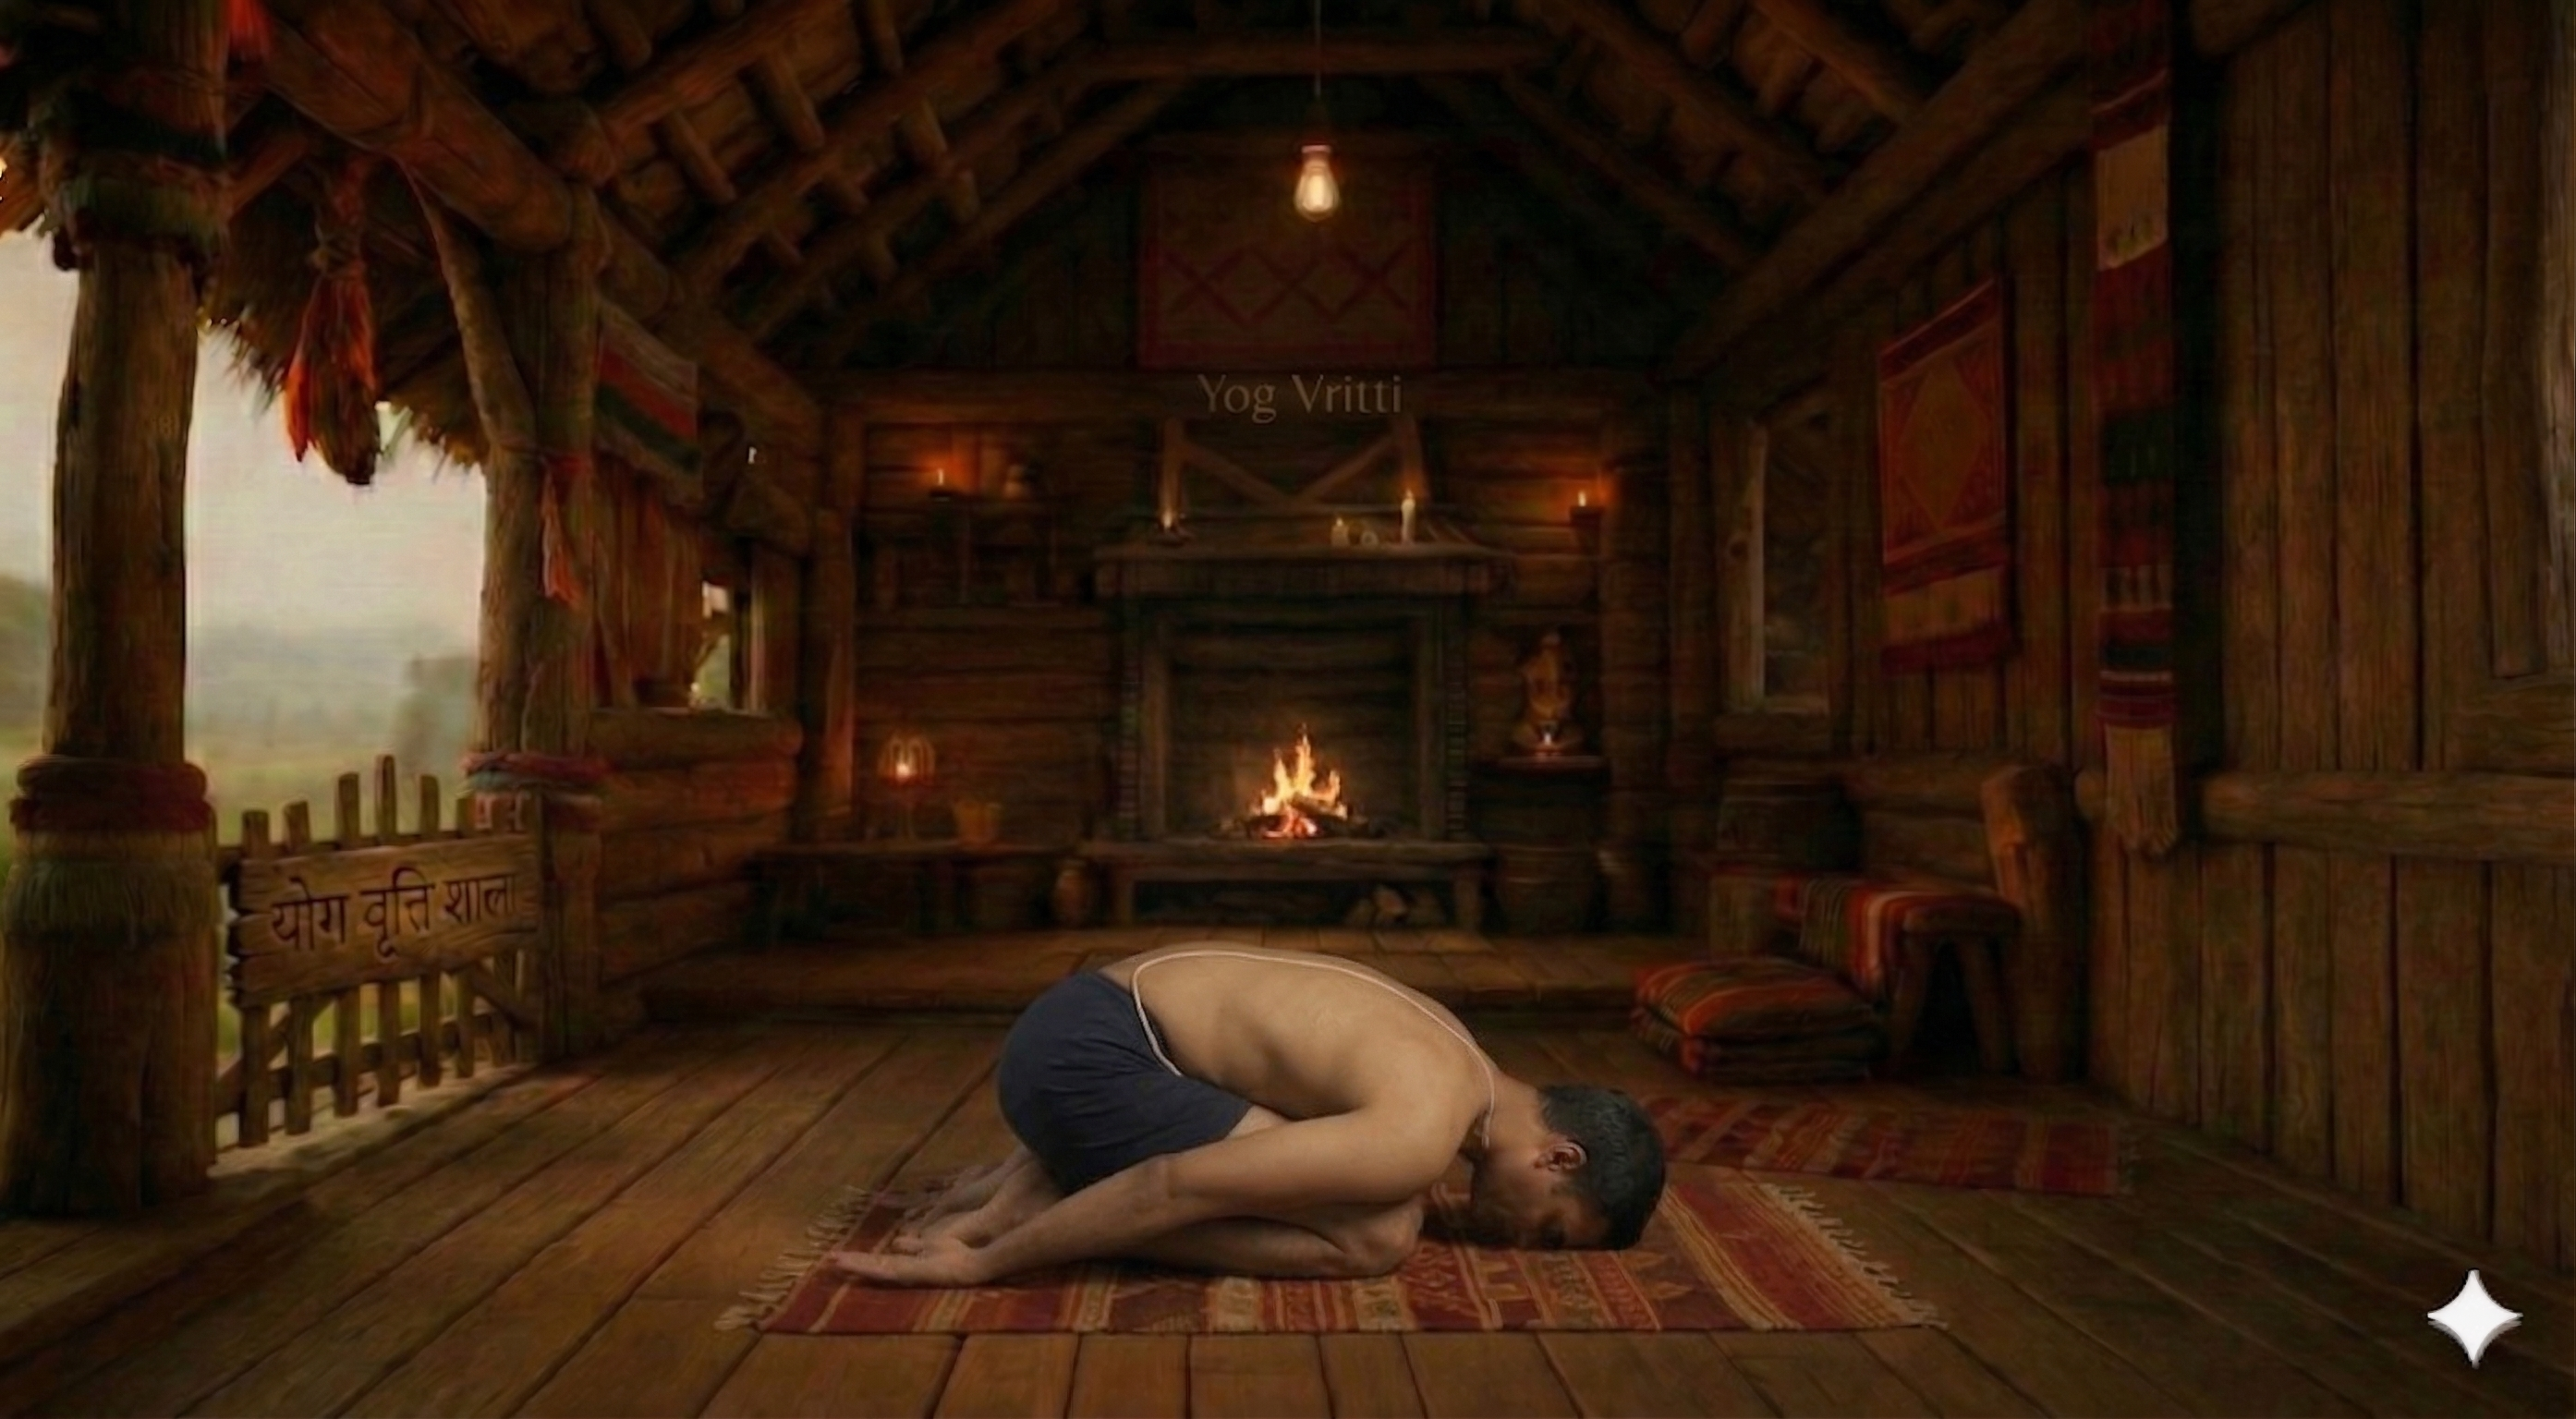
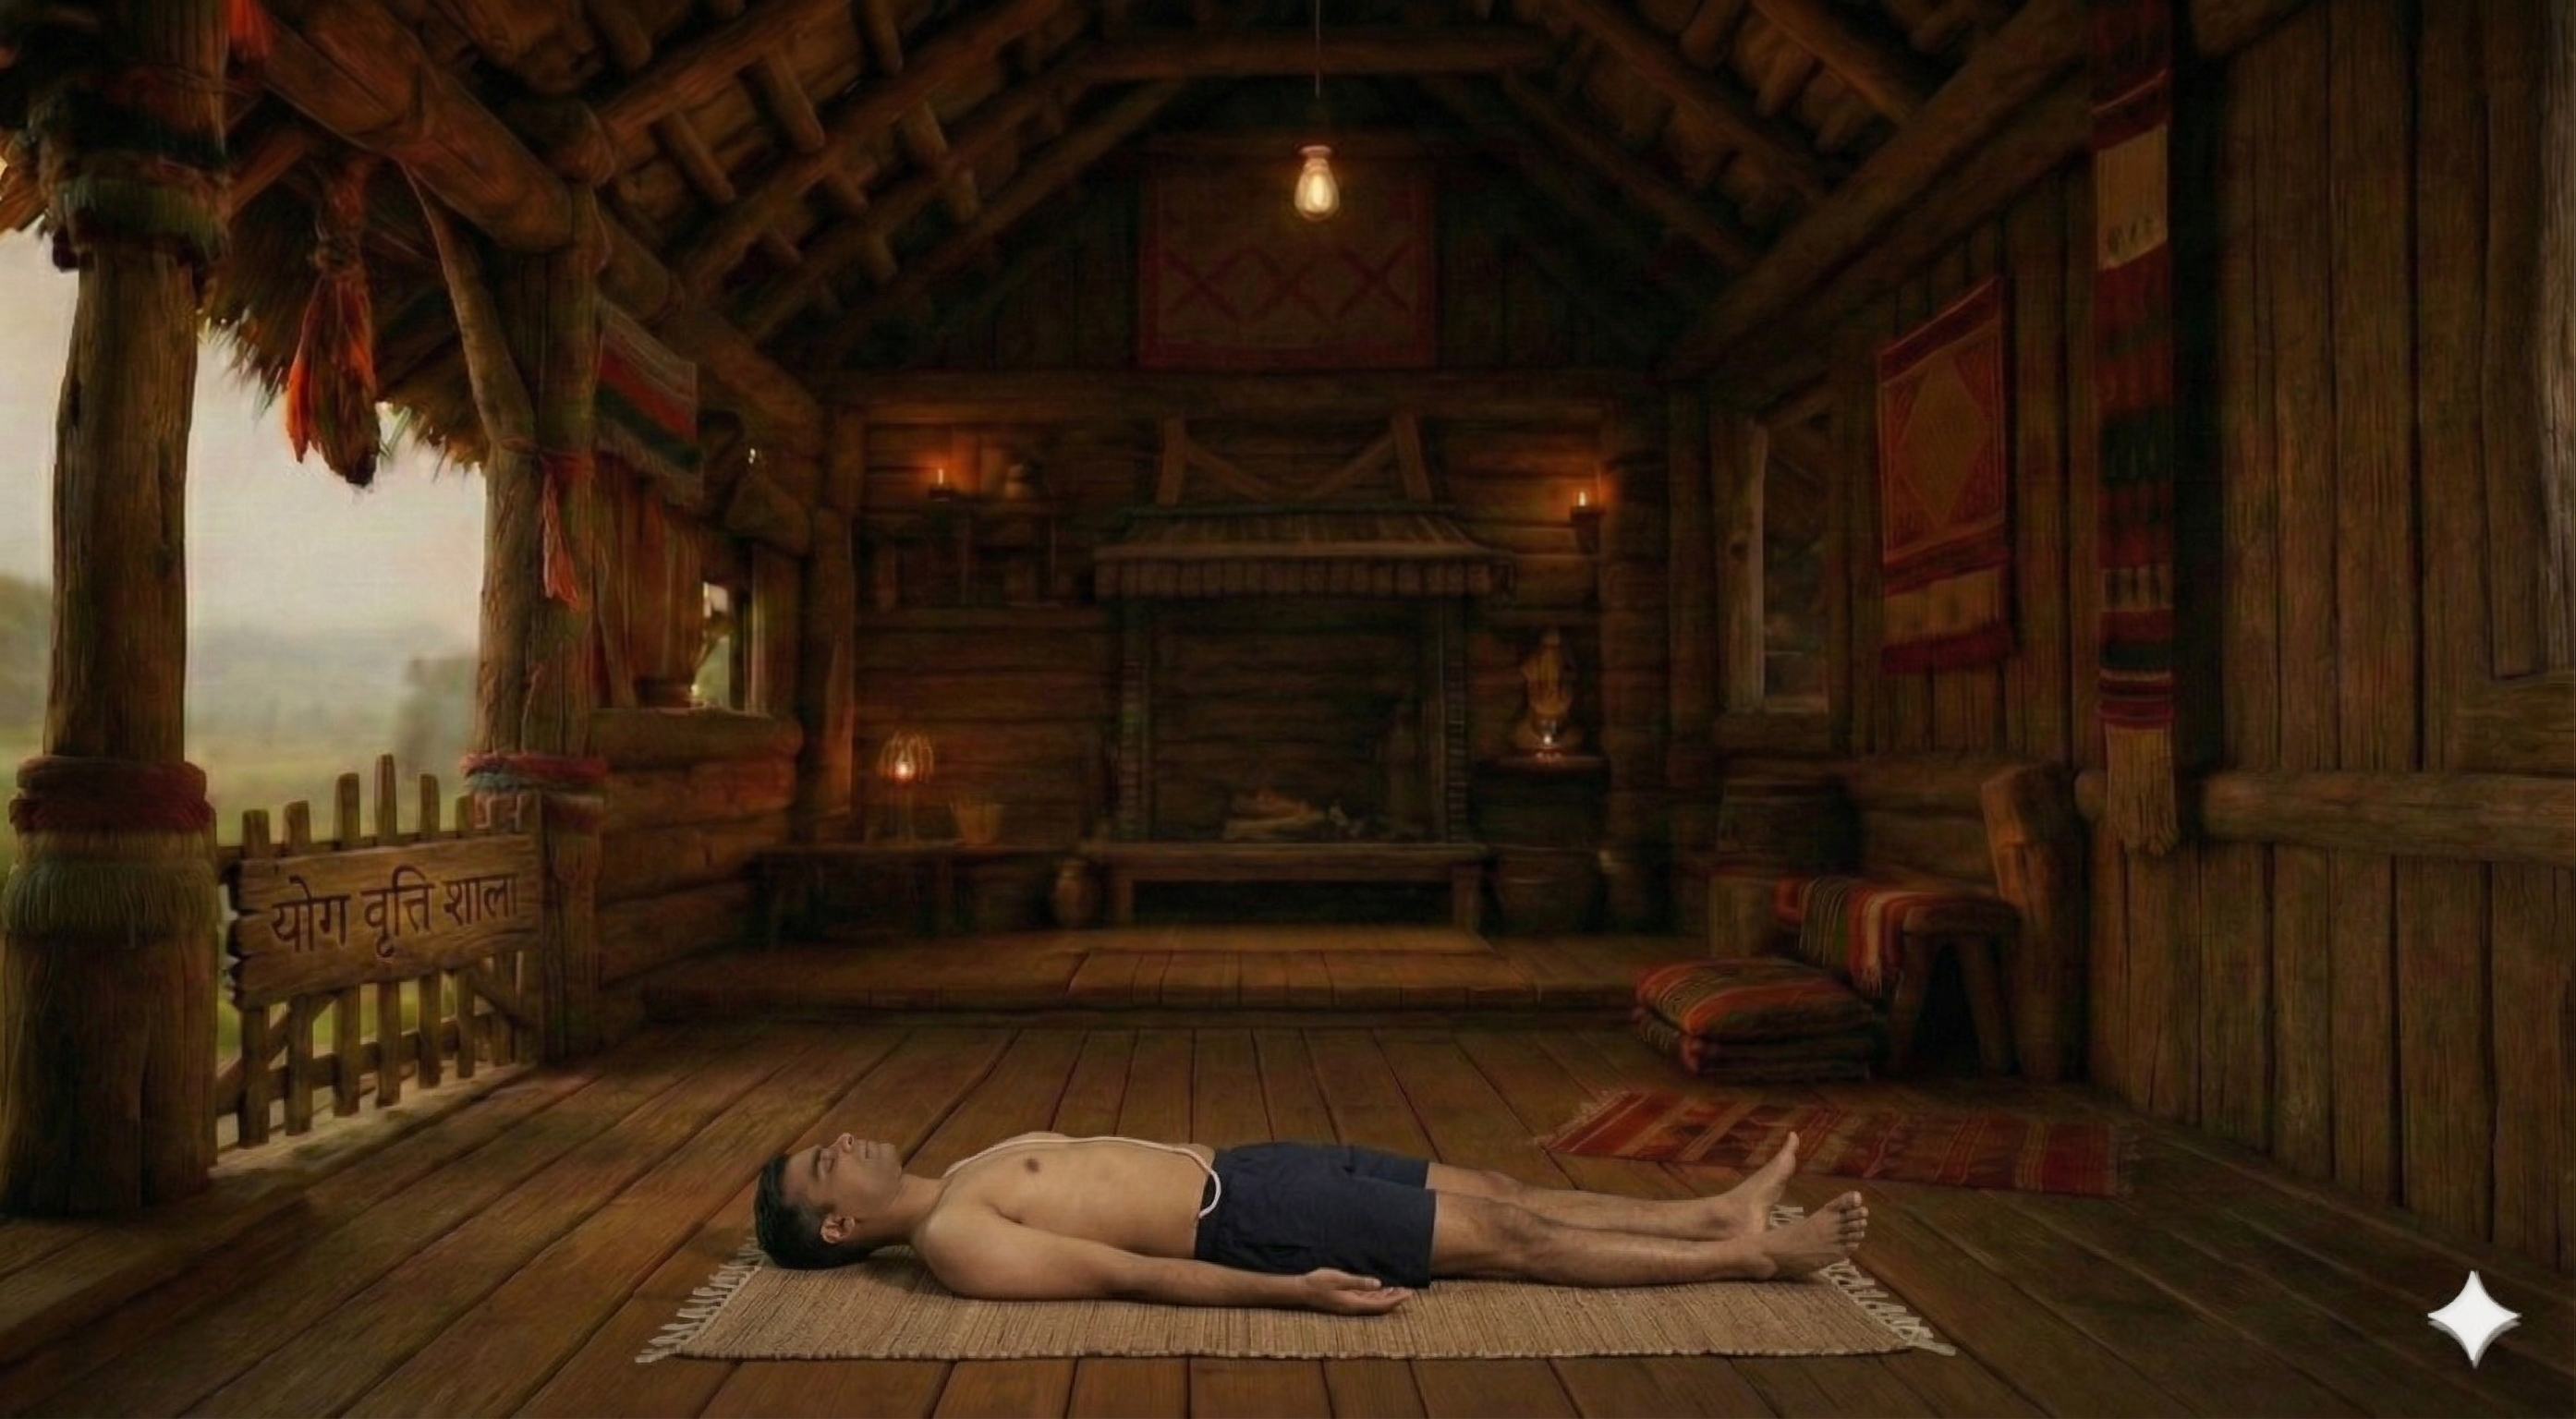
How to Practice
1. Kneel on the floor in Vajrasana.
2. Place your elbows on the floor, shoulder-width apart.
3. Interlock your fingers, forming a triangle with your hands.
4. Place the crown of your head on the floor, inside the triangle formed by your hands.
5. Lift your knees off the floor, gradually lifting your body upwards, using your core for support.
5 more steps remaining
Register free to see the complete instructions
Register Free to ContinueAlready registered? Login
Frequently Asked Questions
Common questions about Sirsasana II
What is Tripod Headstand?
Tripod Headstand, also called Headstand II is a classical yoga posture. Its Sanskrit name Sirsasana II translates word-for-word as: Sirsa (Head) · Asana (Pose — II (Tripod)). In this posture, the body reverses the pull of gravity, bringing the hips or legs above the heart. The posture works to engage the core, open and strengthen the shoulders and release the neck. Calms the brain and relieves stress. Stimulates the pituitary and pineal glands. Suitable for advanced practitioners with developed body awareness, it is a meaningful addition to any practice, particularly beneficial for athletes and teens. A wall and blanket can be used to make the posture more accessible and support correct alignment. Practitioners with neck pain and hypertension should approach with care or consult a qualified teacher.
What are the benefits of Tripod Headstand?
Strengthens the core, shoulders, and back. Calms the brain and relieves stress. Stimulates the pituitary and pineal glands. Improves circulation. Increases energy and vitality.
Who should avoid Tripod Headstand?
Avoid this pose if you have: Neck injury, Back injury, High blood pressure, Glaucoma, Pregnancy.
How many steps are in Tripod Headstand?
Tripod Headstand is practiced in 10 steps. Kneel on the floor in Vajrasana.
Is Tripod Headstand suitable for beginners?
Tripod Headstand is an advanced-level pose. Beginners should practice with props or under guidance.
What props are needed for Tripod Headstand?
You may use: wall, blanket. Props make the pose more accessible and comfortable.
What poses should I do before Tripod Headstand?
Prepare with: Adho Mukha Svanasana, Standing Forward Bend, Forearm Stand. These warm up the relevant muscles and joints.
Build Your Own Sequence
Combine Sirsasana II with other poses