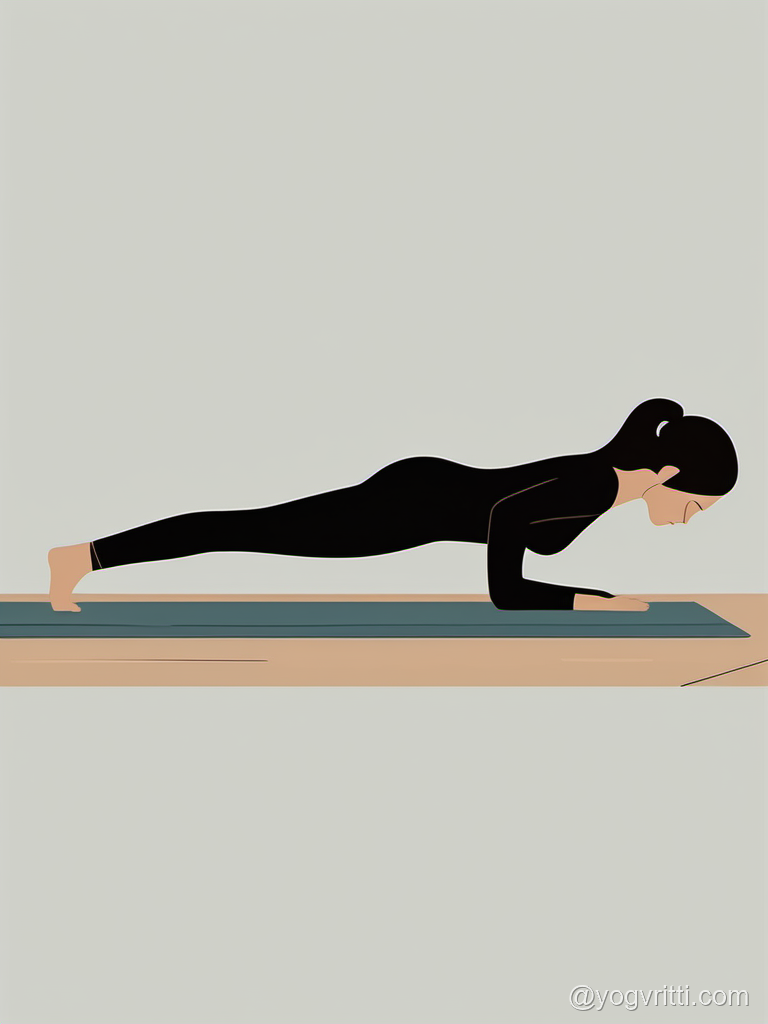
 Intermediateprone
Four-Limbed Staff Pose
Four-Limbed Staff Pose · चतुरङ्ग दण्डासन
Also known as: Chaturanga · Low Push-Up · Plank to Chaturanga
Four-Limbed Staff Pose, also called Chaturanga is a classical yoga posture whose Sanskrit roots break down as: Chatur (Four) · Anga (Limbs) · Danda (Staff) · Asana (Pose). In this posture, the body engages the posterior chain against the gentle resistance of gravity. Strengthens arms, wrists, and shoulders. Tones the abdominal muscles and strengthens the core. Improves posture and builds full-body endurance. It is particularly valued for improving overall posture and building full-body strength. Suitable for intermediate practitioners with foundational yoga experience, it is an excellent warm-up, particularly beneficial for athletes and runners. A block and wall can be used to make the posture more accessible and support correct alignment. Practitioners with wrist injury and shoulder injury should approach with care or consult a qualified teacher.
Anatomy Involved
Benefits
Triceps(eccentric-loading)
These powerful muscles run along the back of your upper arms, connecting your shoulder blade and humerus to your forearm bone (ulna). In Chaturanga, they work eccentrically, lengthening under tension to control your descent, then concentrically to hold the pose, preventing you from collapsing to the floor. This controlled work builds incredible arm strength and teaches intelligent engagement, which is crucial for protecting the elbows in daily life and other arm balances.
Deltoids(stabilizing)
Forming the rounded cap of your shoulder, the deltoids are critical for stabilizing the shoulder joint, particularly the anterior (front) and middle heads. In this pose, they actively hold the upper arm bone (humerus) in place, preventing it from drooping or internally rotating, which can strain the rotator cuff. This engagement cultivates a sense of broadness and openness across the collarbones, allowing the breath to flow more freely into the upper chest, inviting a feeling of courage and expansion.
Pectorals(strengthening)
Located across your chest, these muscles are vital for drawing the upper arms towards the midline of the body (adduction) and rotating them inwards, but in Chaturanga, their role is more nuanced. They work with the serratus anterior to stabilize the shoulder blades against the back of the rib cage, preventing winging, while the chest itself remains broad and open. This intelligent engagement strengthens the front of the body without collapsing the chest, supporting the heart space and fostering a sense of inner confidence.
- Full anatomical benefits — muscles, joints, organs →
Avoid If
Wrist Injury / Carpal Tunnel
Weight-bearing or extended wrist positions can compress the median nerve and aggravate inflamed tendons, worsening pain and causing numbness.
Use fists on the floor, switch to a forearm variation, or place a wedge/folded blanket under the wrists to reduce extension angle.
Back Injury / Back Pain
Spinal flexion, extension, or rotation under load can compress vertebral discs or strain the paraspinal muscles.
Bend the knees to protect the lumbar spine, engage the core throughout, and stop if pain sharpens.
Pregnancy
Deep twists, abdominal compression, and lying flat on the back can restrict blood flow or cause discomfort as pregnancy progresses.
Widen the stance, avoid deep abdominal compression and twists, and consult a qualified prenatal yoga teacher.
High Blood Pressure
Vigorous effort and inverted positions temporarily raise blood pressure in the head, increasing strain on blood vessels.
Hold no longer than five breaths, breathe continuously, and come out at the first sign of pressure in the head.
Props That Can Help
Optional supports — use when helpful, not required
Yoga Block
Place a block under each hand to raise the floor, reducing wrist extension and making the pose accessible when hamstrings are tight. This preserves the length of the spine without compensating in the lower back.
Wall
Practise with hands on the wall at 90° to experience the pose shape, build shoulder strength, and decompress the spine — ideal as a daily preparation or when wrists are sensitive.
Common Mistakes to Avoid
Teaching Cues
For yoga teachers — verbal cues to guide students
5 cues
Teaching Cues
For yoga teachers — verbal cues to guide students
- 1Press the pubic bone gently into the floor
- 2Engage the legs by pressing the tops of the feet down
- 3Lengthen the back of the neck — gaze slightly forward
- 4Draw the shoulder blades toward the spine
- 5Keep the gluteal muscles firm but not clenched
Pose Details
Helps With
Pose Type
Body Focus
Focus Areas
Best For
Yoga Styles
When to Practice
Position
Modify If You Have
wrist injury
Place forearms on the floor (Dolphin Plank) or use a wedge/block under the heels of hands.
shoulder injury
Keep knees on the floor (kneeling Chaturanga) or do not lower as deeply.
back pain
Ensure strong core engagement; if pain persists, keep knees on the floor or avoid the pose.
Target Areas
Practice Flow
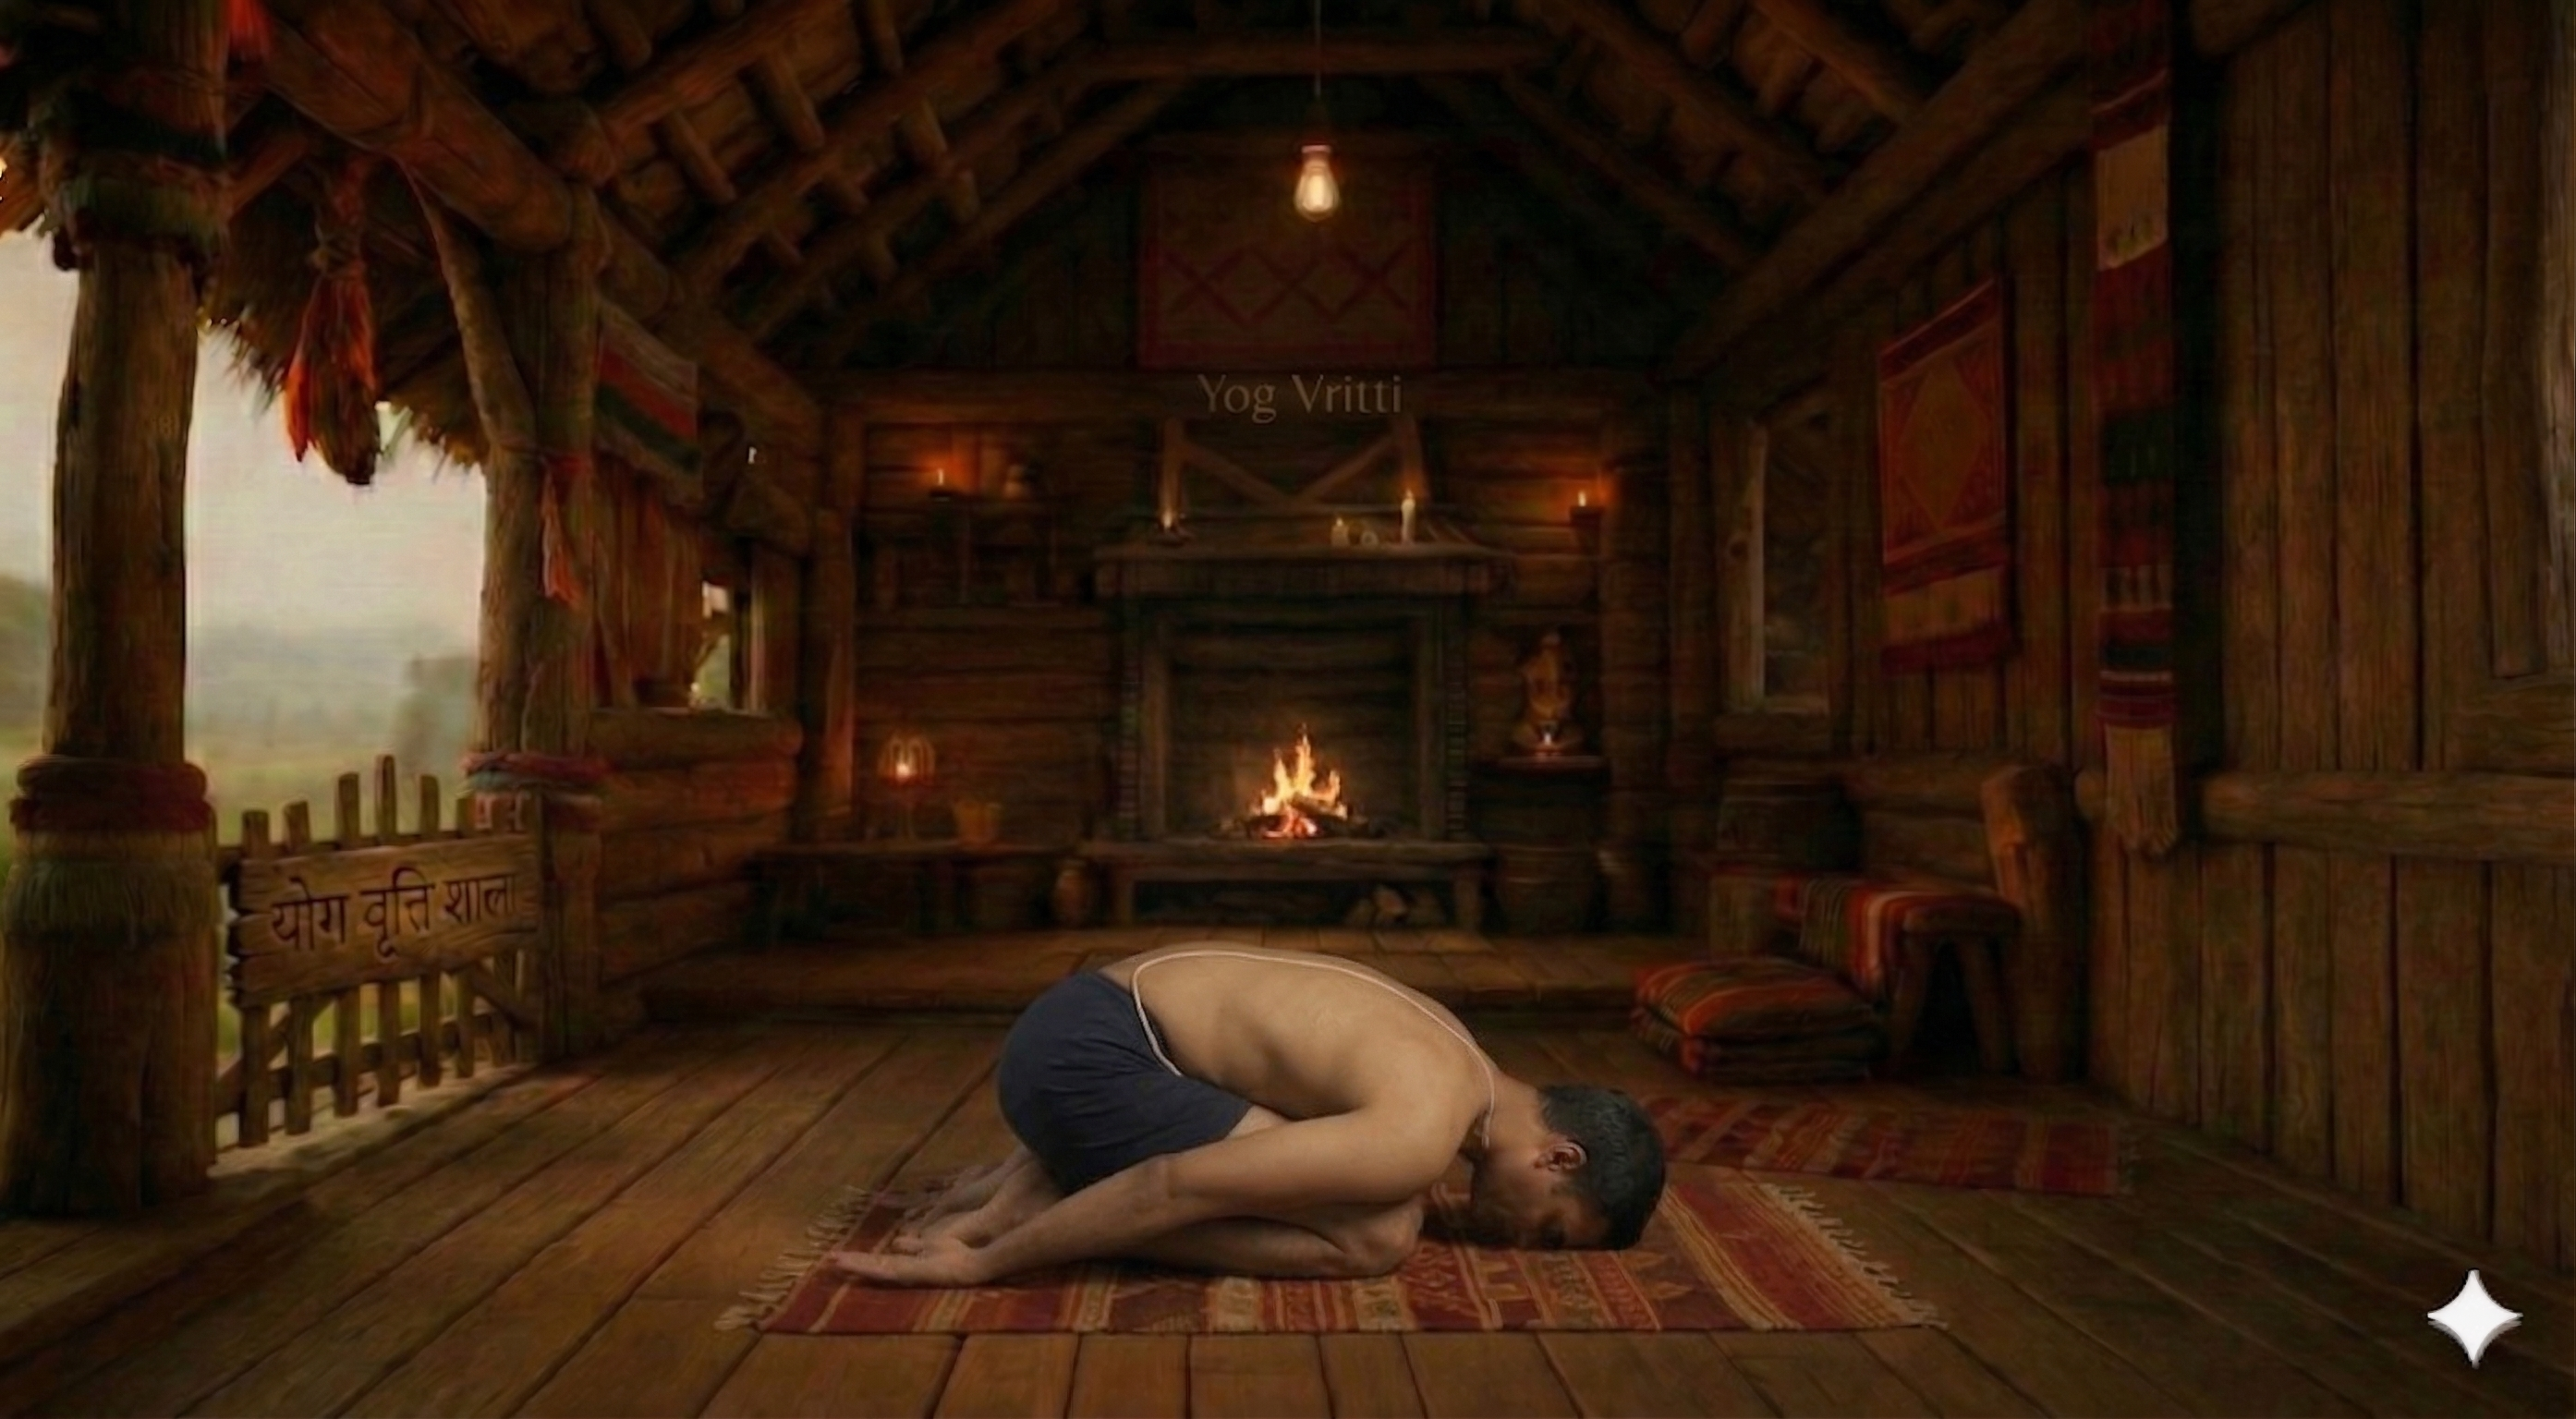
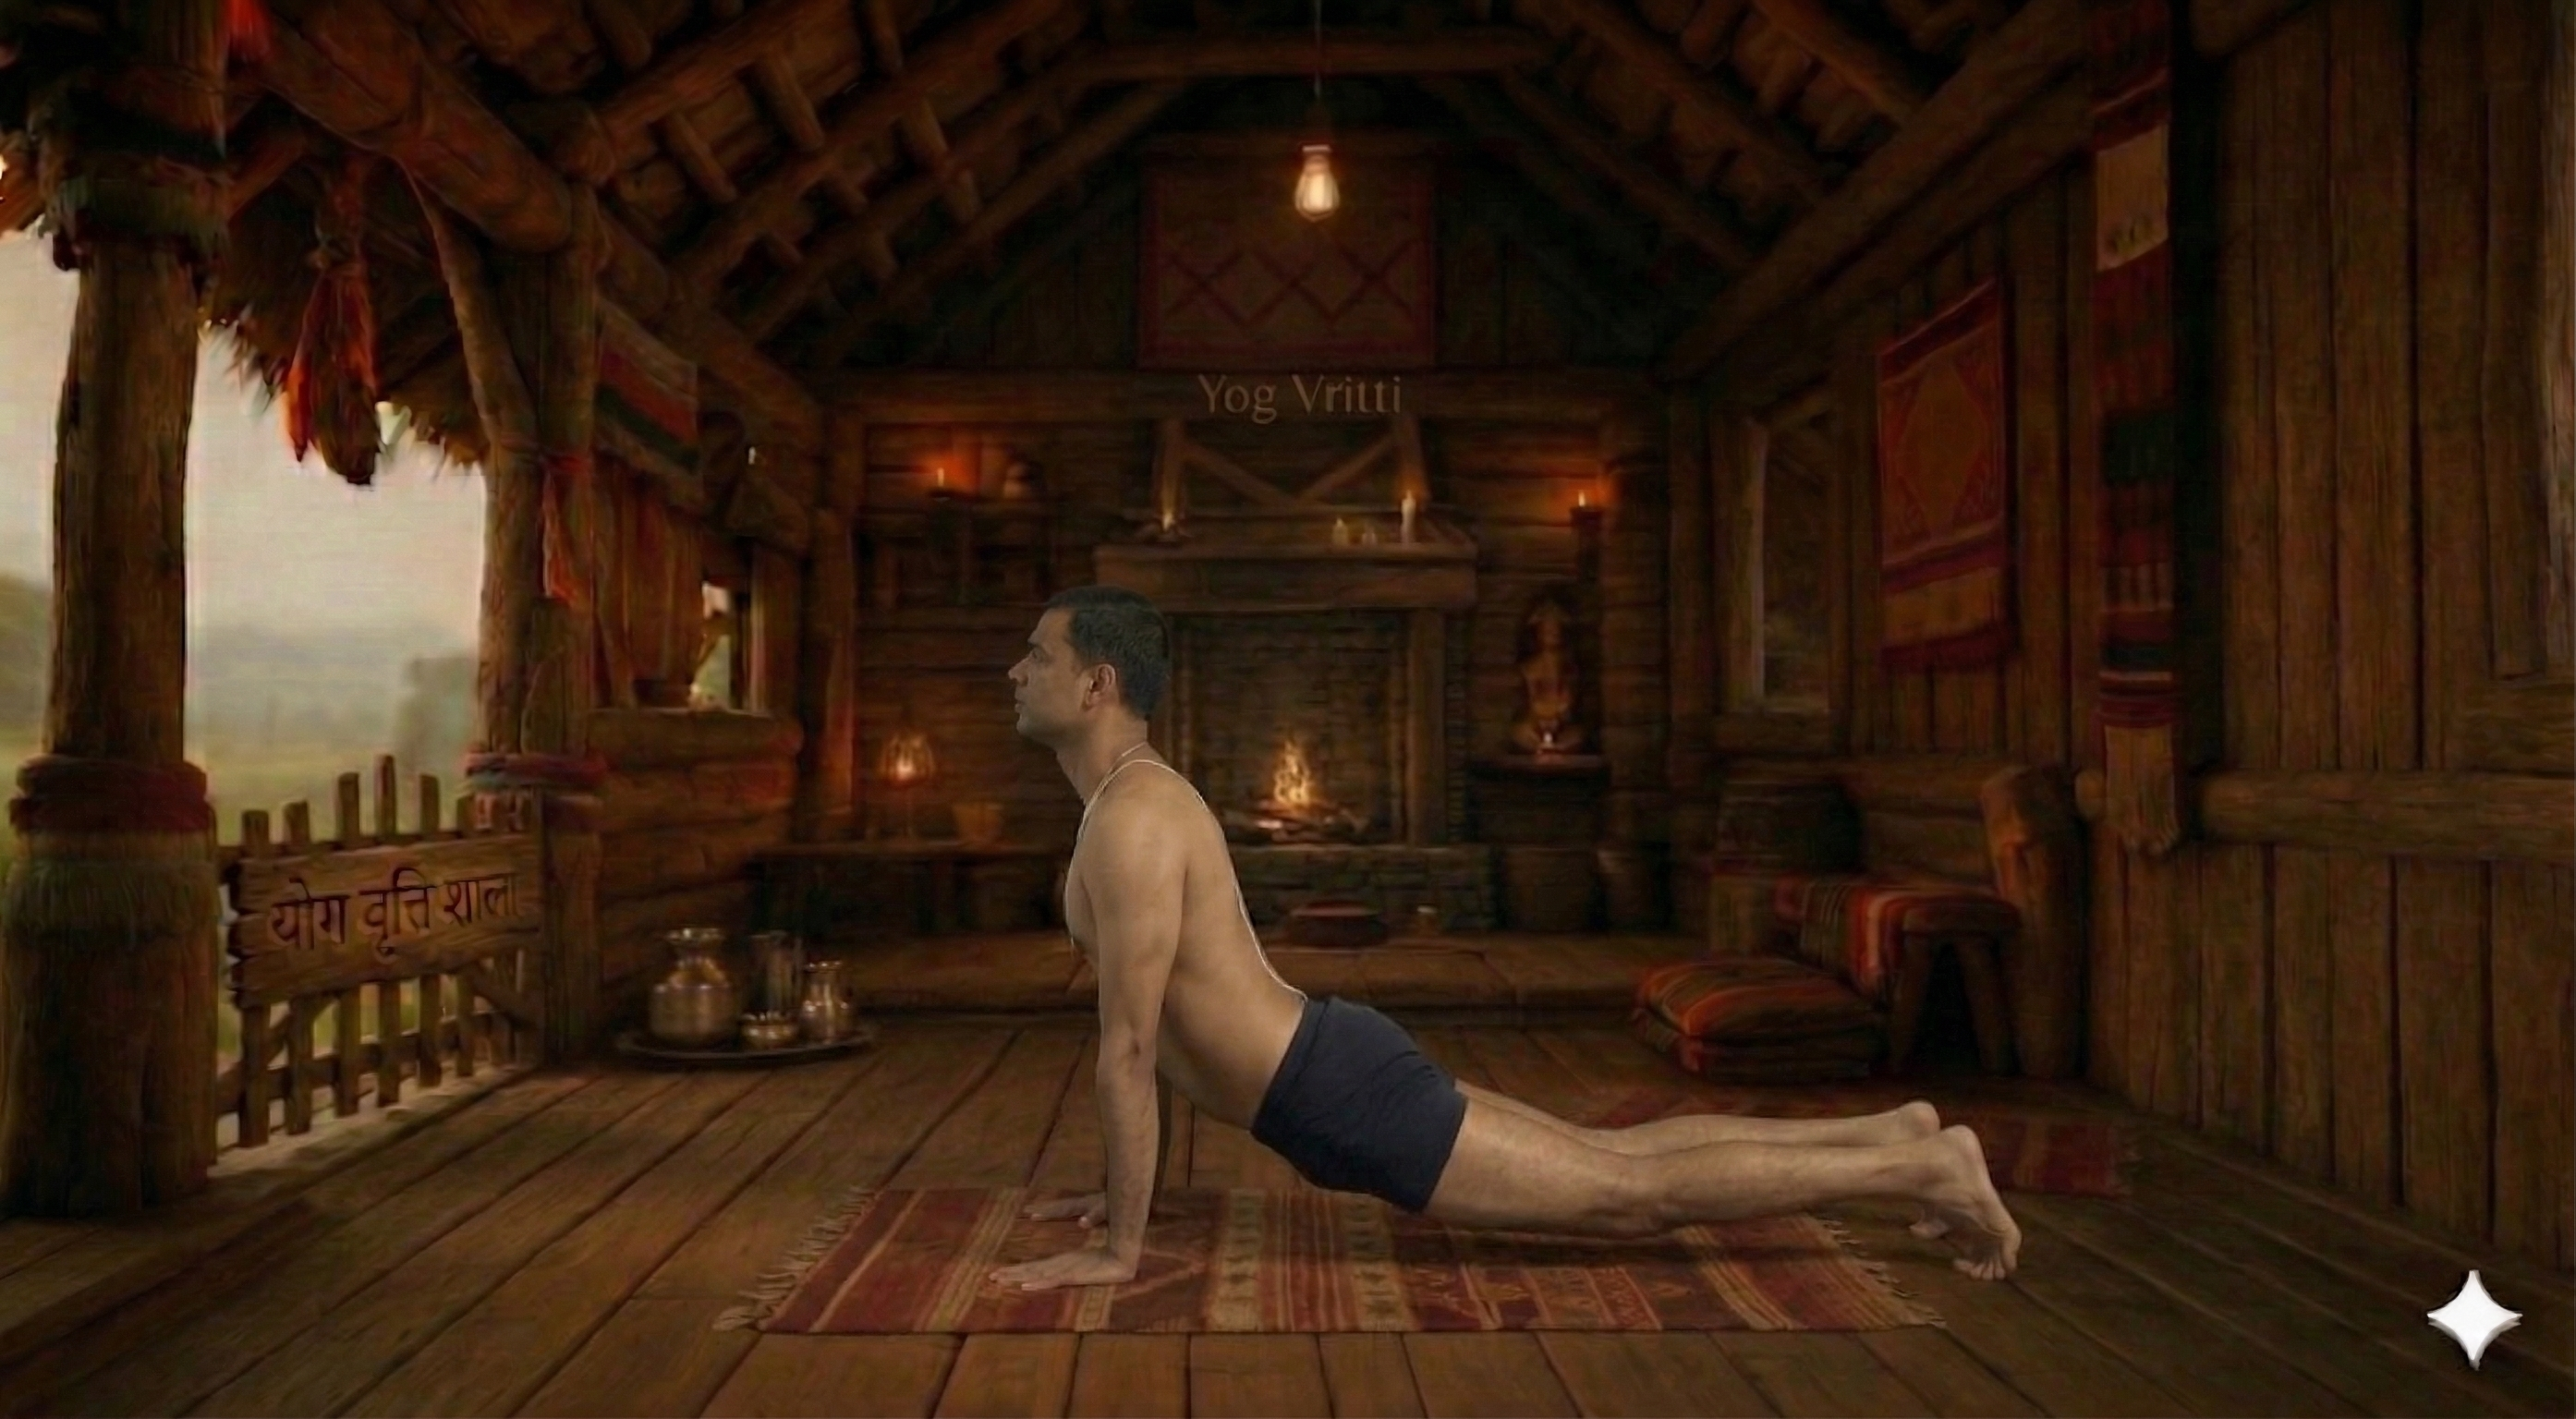
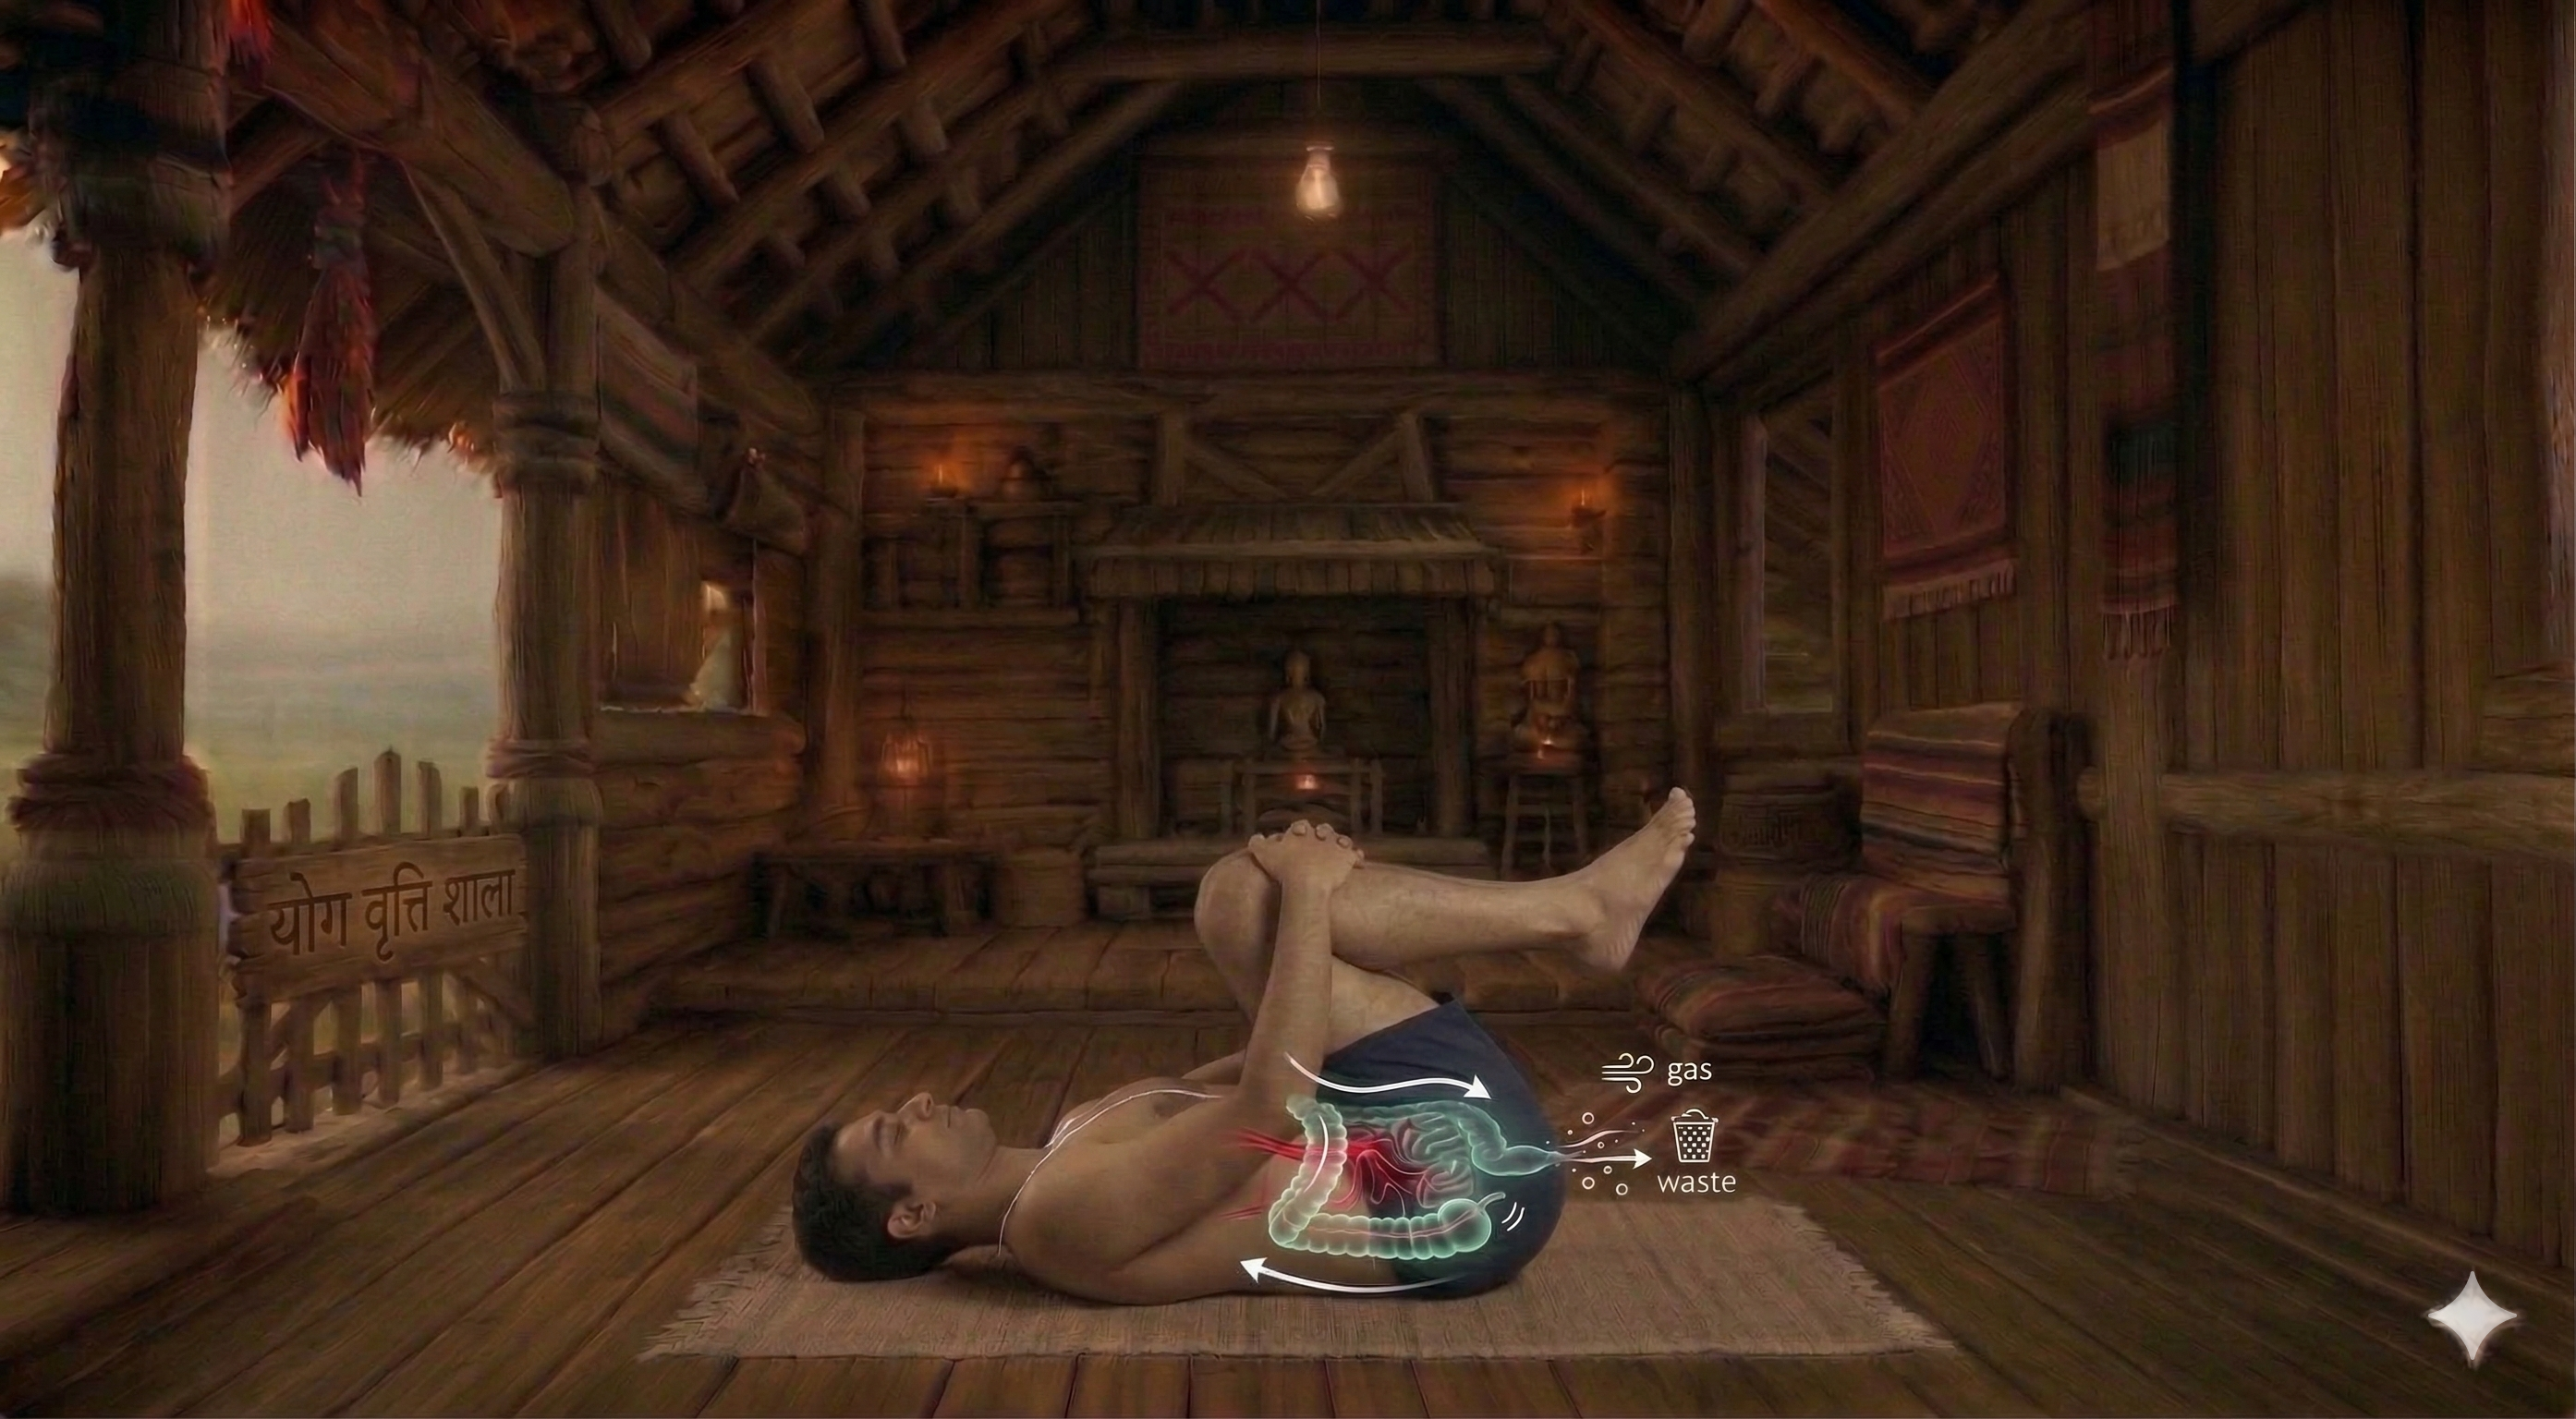
How to Practice
1. Begin in Adho Mukha Svanasana (Downward-Facing Dog). Inhale and shift your weight forward, bringing your shoulders directly over your wrists, entering Plank Pose (Phalakasana).
2. Press your palms firmly into the mat, spreading your fingers wide. Engage your quadriceps strongly, lifting your kneecaps and drawing your outer thighs in. Extend through your heels.
3. Exhale, and keeping your elbows hugged close to your sides, slowly lower your torso towards the floor. Your elbows should point straight back, not splay out.
4. Only lower until your shoulders are no lower than your elbows, and your upper arms are parallel to the floor. Your body should form a straight line from the crown of your head to your heels.
5. Draw your shoulder blades down your back and broaden across your collarbones. Keep your gaze slightly forward, not down.
4 more steps remaining
Register free to see the complete instructions
Register Free to ContinueAlready registered? Login
Frequently Asked Questions
Common questions about Four-Limbed Staff Pose
What is Four-Limbed Staff Pose?
Four-Limbed Staff Pose, also called Chaturanga is a classical yoga posture whose Sanskrit roots break down as: Chatur (Four) · Anga (Limbs) · Danda (Staff) · Asana (Pose). In this posture, the body engages the posterior chain against the gentle resistance of gravity. Strengthens arms, wrists, and shoulders. Tones the abdominal muscles and strengthens the core. Improves posture and builds full-body endurance. It is particularly valued for improving overall posture and building full-body strength. Suitable for intermediate practitioners with foundational yoga experience, it is an excellent warm-up, particularly beneficial for athletes and runners. A block and wall can be used to make the posture more accessible and support correct alignment. Practitioners with wrist injury and shoulder injury should approach with care or consult a qualified teacher.
What are the benefits of Four-Limbed Staff Pose?
Strengthens arms, wrists, and shoulders.. Tones the abdominal muscles and strengthens the core.. Improves posture and builds full-body endurance.. Develops mental focus and discipline.. Prepares the body for more advanced arm balances.. Strengthens the spine..
Who should avoid Four-Limbed Staff Pose?
Avoid this pose if you have: Wrist, elbow, or shoulder injuries., Lower back pain or spinal injuries if core is not engaged., Pregnancy (especially later trimesters without modification)., Carpal tunnel syndrome., High blood pressure (if not practiced with caution and stable breath)..
How many steps are in Four-Limbed Staff Pose?
Four-Limbed Staff Pose is practiced in 9 steps. Begin in Adho Mukha Svanasana (Downward-Facing Dog). Inhale and shift your weight forward, bringing your shoulders directly over your wrists, entering Plank Pose (Phalakasana).
Is Four-Limbed Staff Pose suitable for beginners?
Four-Limbed Staff Pose is an intermediate-level pose. Beginners should practice with props or under guidance.
What props are needed for Four-Limbed Staff Pose?
You may use: block, wall. Props make the pose more accessible and comfortable.
What conditions does Four-Limbed Staff Pose help with?
Four-Limbed Staff Pose is therapeutic for: posture correction, strength.
What poses should I do before Four-Limbed Staff Pose?
Prepare with: Adho Mukha Virasana (Child's Pose), Bhujangasana. These warm up the relevant muscles and joints.
Related Poses
Similar poses you might enjoy


Build Your Own Sequence
Combine Four-Limbed Staff Pose with other poses