Rabbit Pose
Sasangasana · शशाङ्गासन
Also known as: Sasangasana · Hare Pose
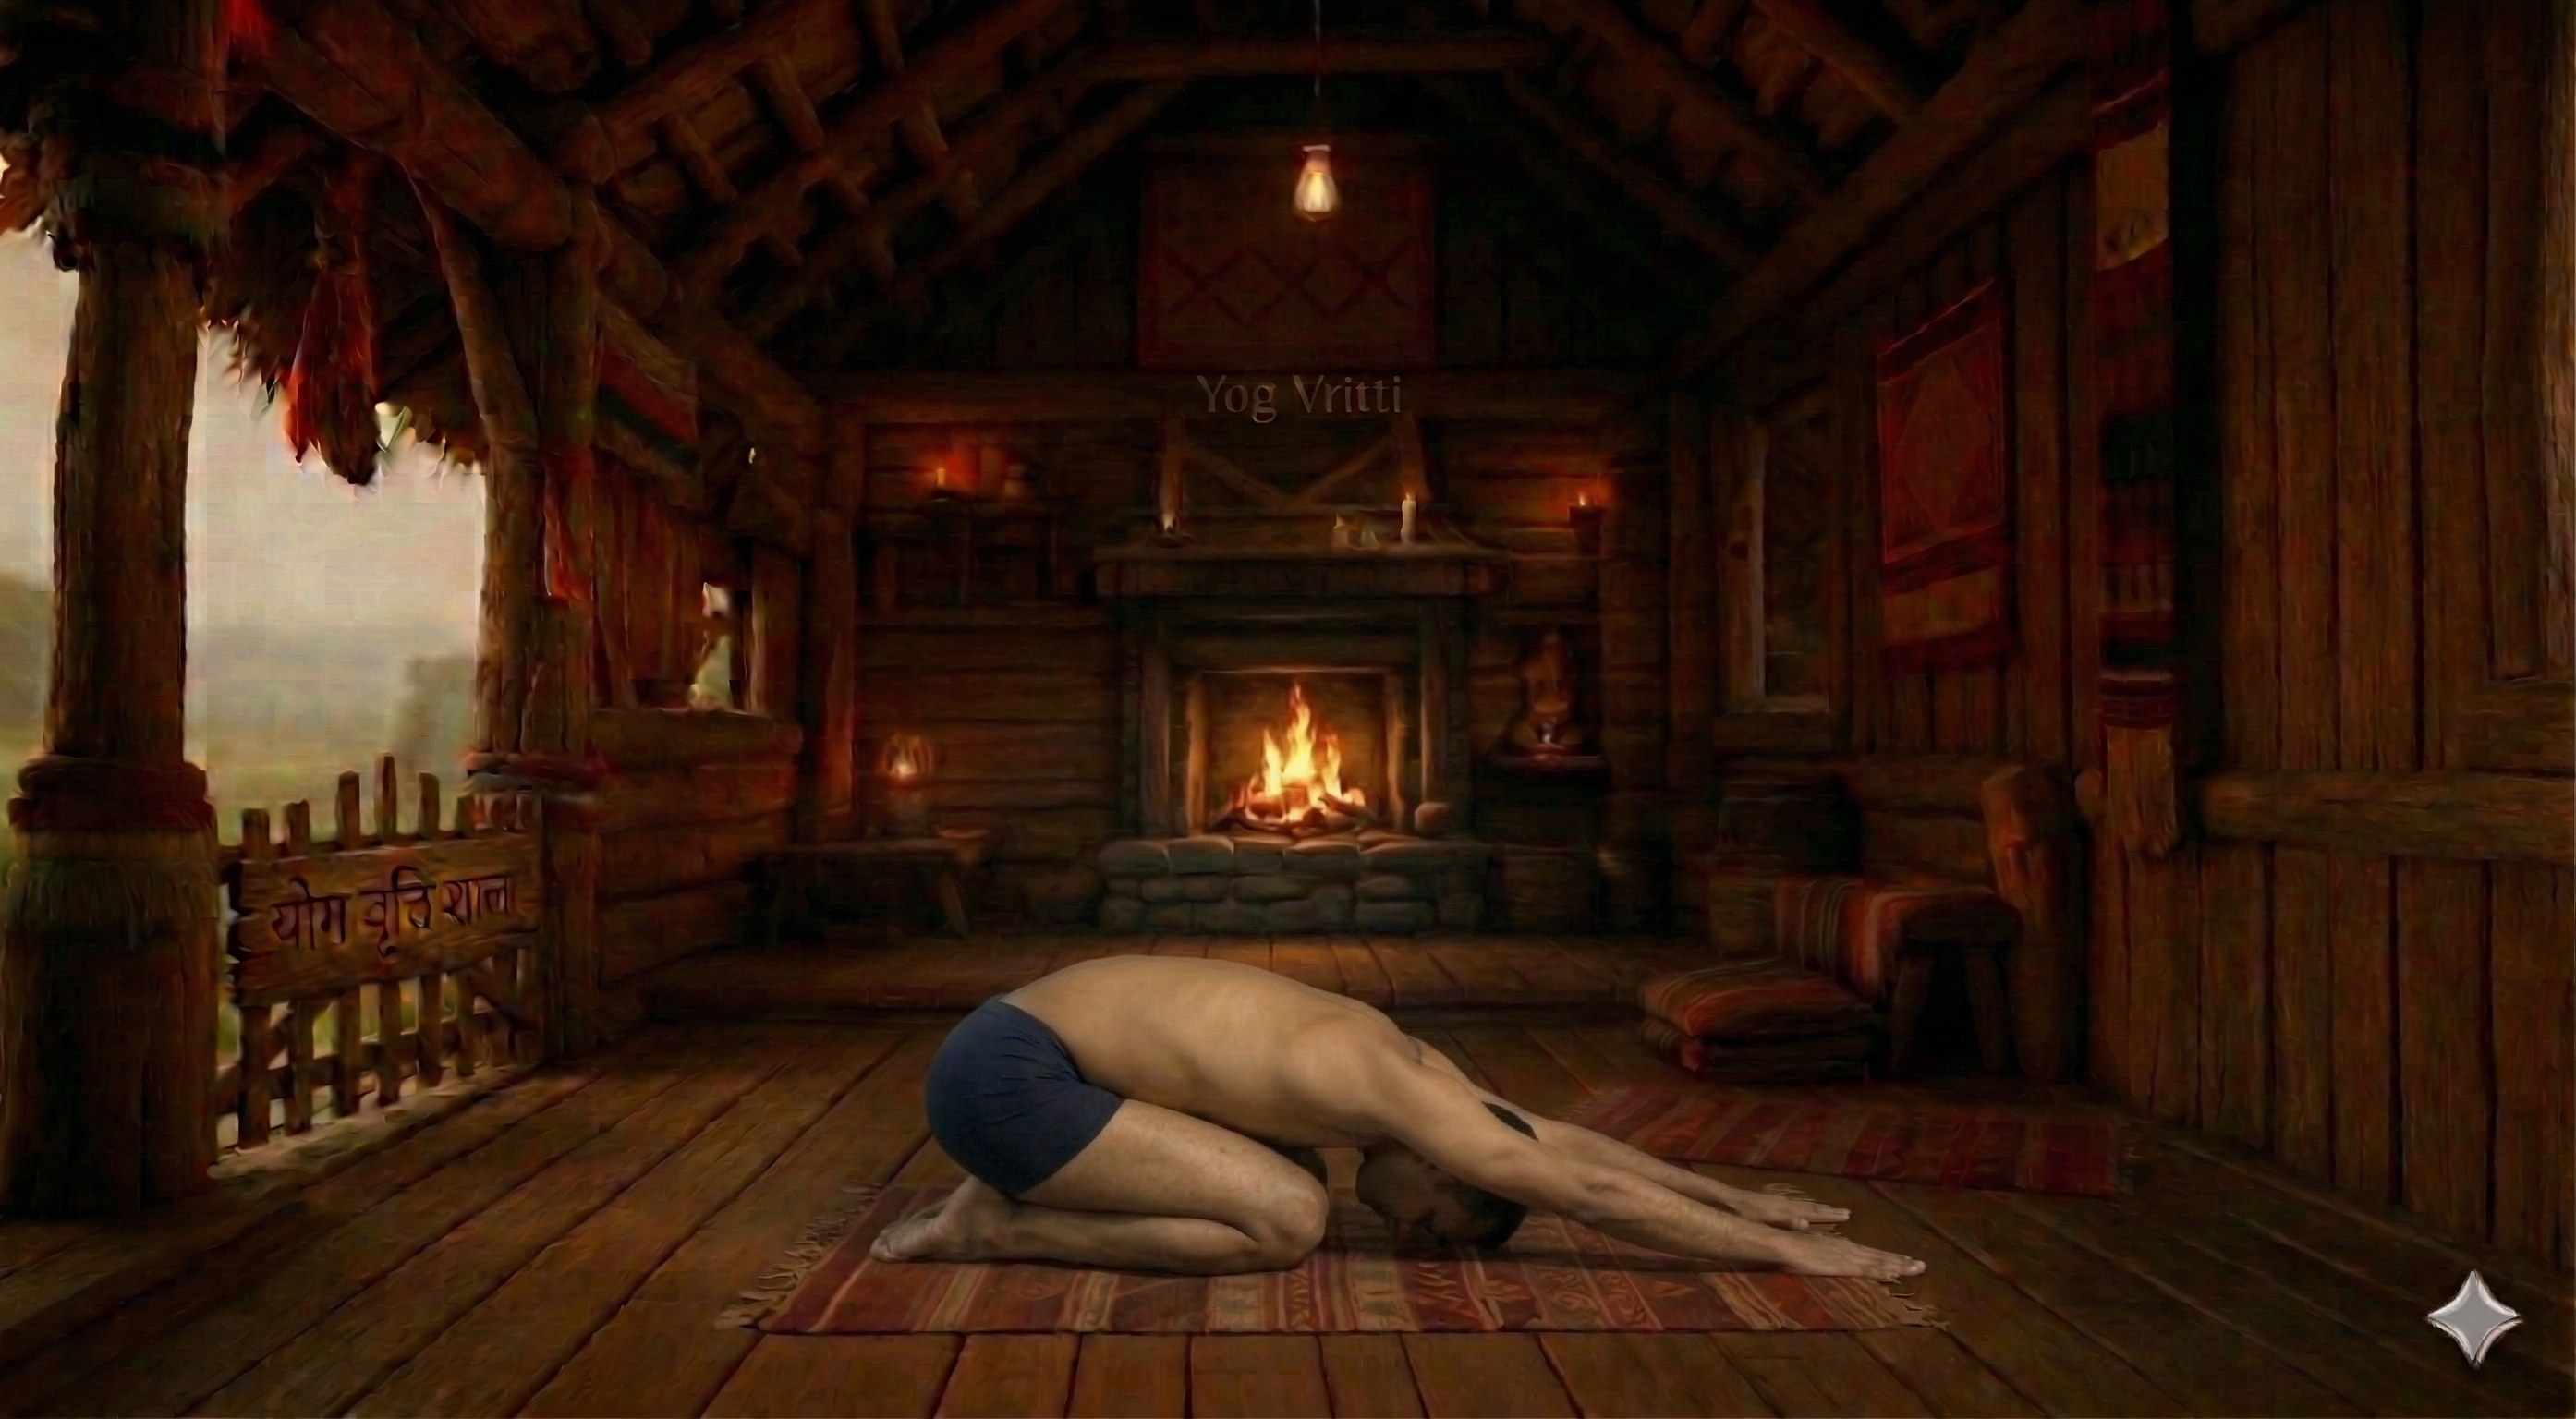
Rabbit Pose, also called Sasangasana is a classical yoga posture. Its Sanskrit name Sasangasana translates word-for-word as: Sasanga (Rabbit / Moon) · Asana (Pose). Beginning from a kneeling position, the practitioner aligns the body with precision and intentional breath. The posture works to open and strengthen the shoulders, strengthen and extend the back and lengthen the hamstrings. Stimulates the nervous system. Relieves stress and tension. Suitable for intermediate practitioners with foundational yoga experience, it is a calming cool-down, particularly beneficial for intermediate and desk workers. A blanket can be used to make the posture more accessible and support correct alignment. Practitioners with vertigo and glaucoma should approach with care or consult a qualified teacher.
Anatomy Involved
Benefits
Neck Extensors(lengthening)
The muscles at the back of your neck, which often hold chronic tension from daily activities or stress, experience a gentle but sustained lengthening in Sasangasana. As the crown of the head rests on the mat and the hips lift, a subtle traction is created along the cervical spine, encouraging these muscles to release their grip. This physical unwinding allows for a feeling of lightness and freedom in the head and neck, directly impacting the flow of prana to the brain and fostering mental clarity.
Shoulder Girdle Stabilizers(stabilizing)
While the arms are reaching back to hold the heels, the muscles that stabilize your shoulder blades are subtly engaged to create a broadness across the upper back. This action helps to prevent collapsing into the neck and shoulders, encouraging a lift in the chest even in a forward bend. This intelligent engagement helps to release deep knots of tension often accumulated around the shoulder blades, allowing for a more expansive and free breath in the upper chest, opening the anahata chakra.
Spinal Erector Muscles(lengthening)
The long muscles that run vertically along either side of your spine, from the sacrum all the way up to the skull, are gently stretched and elongated in this pose. As you round forward and lift the hips, a continuous line of traction is created, promoting space between the vertebral bodies. This sustained stretch helps to decompress the spinal column, encouraging the flow of cerebrospinal fluid and relieving stiffness, which in turn facilitates the upward movement of kundalini shakti.
- Full anatomical benefits — muscles, joints, organs →
Avoid If
High Blood Pressure
Vigorous effort and inverted positions temporarily raise blood pressure in the head, increasing strain on blood vessels.
Avoid this inversion entirely or keep the head above heart level at all times; never hold the breath.
Neck Injury / Cervical Issues
Looking up, bearing head weight, or unsupported neck rotation can compress cervical vertebrae and irritate nerves.
Avoid all weight-bearing on the head and neck; practise supported Setu Bandha or legs-up-the-wall instead.
Glaucoma / Eye Pressure
Inverted and head-below-heart positions increase intraocular pressure, which can be harmful for those with elevated eye pressure.
Avoid this inversion entirely; practise Viparita Karani (legs-up-the-wall) with a bolster under the hips as an alternative.
Vertigo / Dizziness
Rapid head movements and changes in head position can trigger dizziness and increase the risk of losing balance.
Avoid this inversion entirely; lie in Savasana or Viparita Karani with head elevated if relaxation is the goal.
Props That Can Help
Optional supports — use when helpful, not required
Folded Blanket
Stack two to three firm blankets under the shoulders in Shoulderstand to protect the cervical spine — this is not optional but essential for safety.
Common Mistakes to Avoid
Teaching Cues
For yoga teachers — verbal cues to guide students
7 cues
Teaching Cues
For yoga teachers — verbal cues to guide students
- 1Place padding under the knees if needed for comfort
- 2Align the hips directly above or behind the knees
- 3Keep the spine long and the chest lifted
- 4Press the tops of the feet or toes firmly into the floor
- 5Engage the core to support the lower back
- 6Hinge from the hips, leading with the chest
- 7Surrender the weight of the body to the props and the floor
Pose Details
Pose Type
Body Focus
Focus Areas
Best For
Yoga Styles
When to Practice
Position
Target Areas
Practice Flow
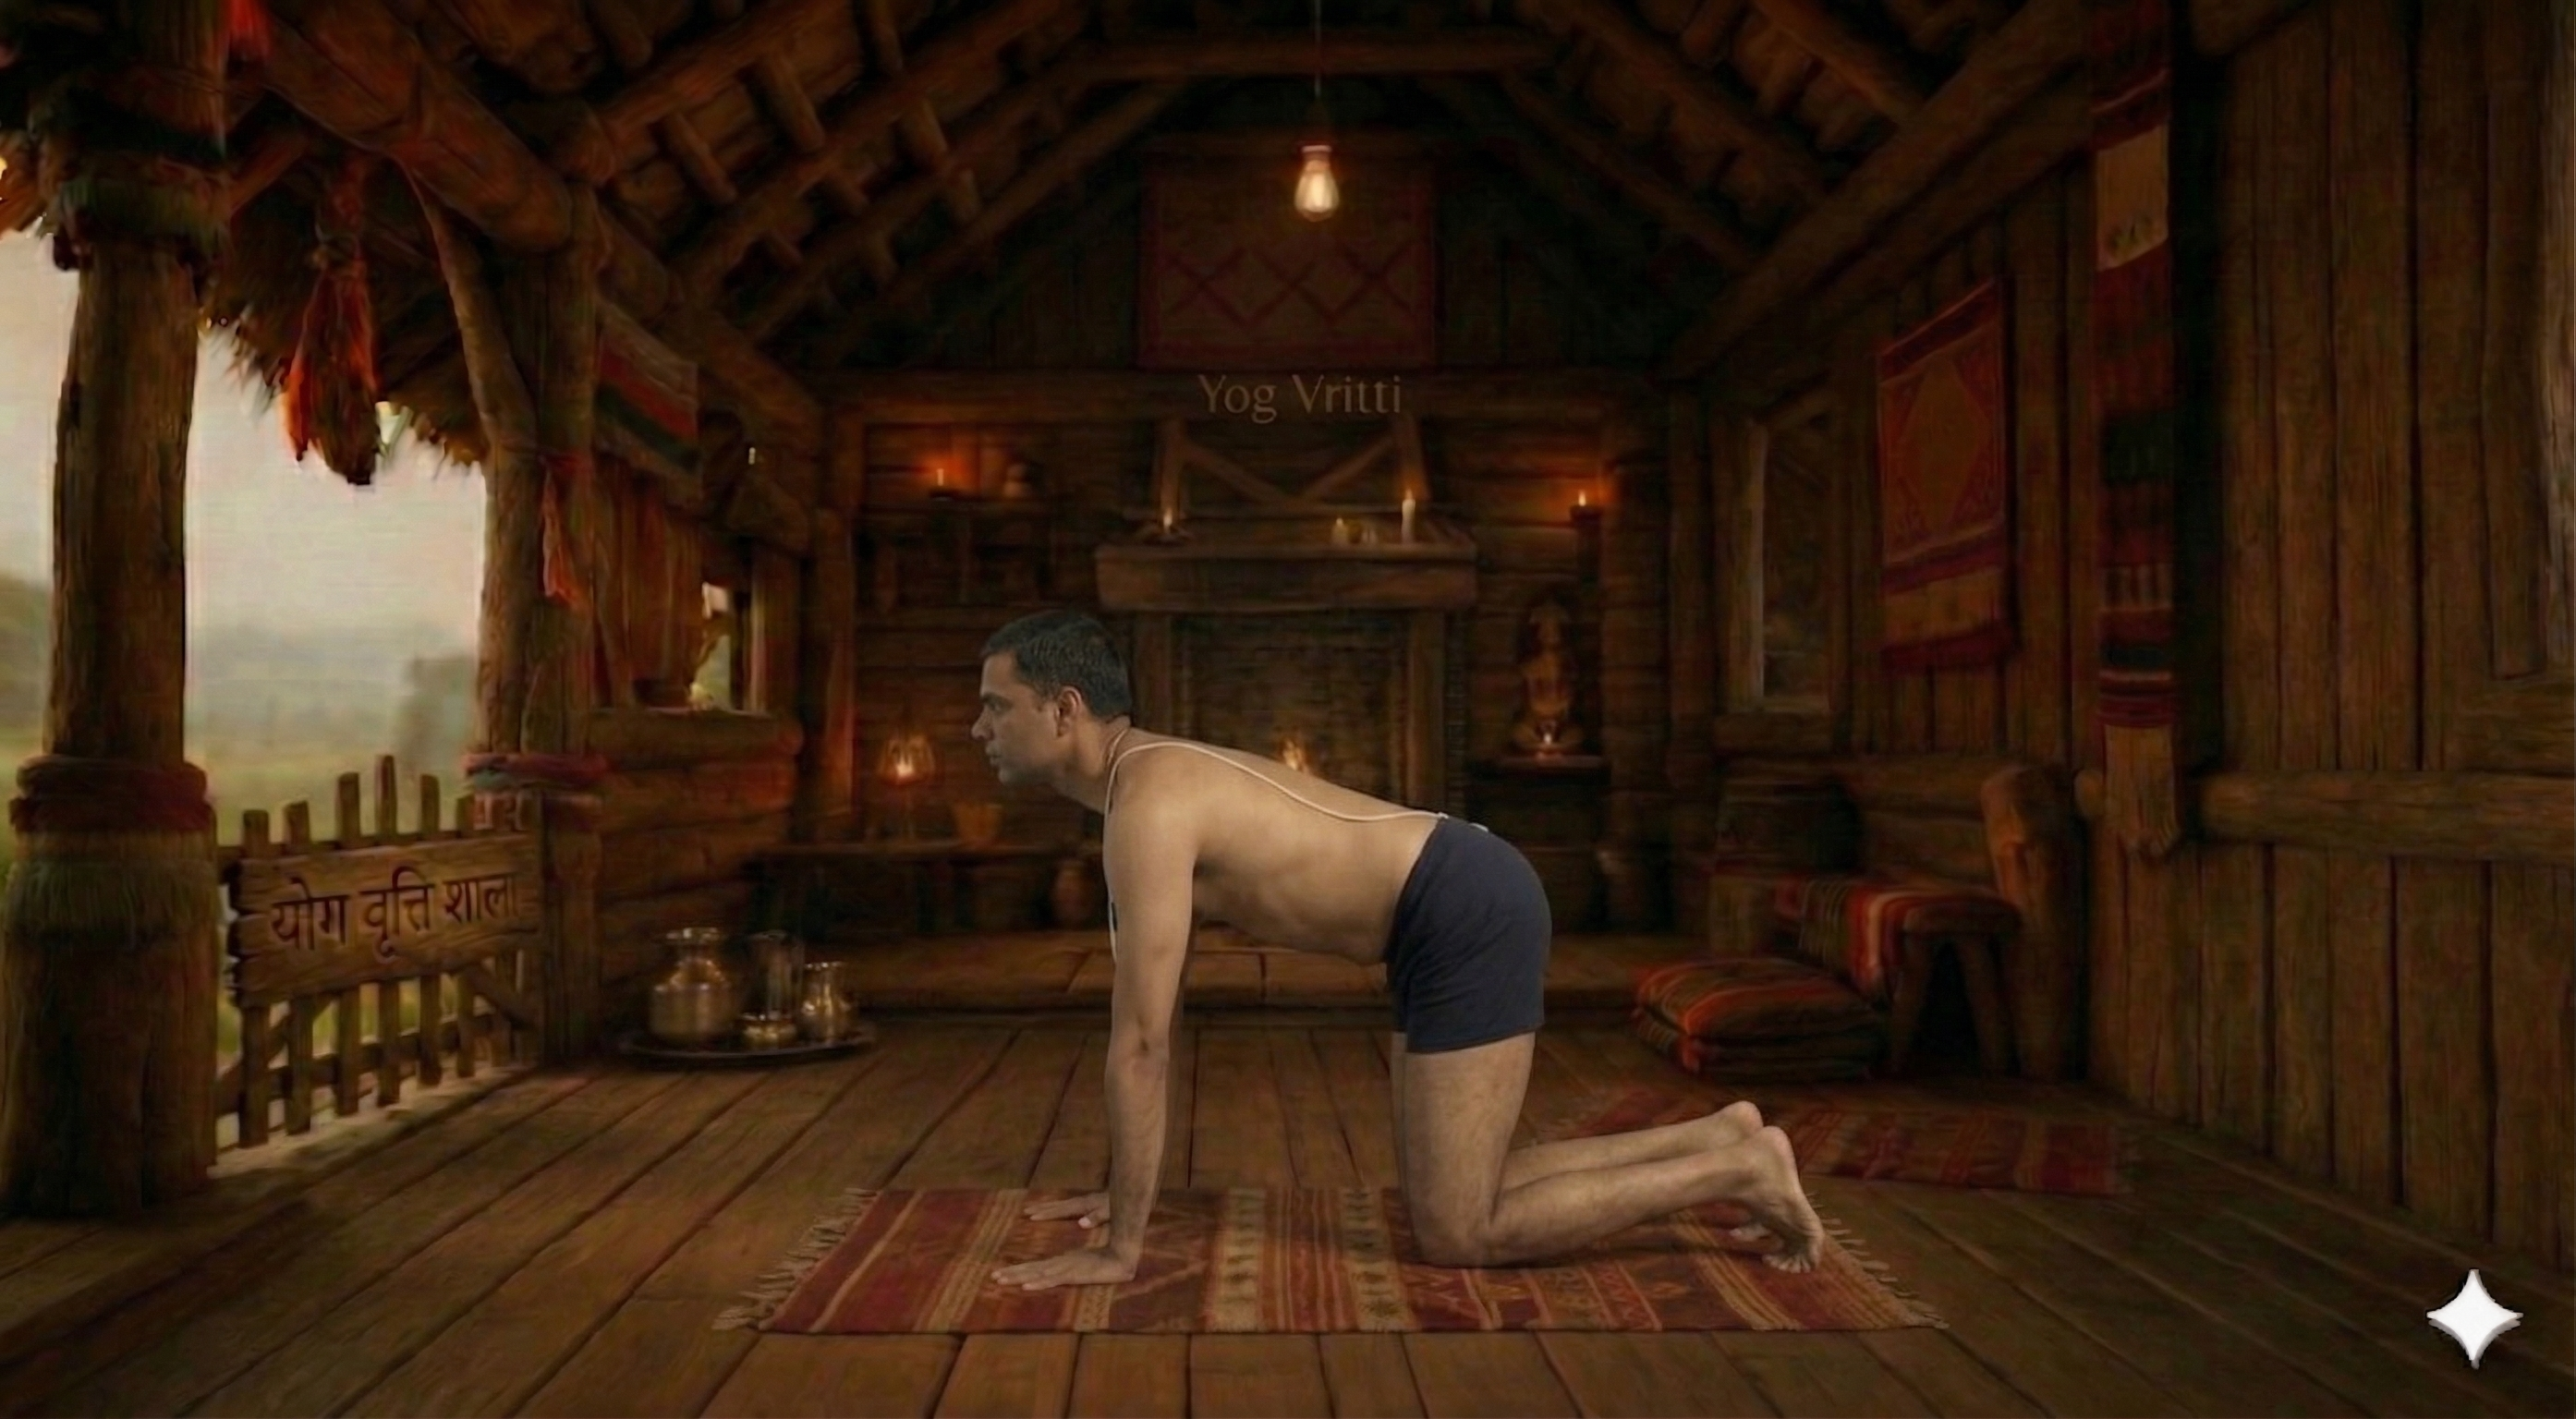
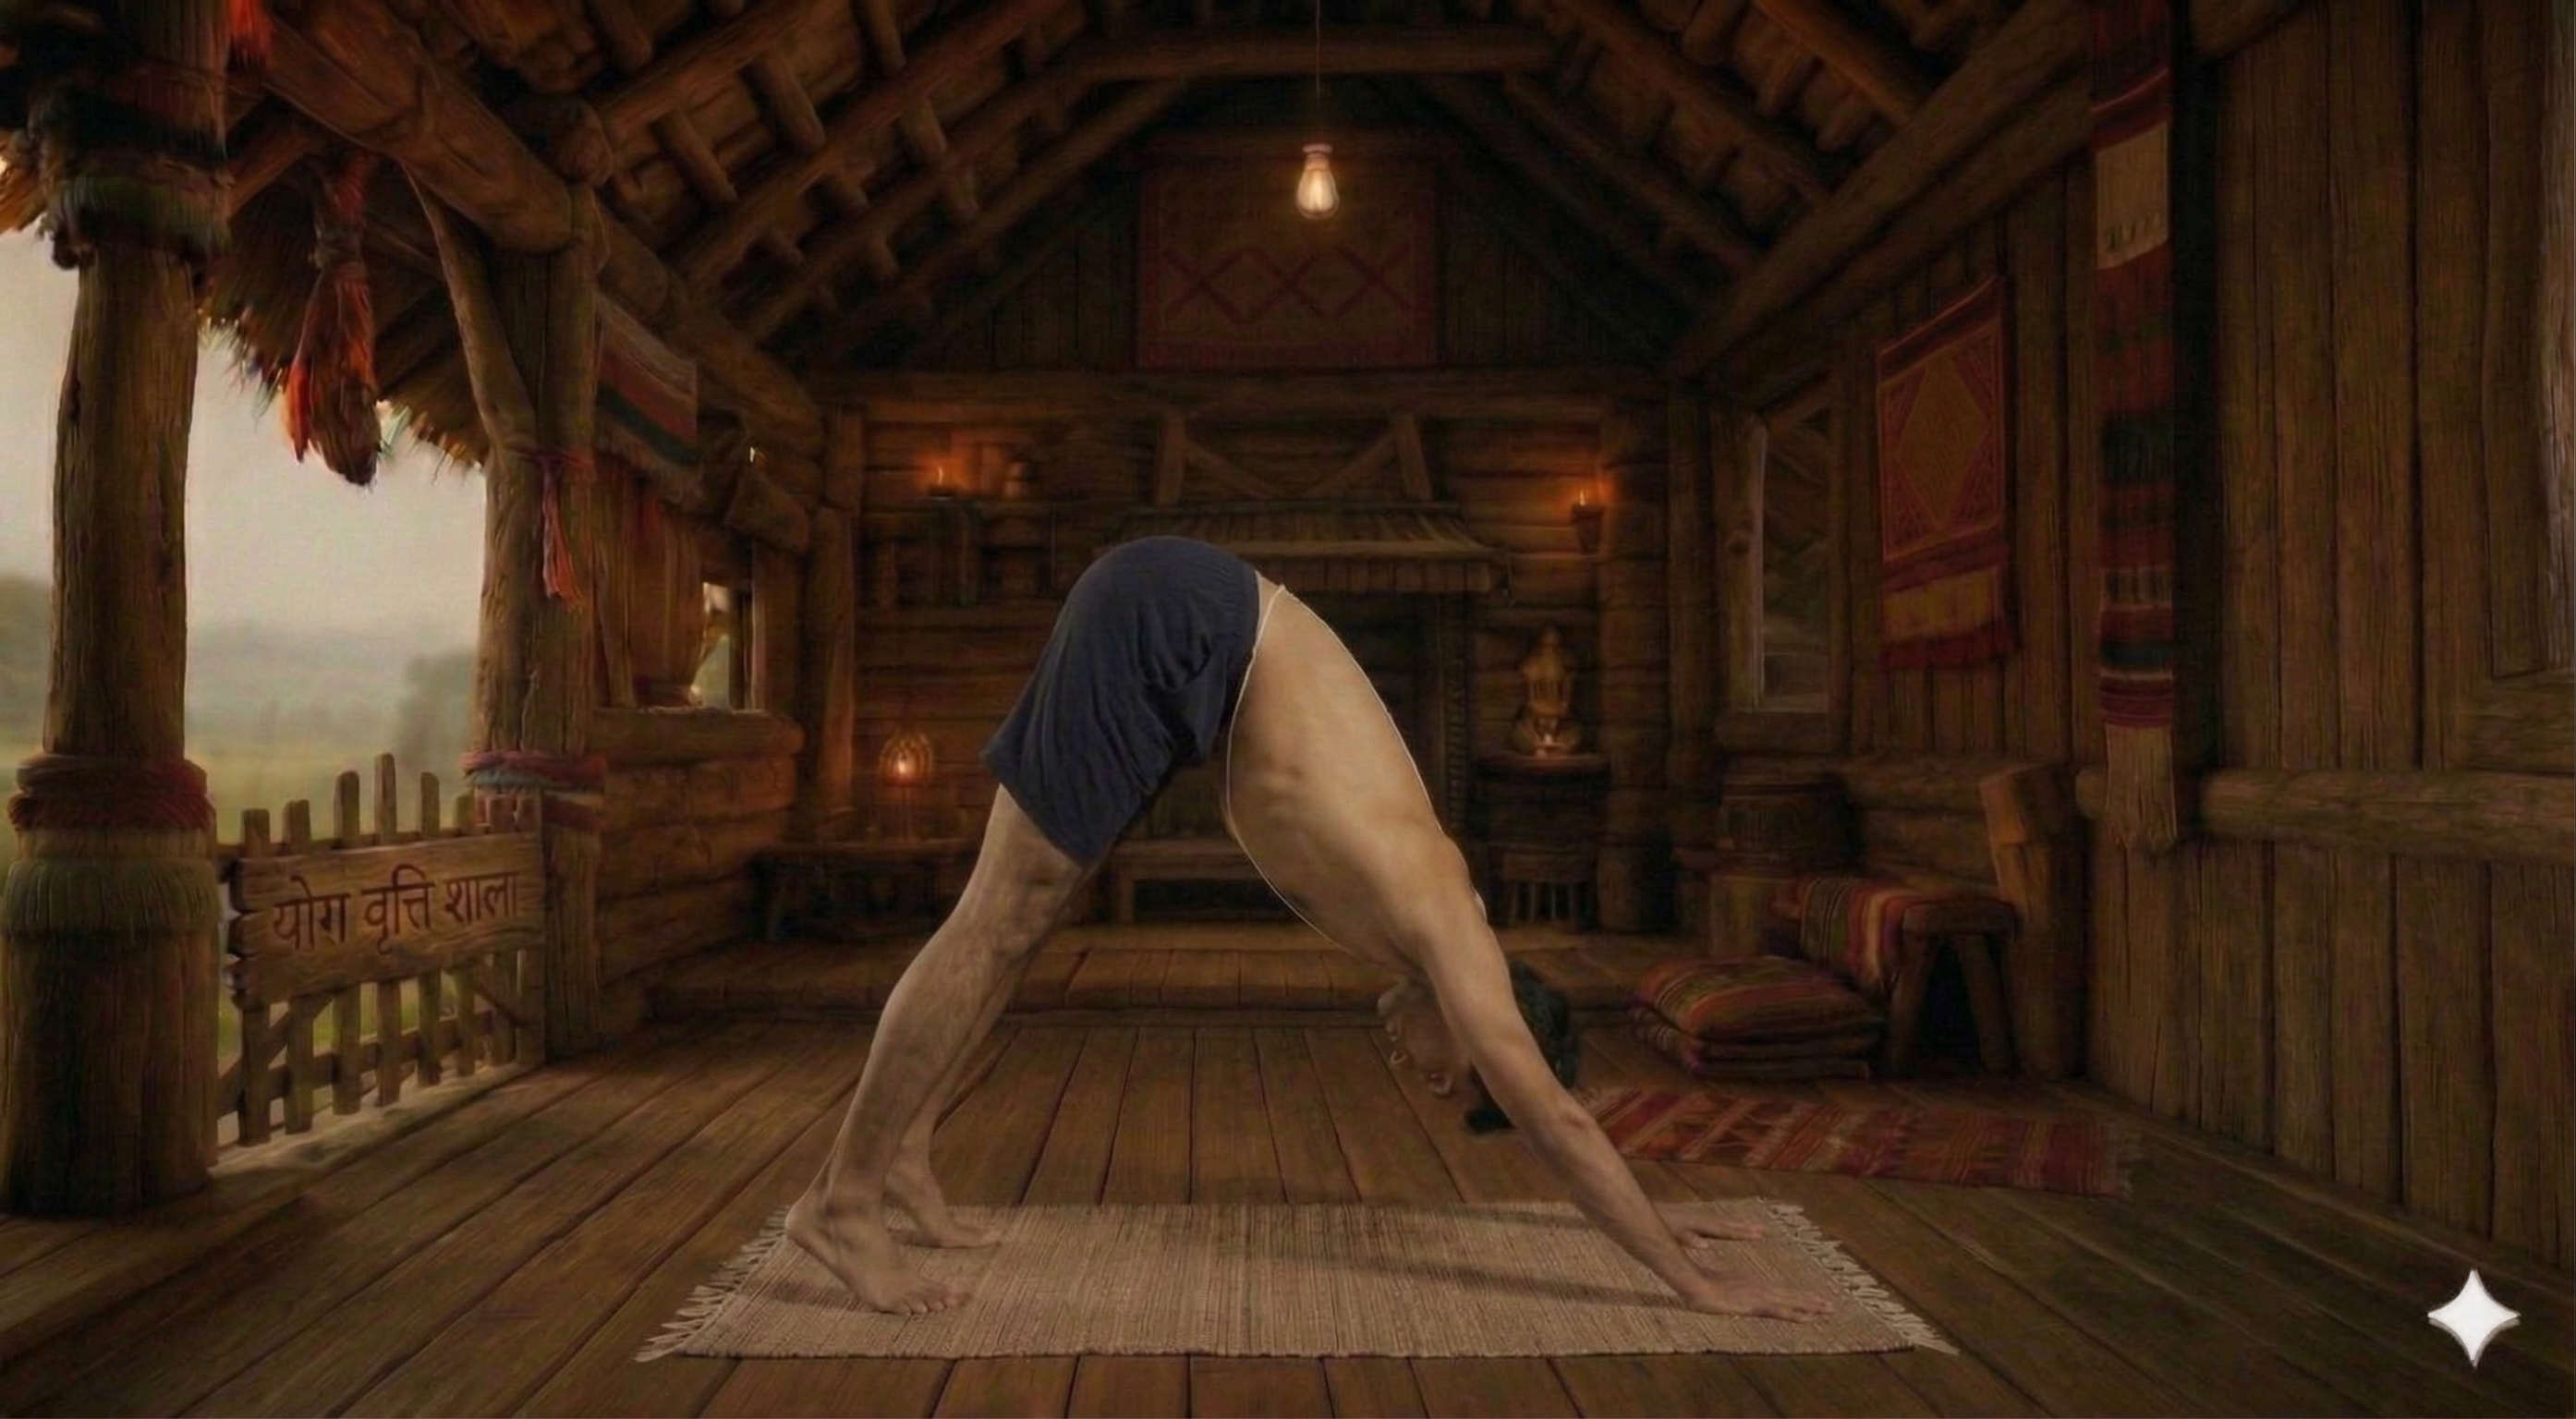
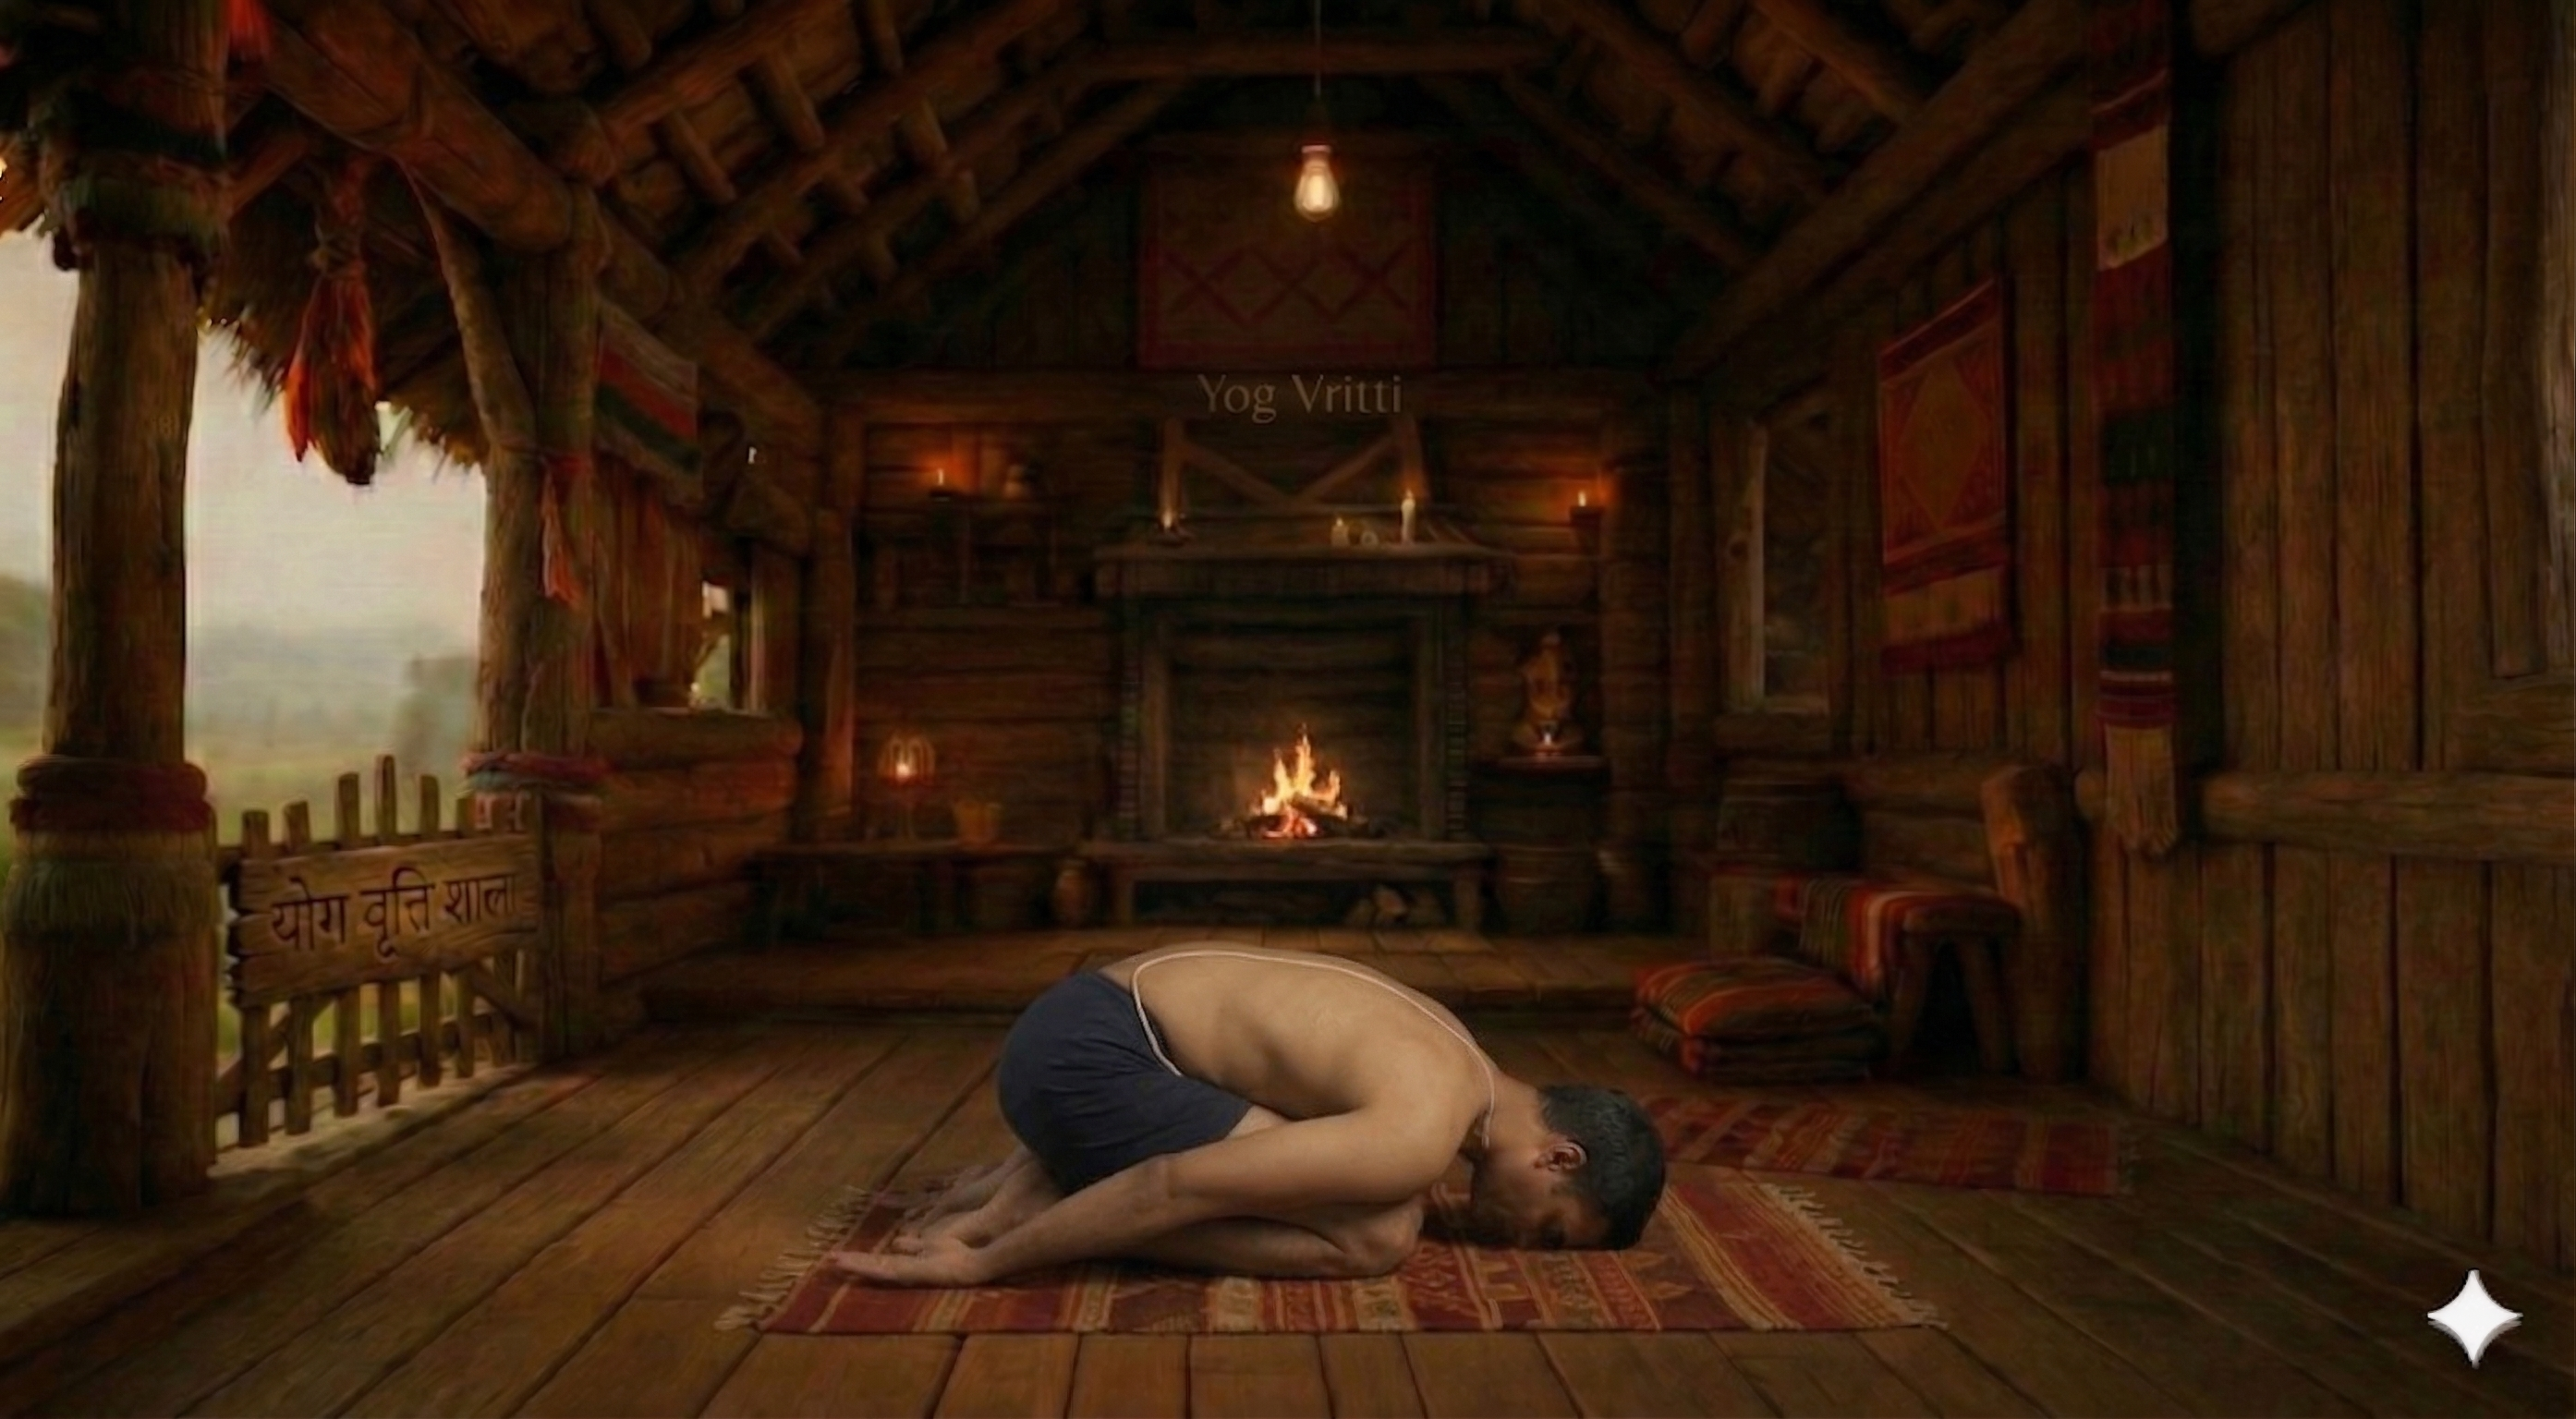
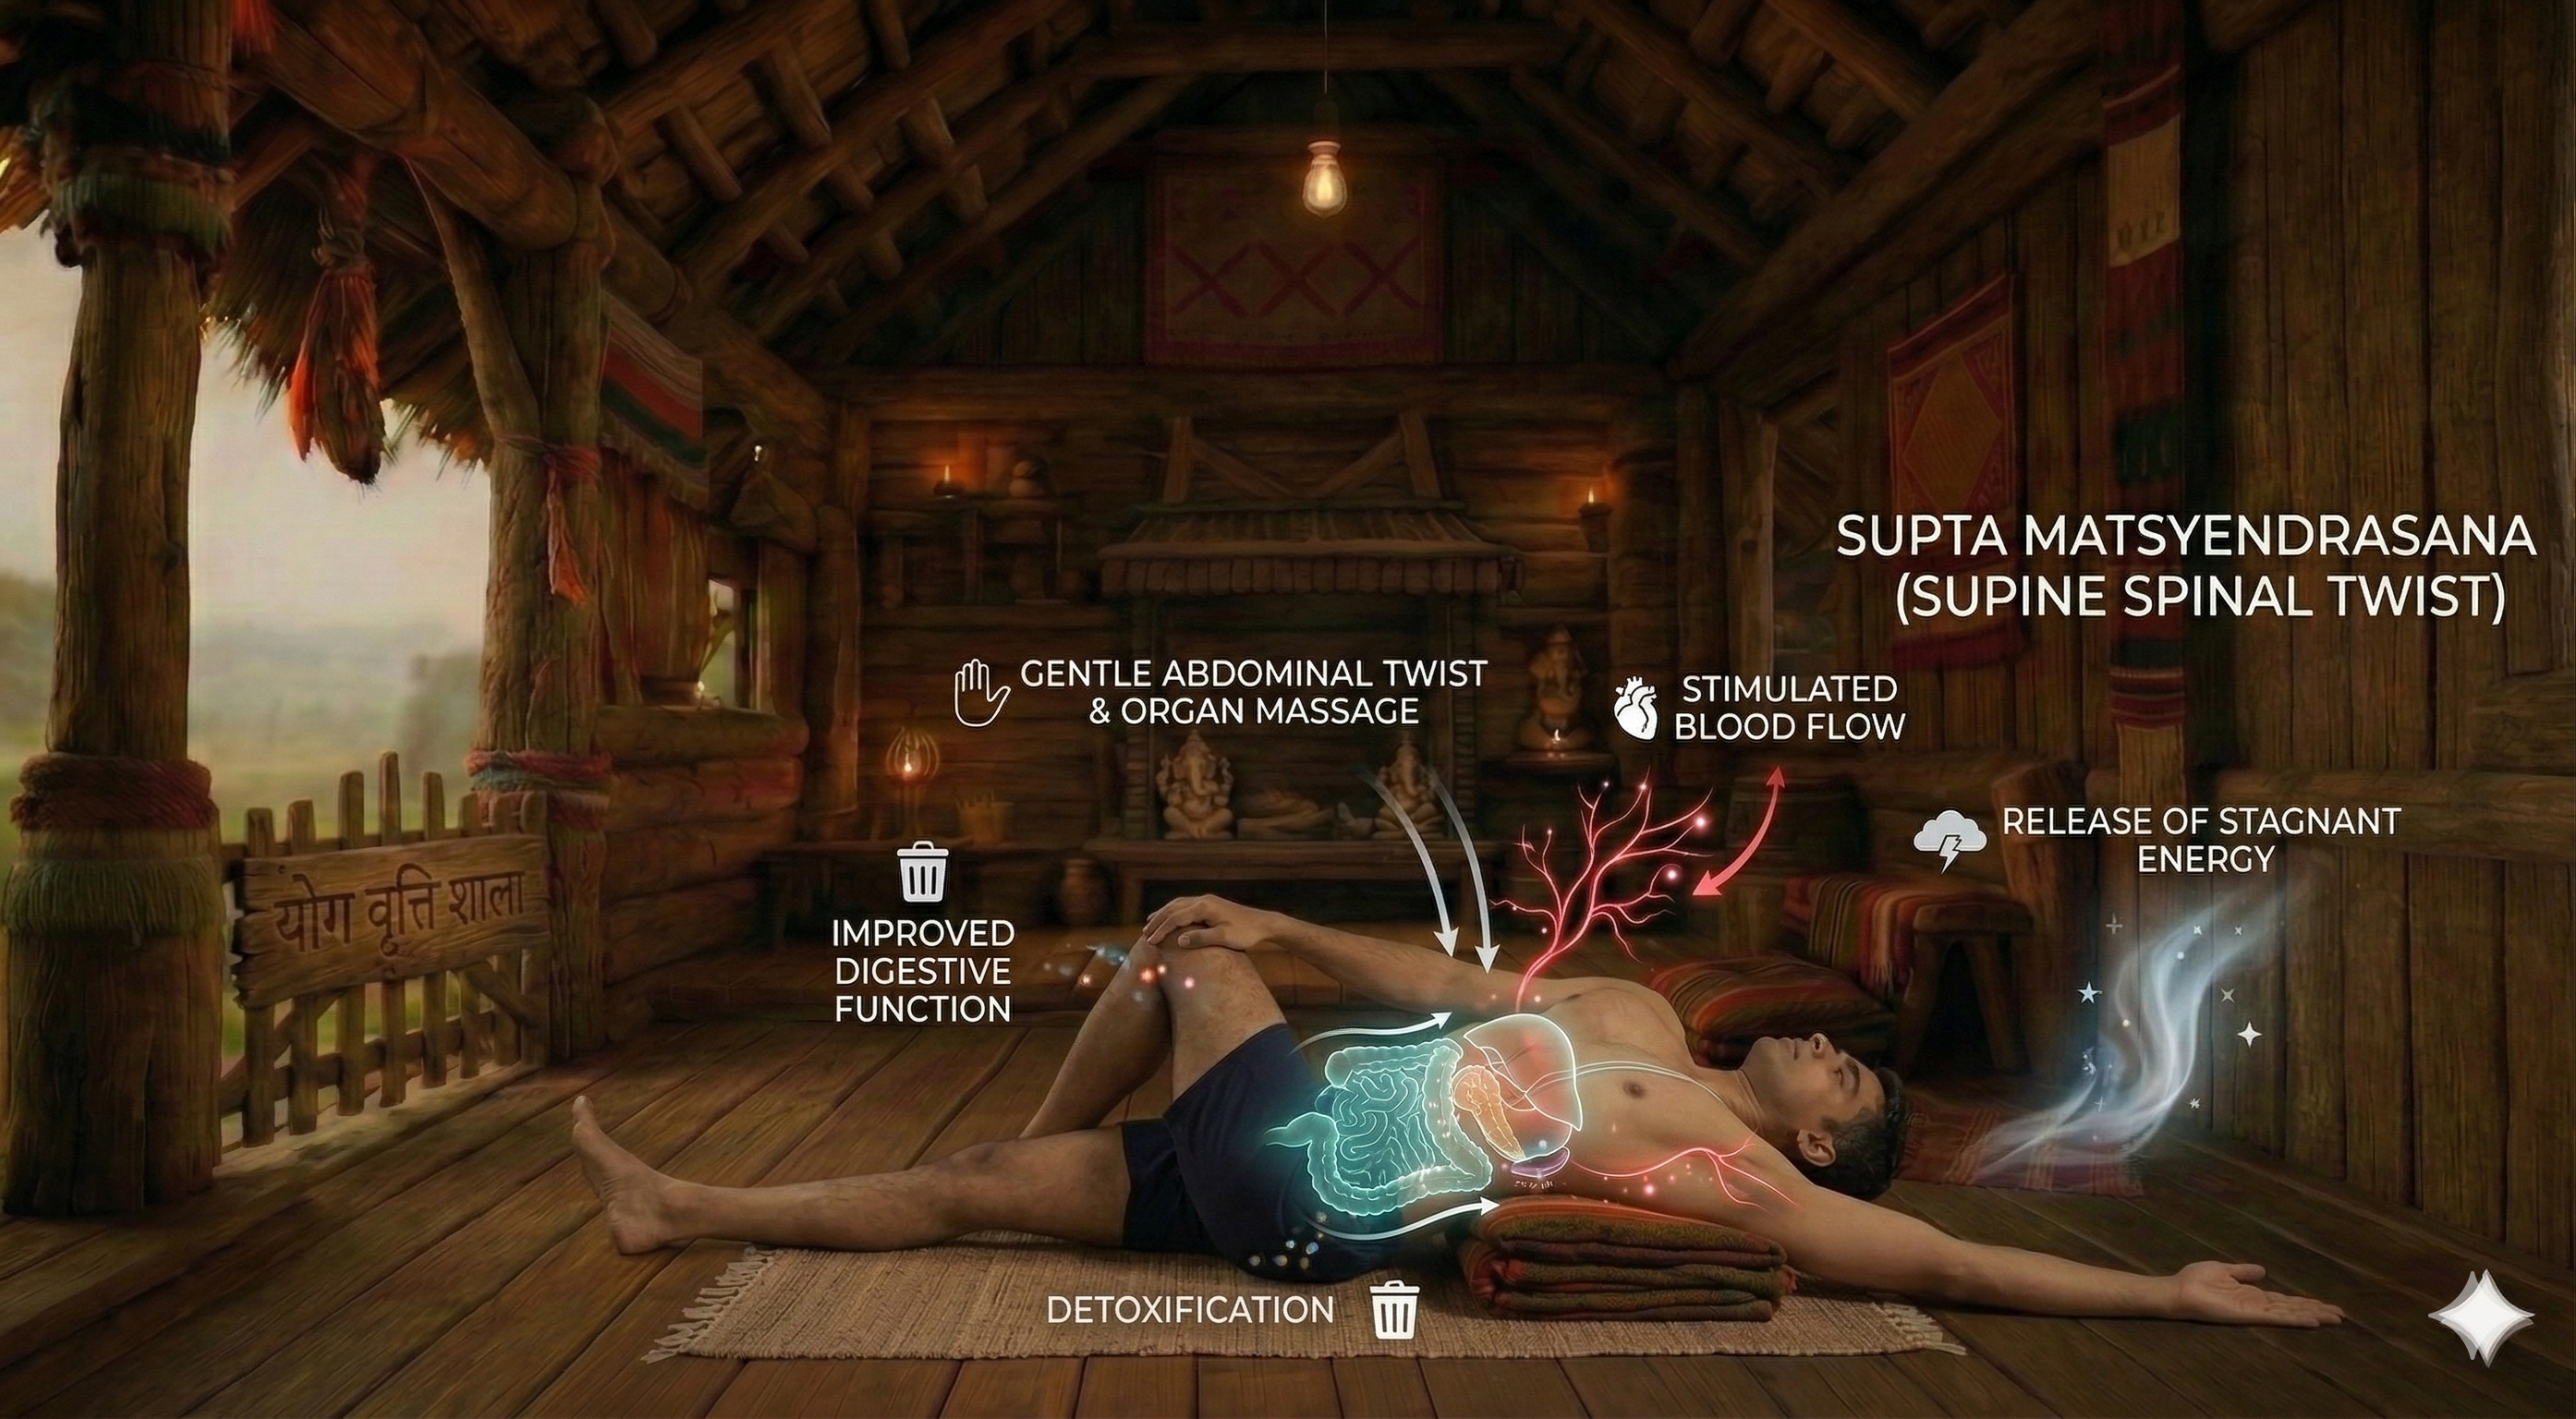
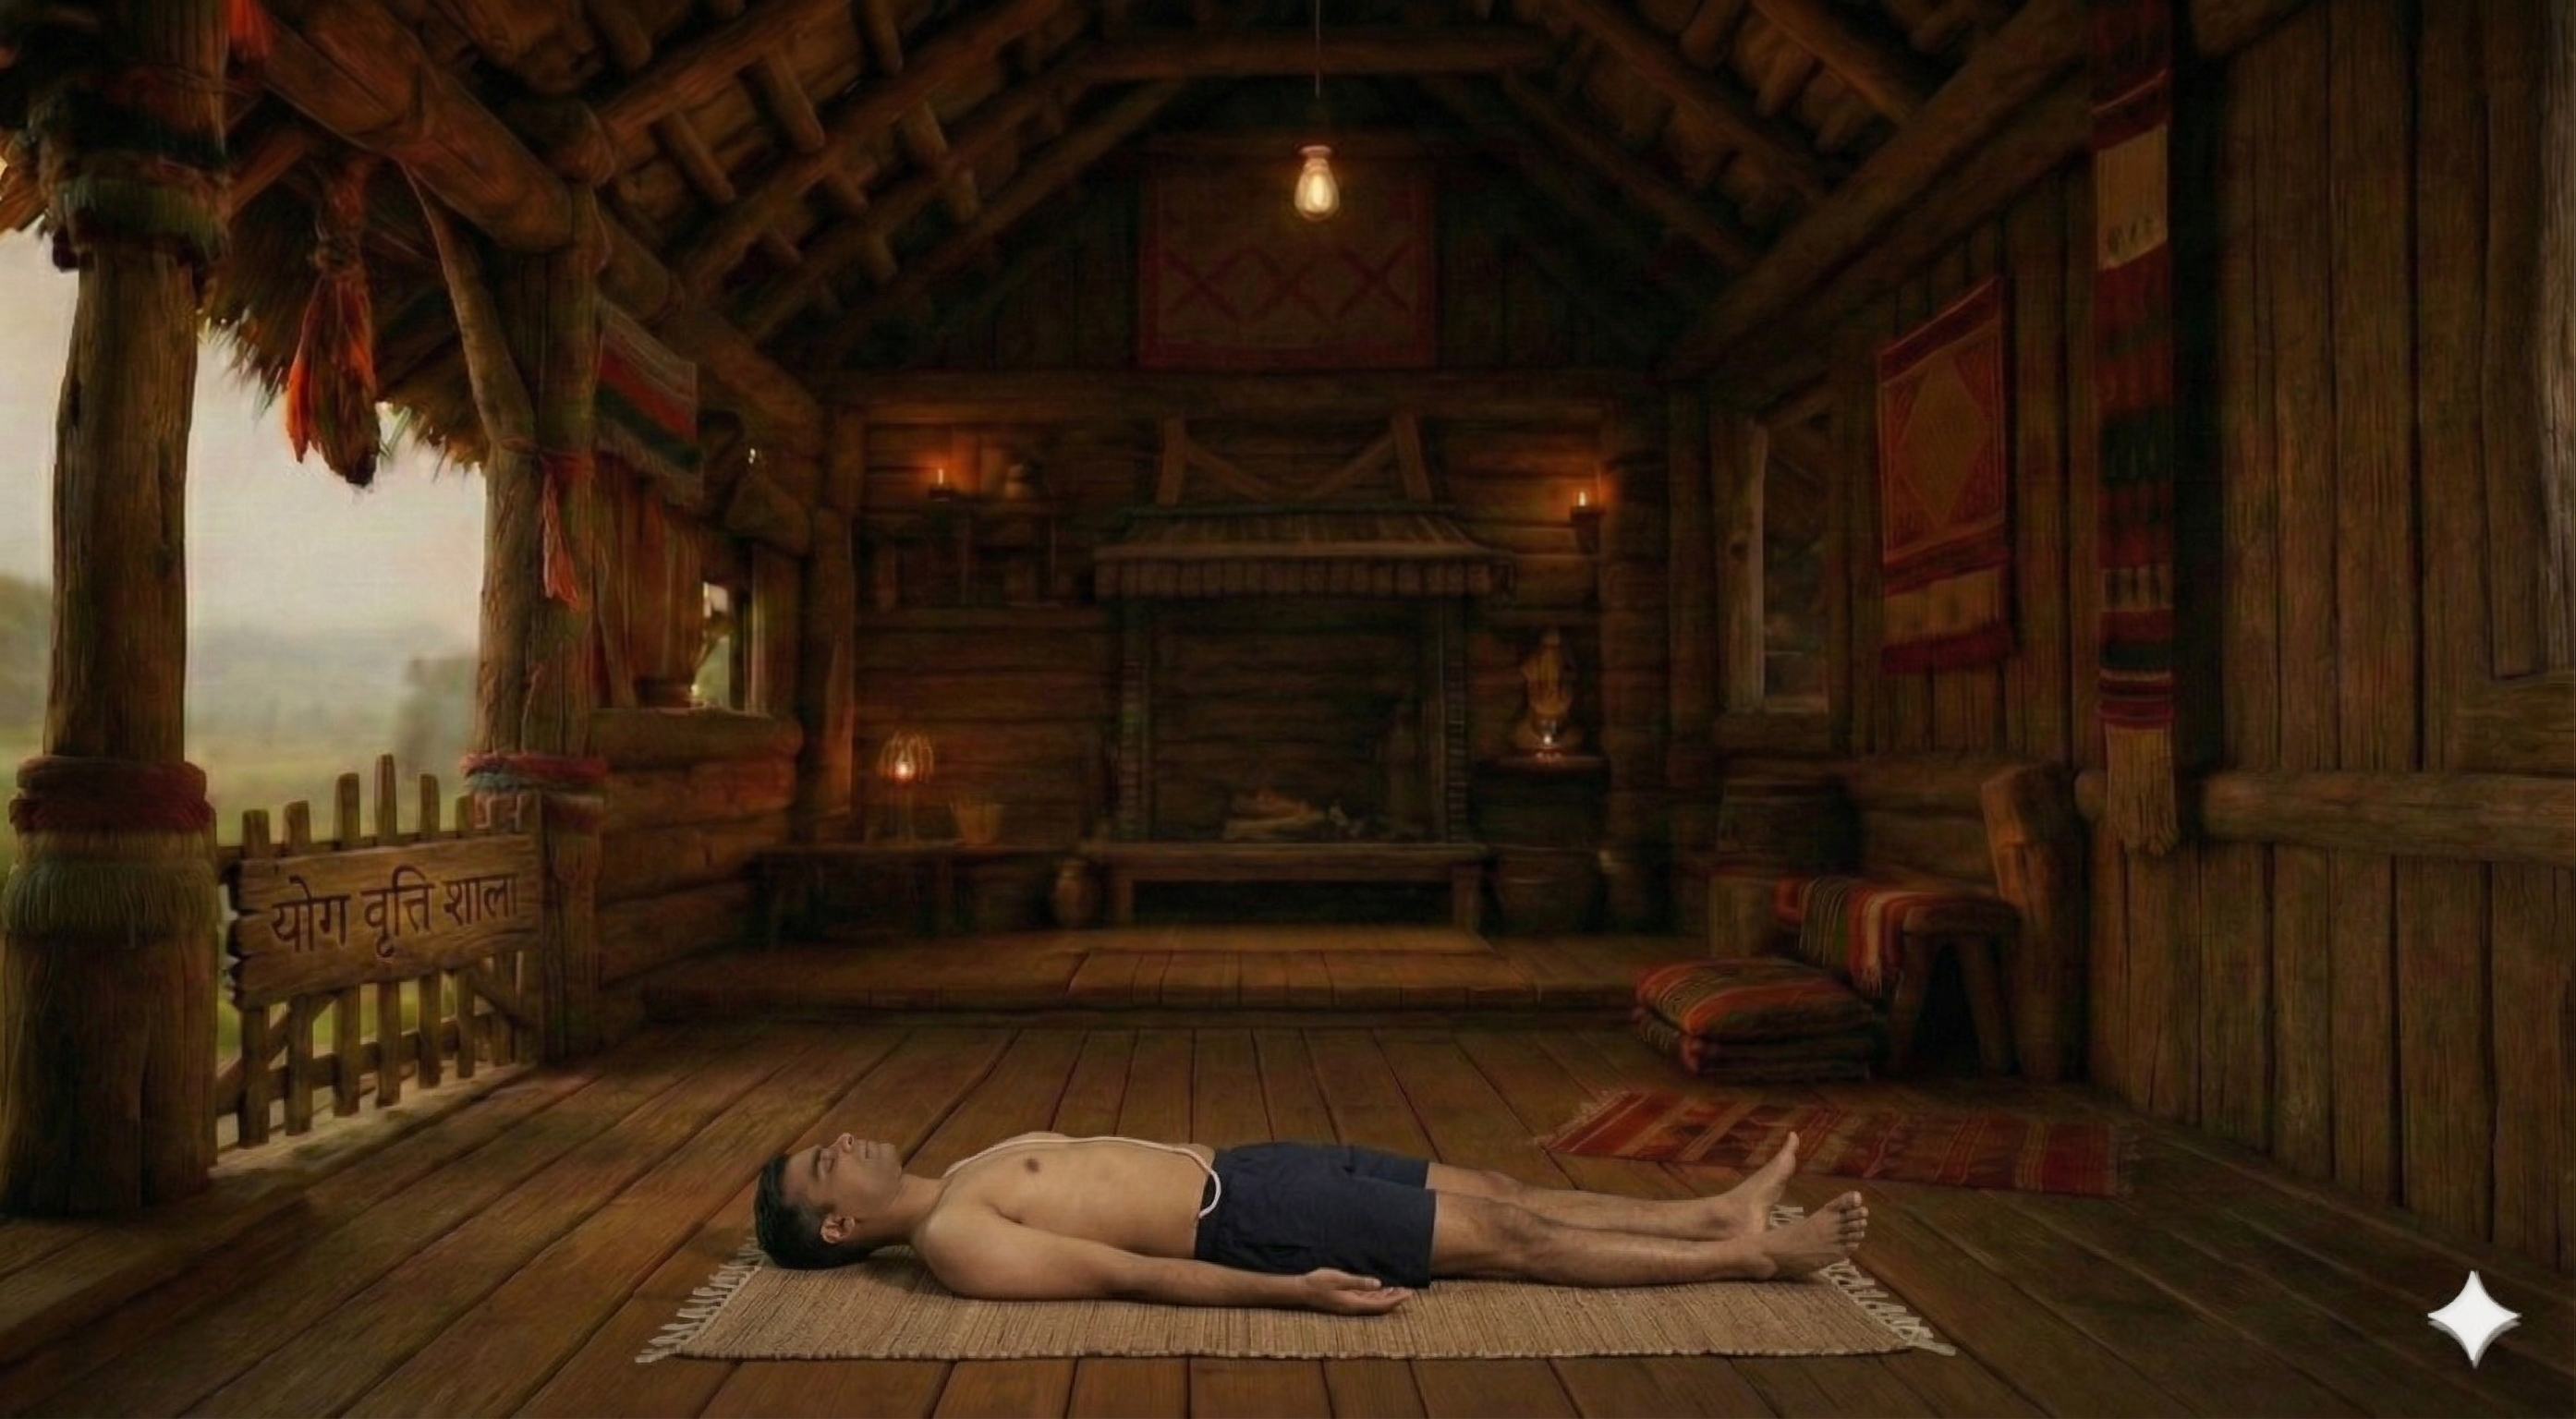
How to Practice
1. Begin in Vajrasana.
2. Inhale and raise your arms overhead, lengthening the spine.
3. Exhale and fold forward, bringing your chest towards your thighs.
4. Rest your forehead on the floor, relaxing your neck.
5. Extend your arms forward, palms on the floor, or if possible, clasp your hands behind your back, drawing the shoulders forward.
6 more steps remaining
Register free to see the complete instructions
Register Free to ContinueAlready registered? Login
Frequently Asked Questions
Common questions about Sasangasana
What is Rabbit Pose?
Rabbit Pose, also called Sasangasana is a classical yoga posture. Its Sanskrit name Sasangasana translates word-for-word as: Sasanga (Rabbit / Moon) · Asana (Pose). Beginning from a kneeling position, the practitioner aligns the body with precision and intentional breath. The posture works to open and strengthen the shoulders, strengthen and extend the back and lengthen the hamstrings. Stimulates the nervous system. Relieves stress and tension. Suitable for intermediate practitioners with foundational yoga experience, it is a calming cool-down, particularly beneficial for intermediate and desk workers. A blanket can be used to make the posture more accessible and support correct alignment. Practitioners with vertigo and glaucoma should approach with care or consult a qualified teacher.
What are the benefits of Rabbit Pose?
Stretches the spine. Stimulates the nervous system. Relieves stress and tension. Calms the mind. Improves circulation to the head.
Who should avoid Rabbit Pose?
Avoid this pose if you have: High blood pressure, Neck injuries, Glaucoma, Vertigo.
How many steps are in Rabbit Pose?
Rabbit Pose is practiced in 11 steps. Begin in Vajrasana.
Is Rabbit Pose suitable for beginners?
Rabbit Pose is an intermediate-level pose. Beginners should practice with props or under guidance.
What props are needed for Rabbit Pose?
You may use: blanket. Props make the pose more accessible and comfortable.
What poses should I do before Rabbit Pose?
Prepare with: Bharmanasana (Table top pose), Virasana, Adho Mukha Svanasana. These warm up the relevant muscles and joints.
Related Poses
Similar poses you might enjoy
Build Your Own Sequence
Combine Sasangasana with other poses