Revolved Head-to-Knee Pose in Chair
Parivrtta Janu Sirsasana (Chair) · परिवृत्त जानु शीर्षासन (कुर्सी)
Also known as: Chair Janu Sirsasana Twist
Revolved Head-to-Knee Pose in Chair, also called Chair Janu Sirsasana Twist is a classical yoga posture. Its Sanskrit name Parivrtta Janu Sirsasana (Chair) translates word-for-word as: Parivrtta (Revolved) · Janu (Knee) · Sirsa (Head) · Asana (Pose in Chair). Seated on the mat, the practitioner rotates the spine, creating space between each vertebra. The posture works to lengthen the hamstrings, strengthen and extend the back and release tension in the hips. Stretches the hamstrings. Gently rotates the spine. It is particularly valued for developing greater flexibility and alleviating back discomfort. Suitable for beginners and regular practitioners alike, it is a calming cool-down, particularly beneficial for seniors and beginners. A chair can be used to make the posture more accessible and support correct alignment. Practitioners with spinal injury and abdominal surgery should approach with care or consult a qualified teacher.
Anatomy Involved
Benefits
Hamstrings(lengthening)
The prominent muscles at the back of your extended thigh (hamstrings) receive a sustained, intelligent lengthening here, rather than an aggressive pull. By maintaining a stable pelvic base on the chair and reaching with awareness, you encourage these muscles to gradually release chronic tension, which often restricts hip flexion and can contribute to lower back discomfort. Yogically, this release in the posterior chain helps to ground apana vayu, bringing a sense of stability and ease to the pelvic floor and lower extremities, improving overall leg flexibility.
Obliques(lengthening | activating)
The diagonal muscles along your side waist (obliques) on the side bending over are extensively lengthened, while those on the opposite side are gently engaged to support the twist and lateral flexion. This dual action helps to decompress the abdominal cavity and improve the elasticity of the trunk muscles, enhancing their ability to stabilize the spine. From a yogic perspective, this creates space in the side body, allowing for a freer flow of prana through the manipura chakra region, fostering vitality and digestive health.
Quadratus Lumborum(lengthening)
This deep muscle in your lower back, connecting your ribs to your pelvis (quadratus lumborum), experiences a significant lengthening on the side of the lateral bend. Chronic tightness in this area is a common source of lower back pain and stiffness, restricting spinal movement. By gently stretching this muscle, we create more space in the lumbar region, alleviating compression and improving the kidney's energetic function. This release helps to unwind deep-seated tension, allowing for greater comfort and mobility in daily movements and deeper breathing.
- Full anatomical benefits — muscles, joints, organs →
Avoid If
Back Injury / Back Pain
Spinal flexion, extension, or rotation under load can compress vertebral discs or strain the paraspinal muscles.
Initiate the twist from the upper spine and ribs rather than forcing from the waist; keep both sitting bones grounded.
Hamstring Injury
Aggressive stretching of a torn or strained hamstring can reinjure muscle fibres — the attachment near the sitting bone is especially vulnerable.
Bend the knees generously, work within a pain-free range, and avoid any aggressive pulling on the hamstrings.
Diarrhea
Twisting and strong abdominal compression stimulate intestinal peristalsis, which can worsen diarrhoea.
Rest and allow the digestive system to recover; practise only very gentle, restorative postures.
Props That Can Help
Optional supports — use when helpful, not required
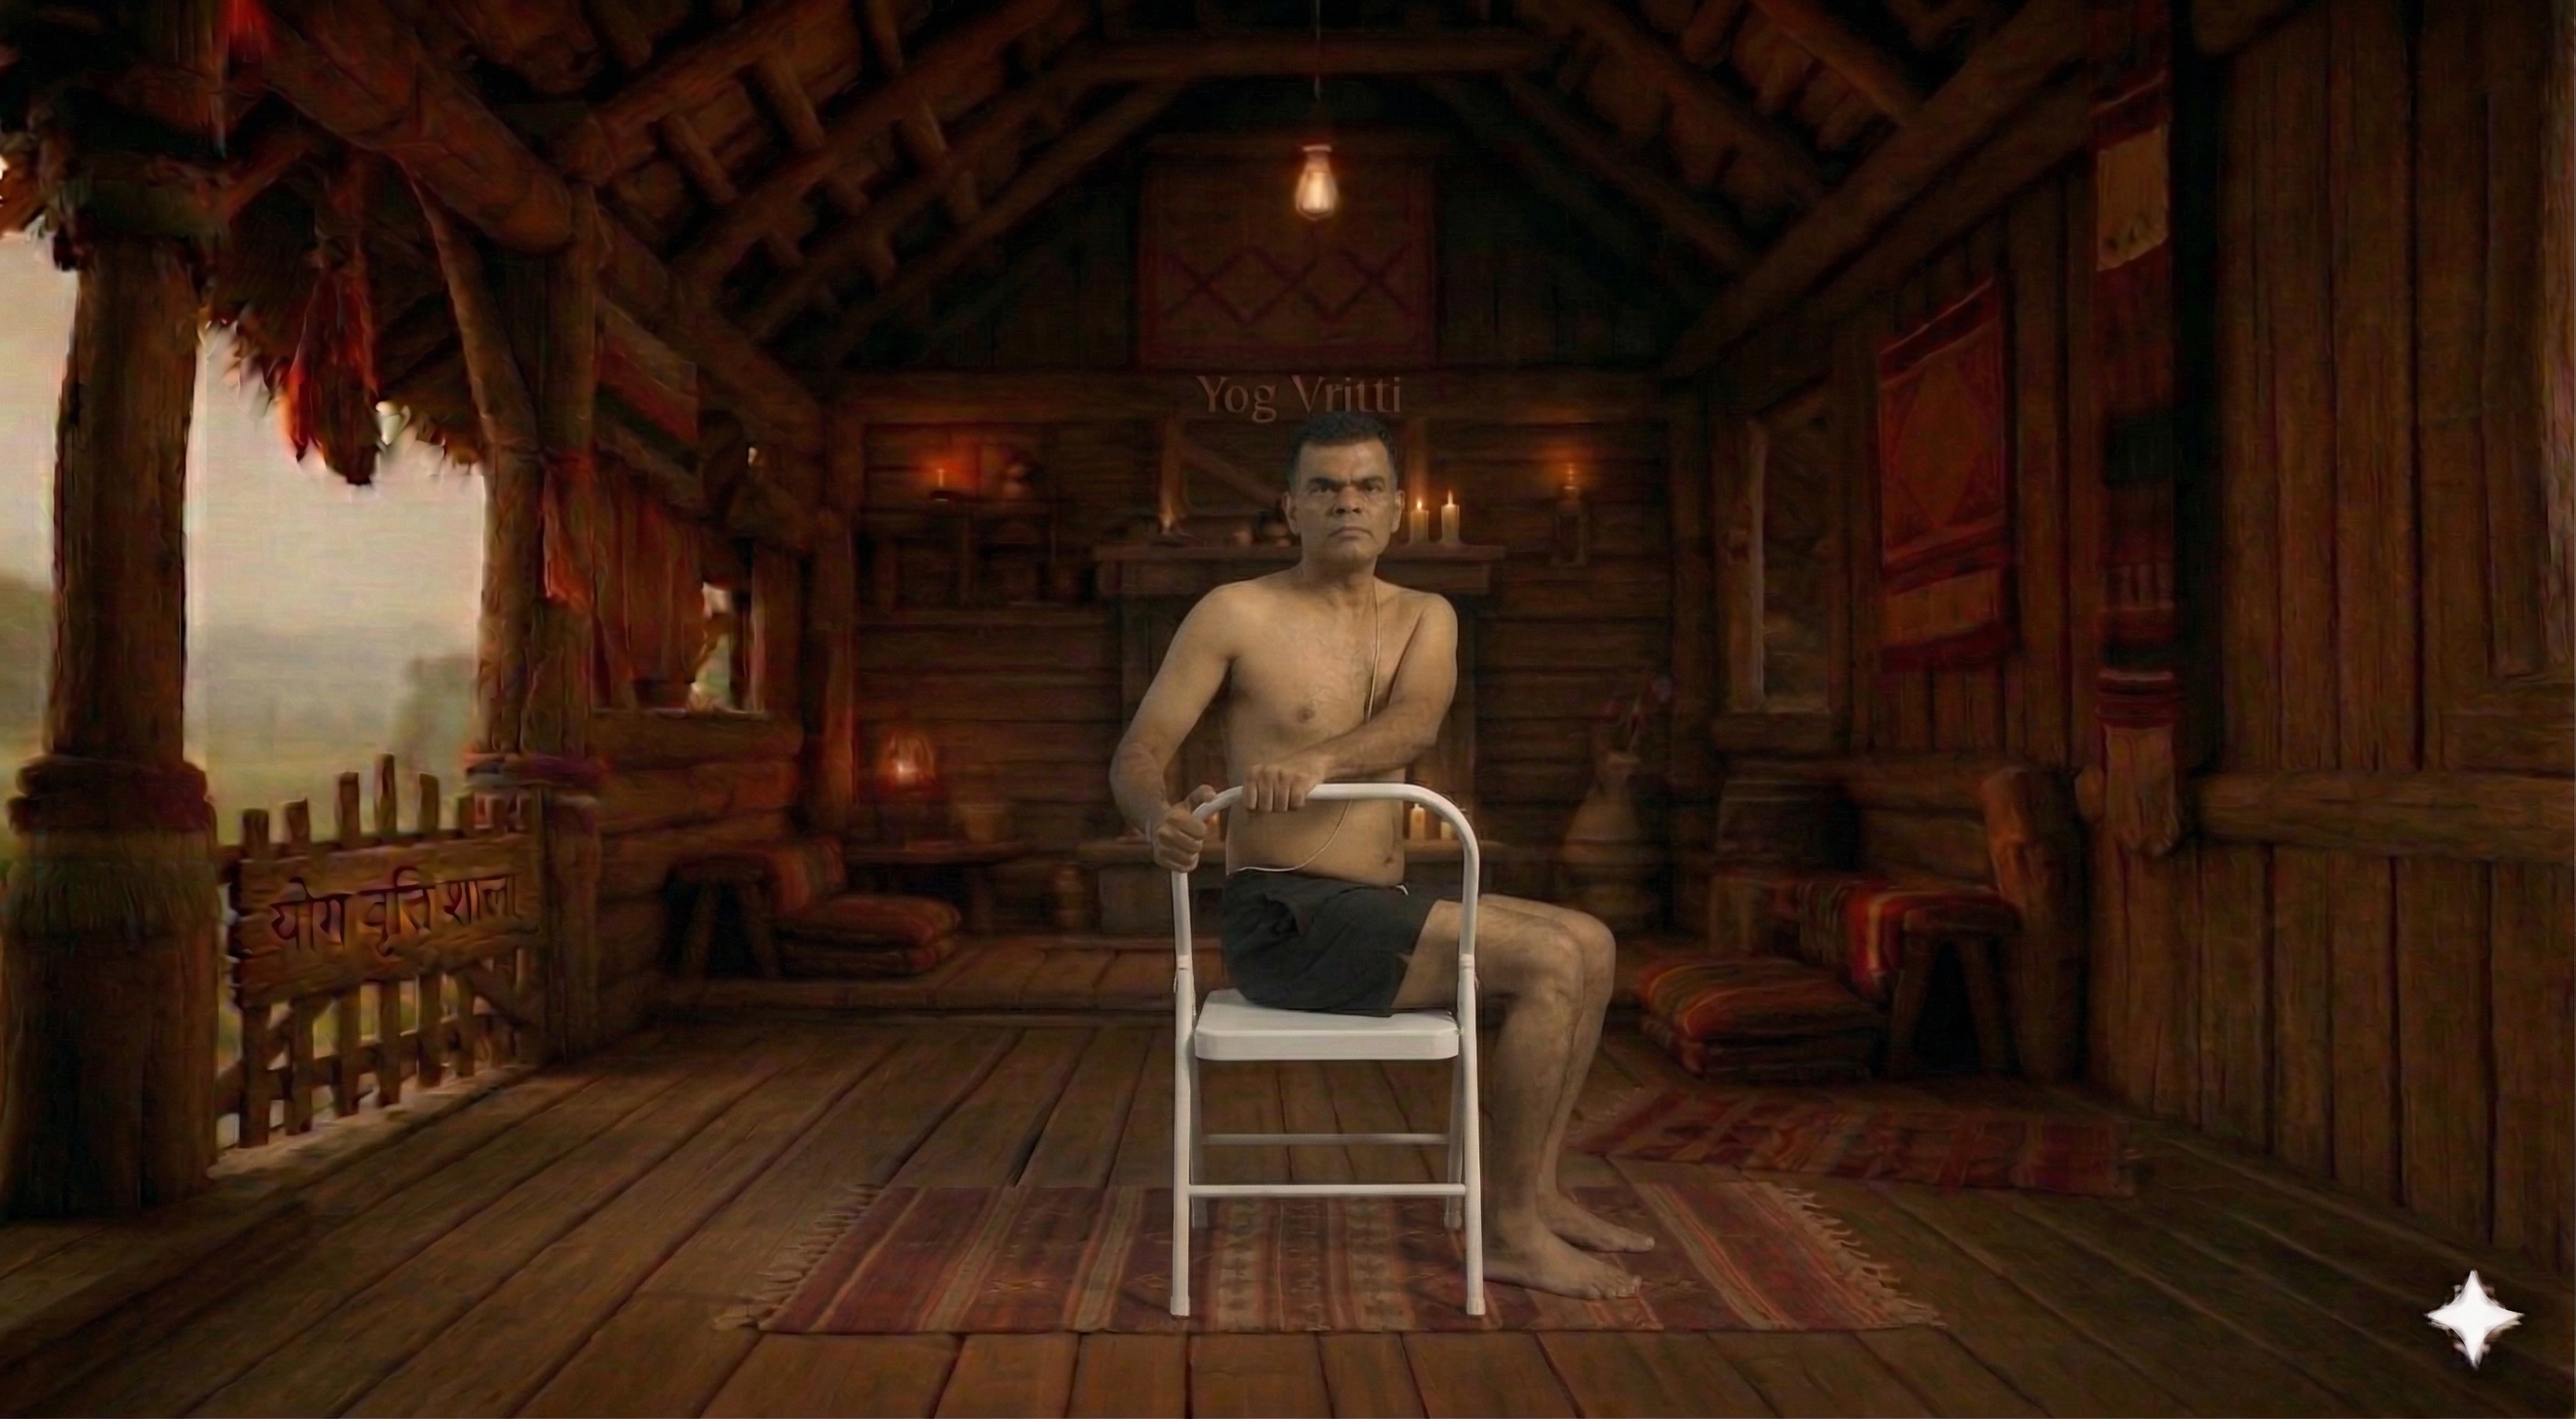
Chair
Sit sideways on a chair and use the back rest for leverage — this is the most accessible form of a spinal twist for any body.
Common Mistakes to Avoid
Teaching Cues
For yoga teachers — verbal cues to guide students
6 cues
Teaching Cues
For yoga teachers — verbal cues to guide students
- 1Lengthen the spine on the inhalation, deepen the twist on the exhalation
- 2Initiate the rotation from the navel, then the chest, finally the head
- 3Keep both sitting bones grounded equally
- 4Maintain the length of the spine — do not collapse into the twist
- 5Use the breath to create space for the rotation
- 6Hinge from the hips, leading with the chest
Pose Details
Helps With
Pose Type
Body Focus
Focus Areas
Best For
Yoga Styles
When to Practice
Position
Modify If You Have
spinal injury
Reduce the side bend, keep the spine long, and use props for support.
back pain
Reduce the side bend, focus on lengthening, not deep stretch.
sciatica
Reduce the side bend, keep the leg bent, and avoid overstretching hamstrings.
glaucoma
Keep head higher, look forward or up, not down.
hamstring injury
Keep the extended leg bent and do not force the stretch.
Target Areas
Practice Flow
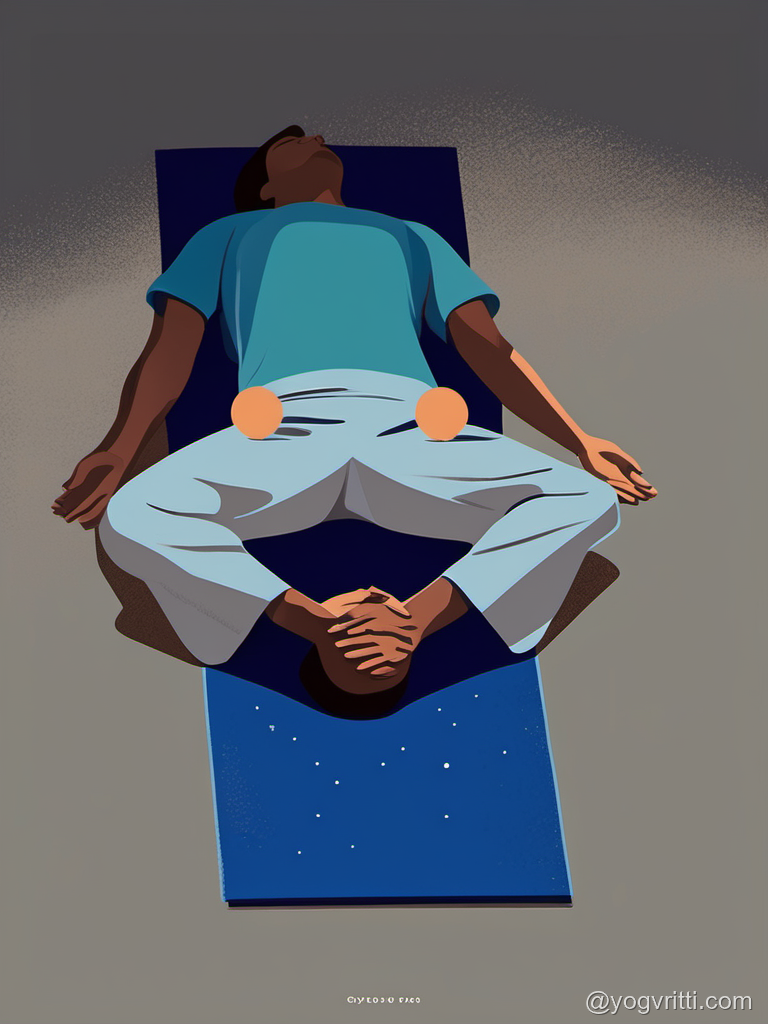
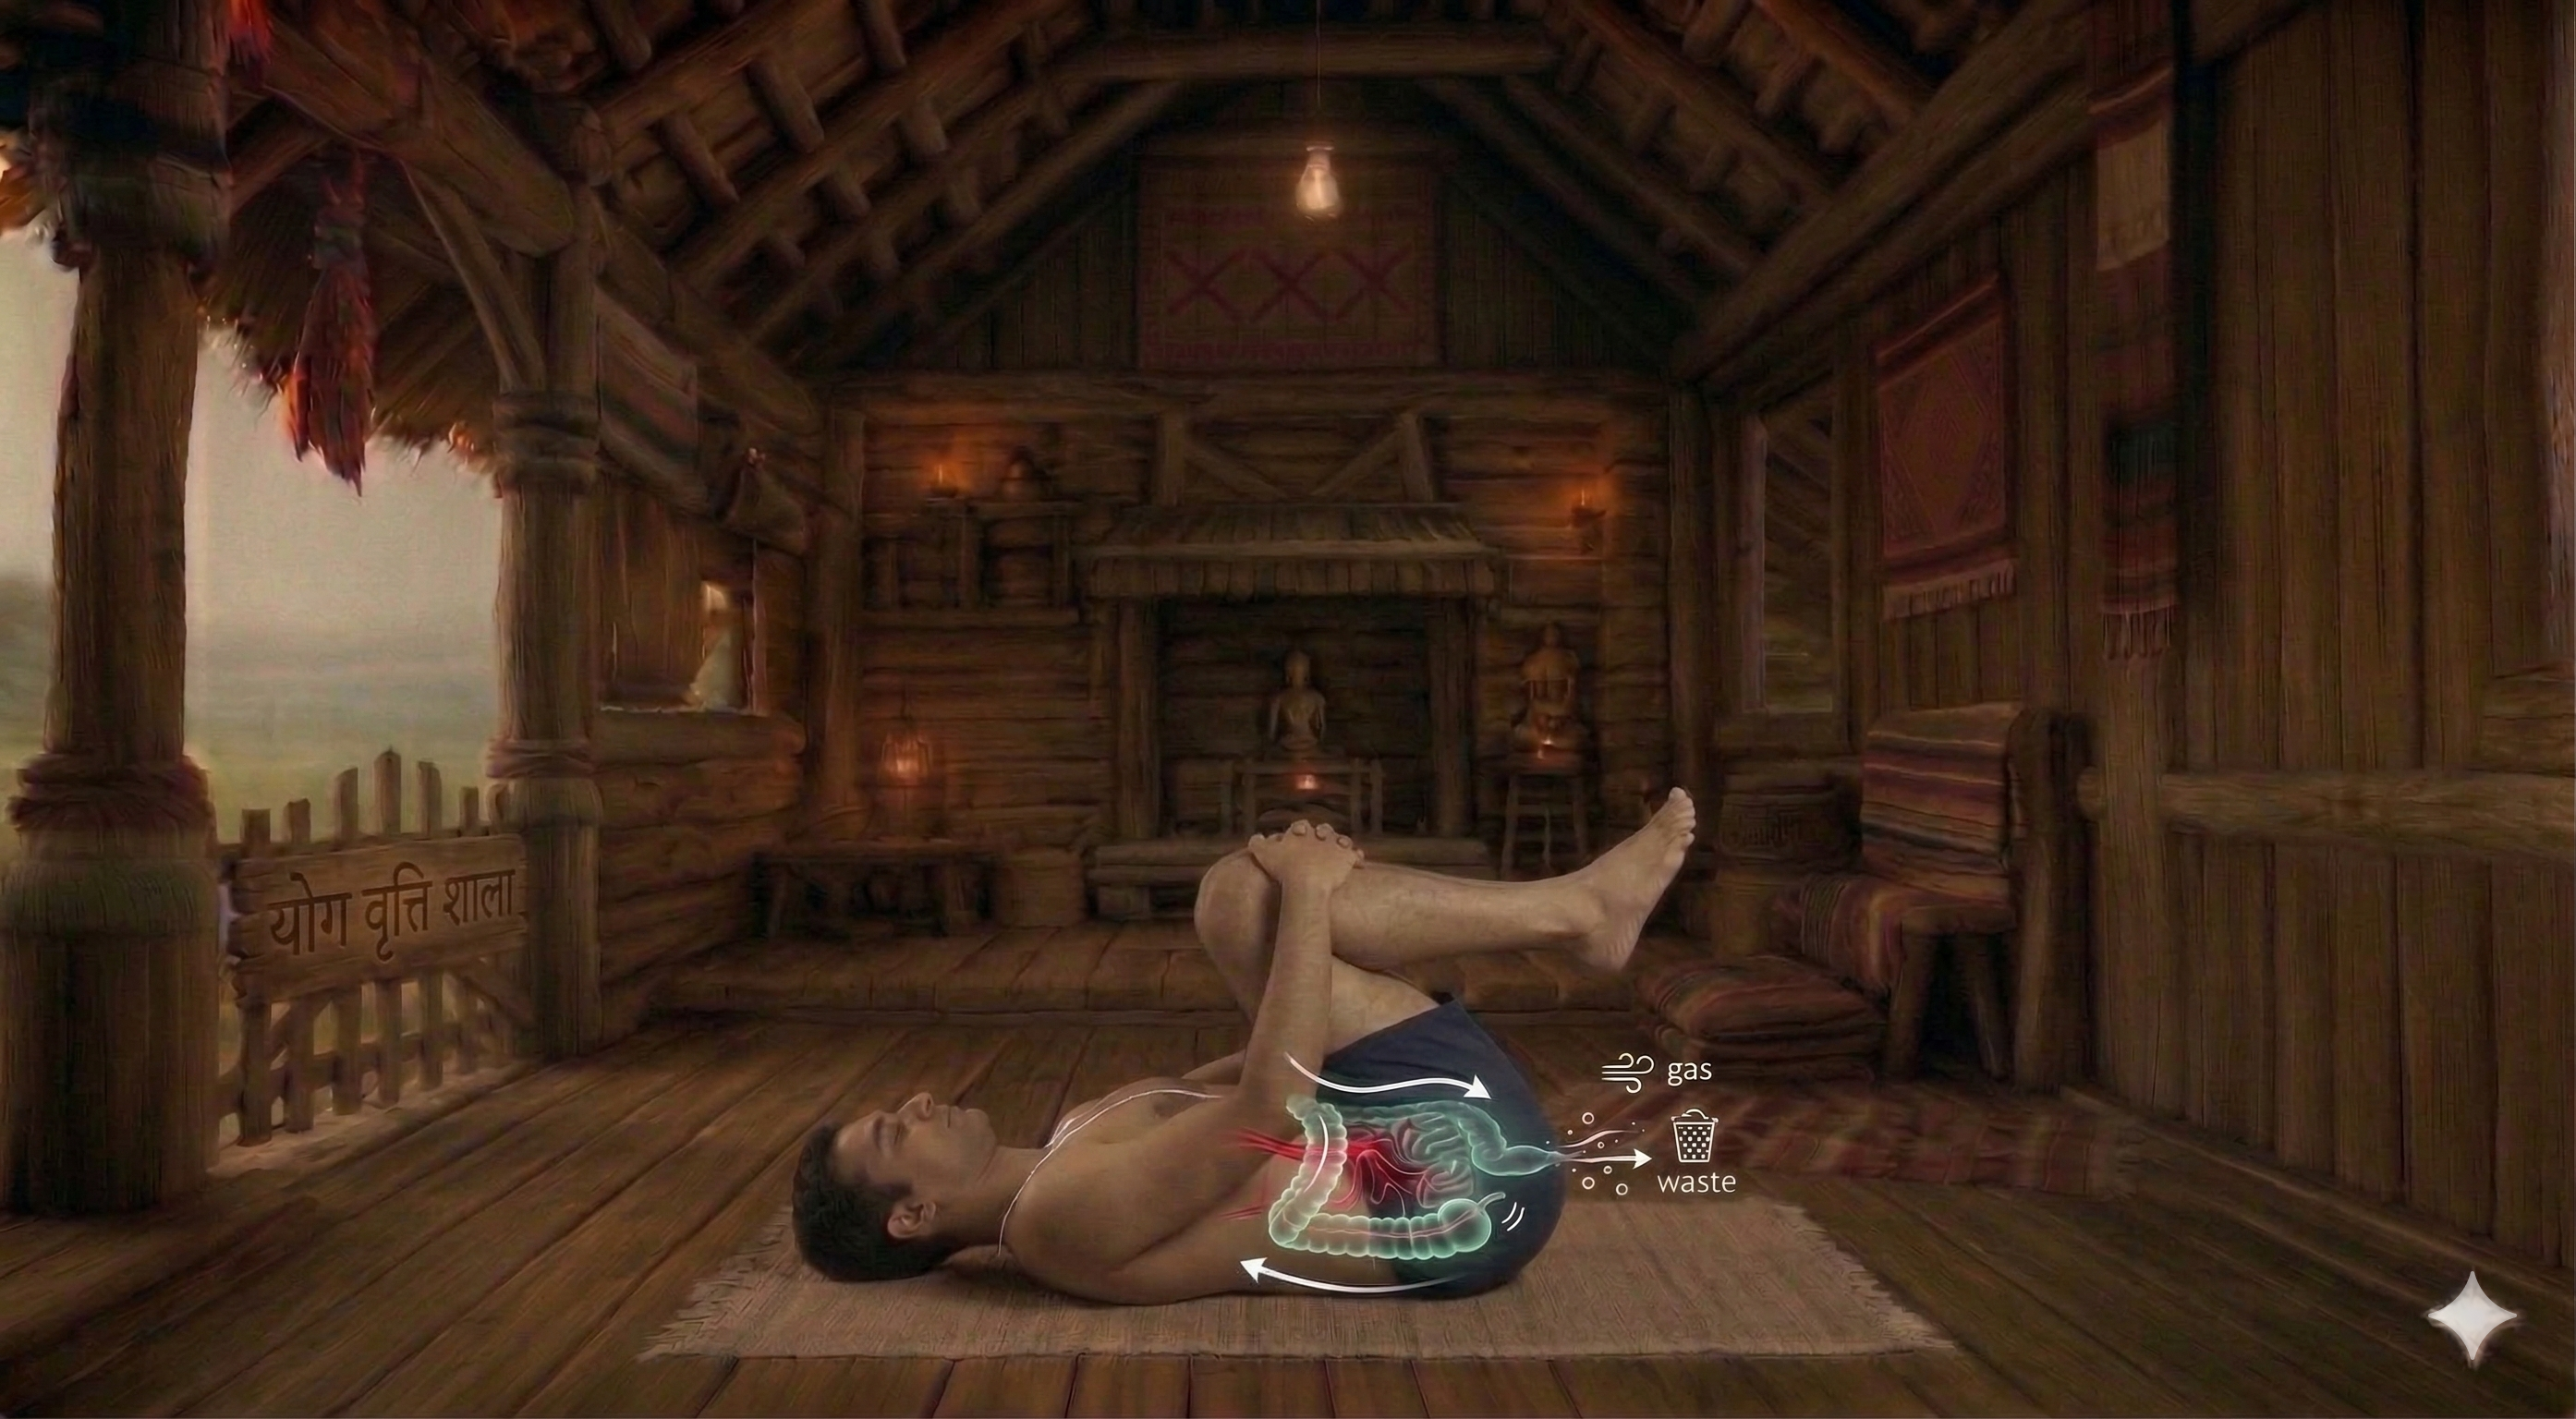
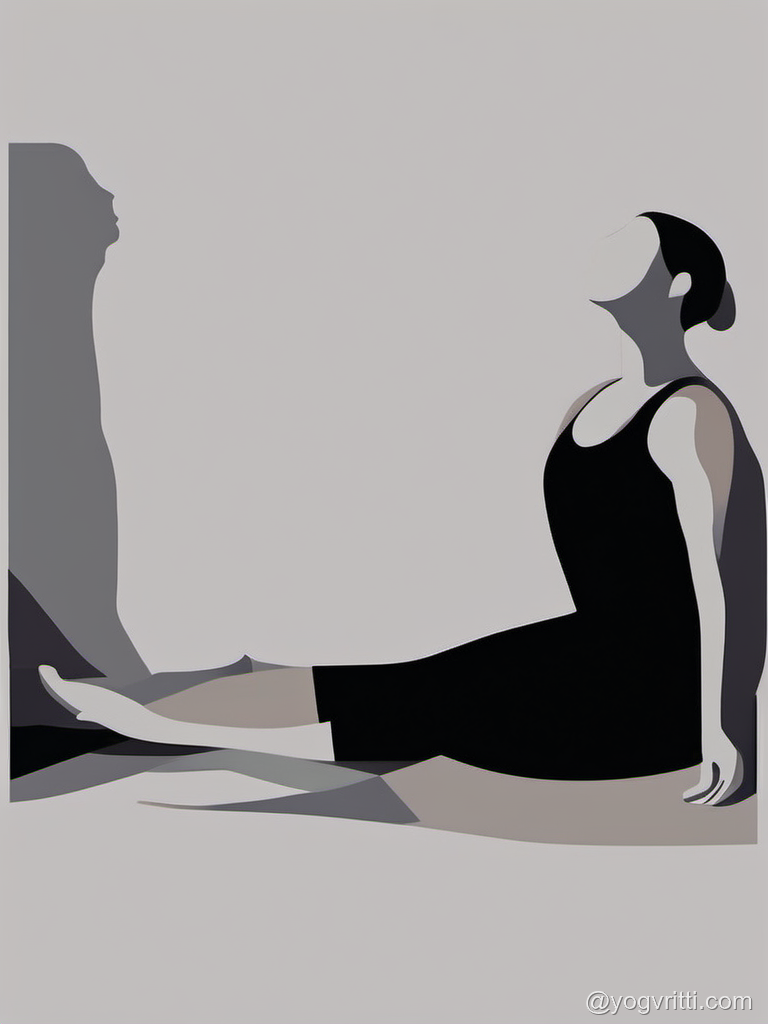

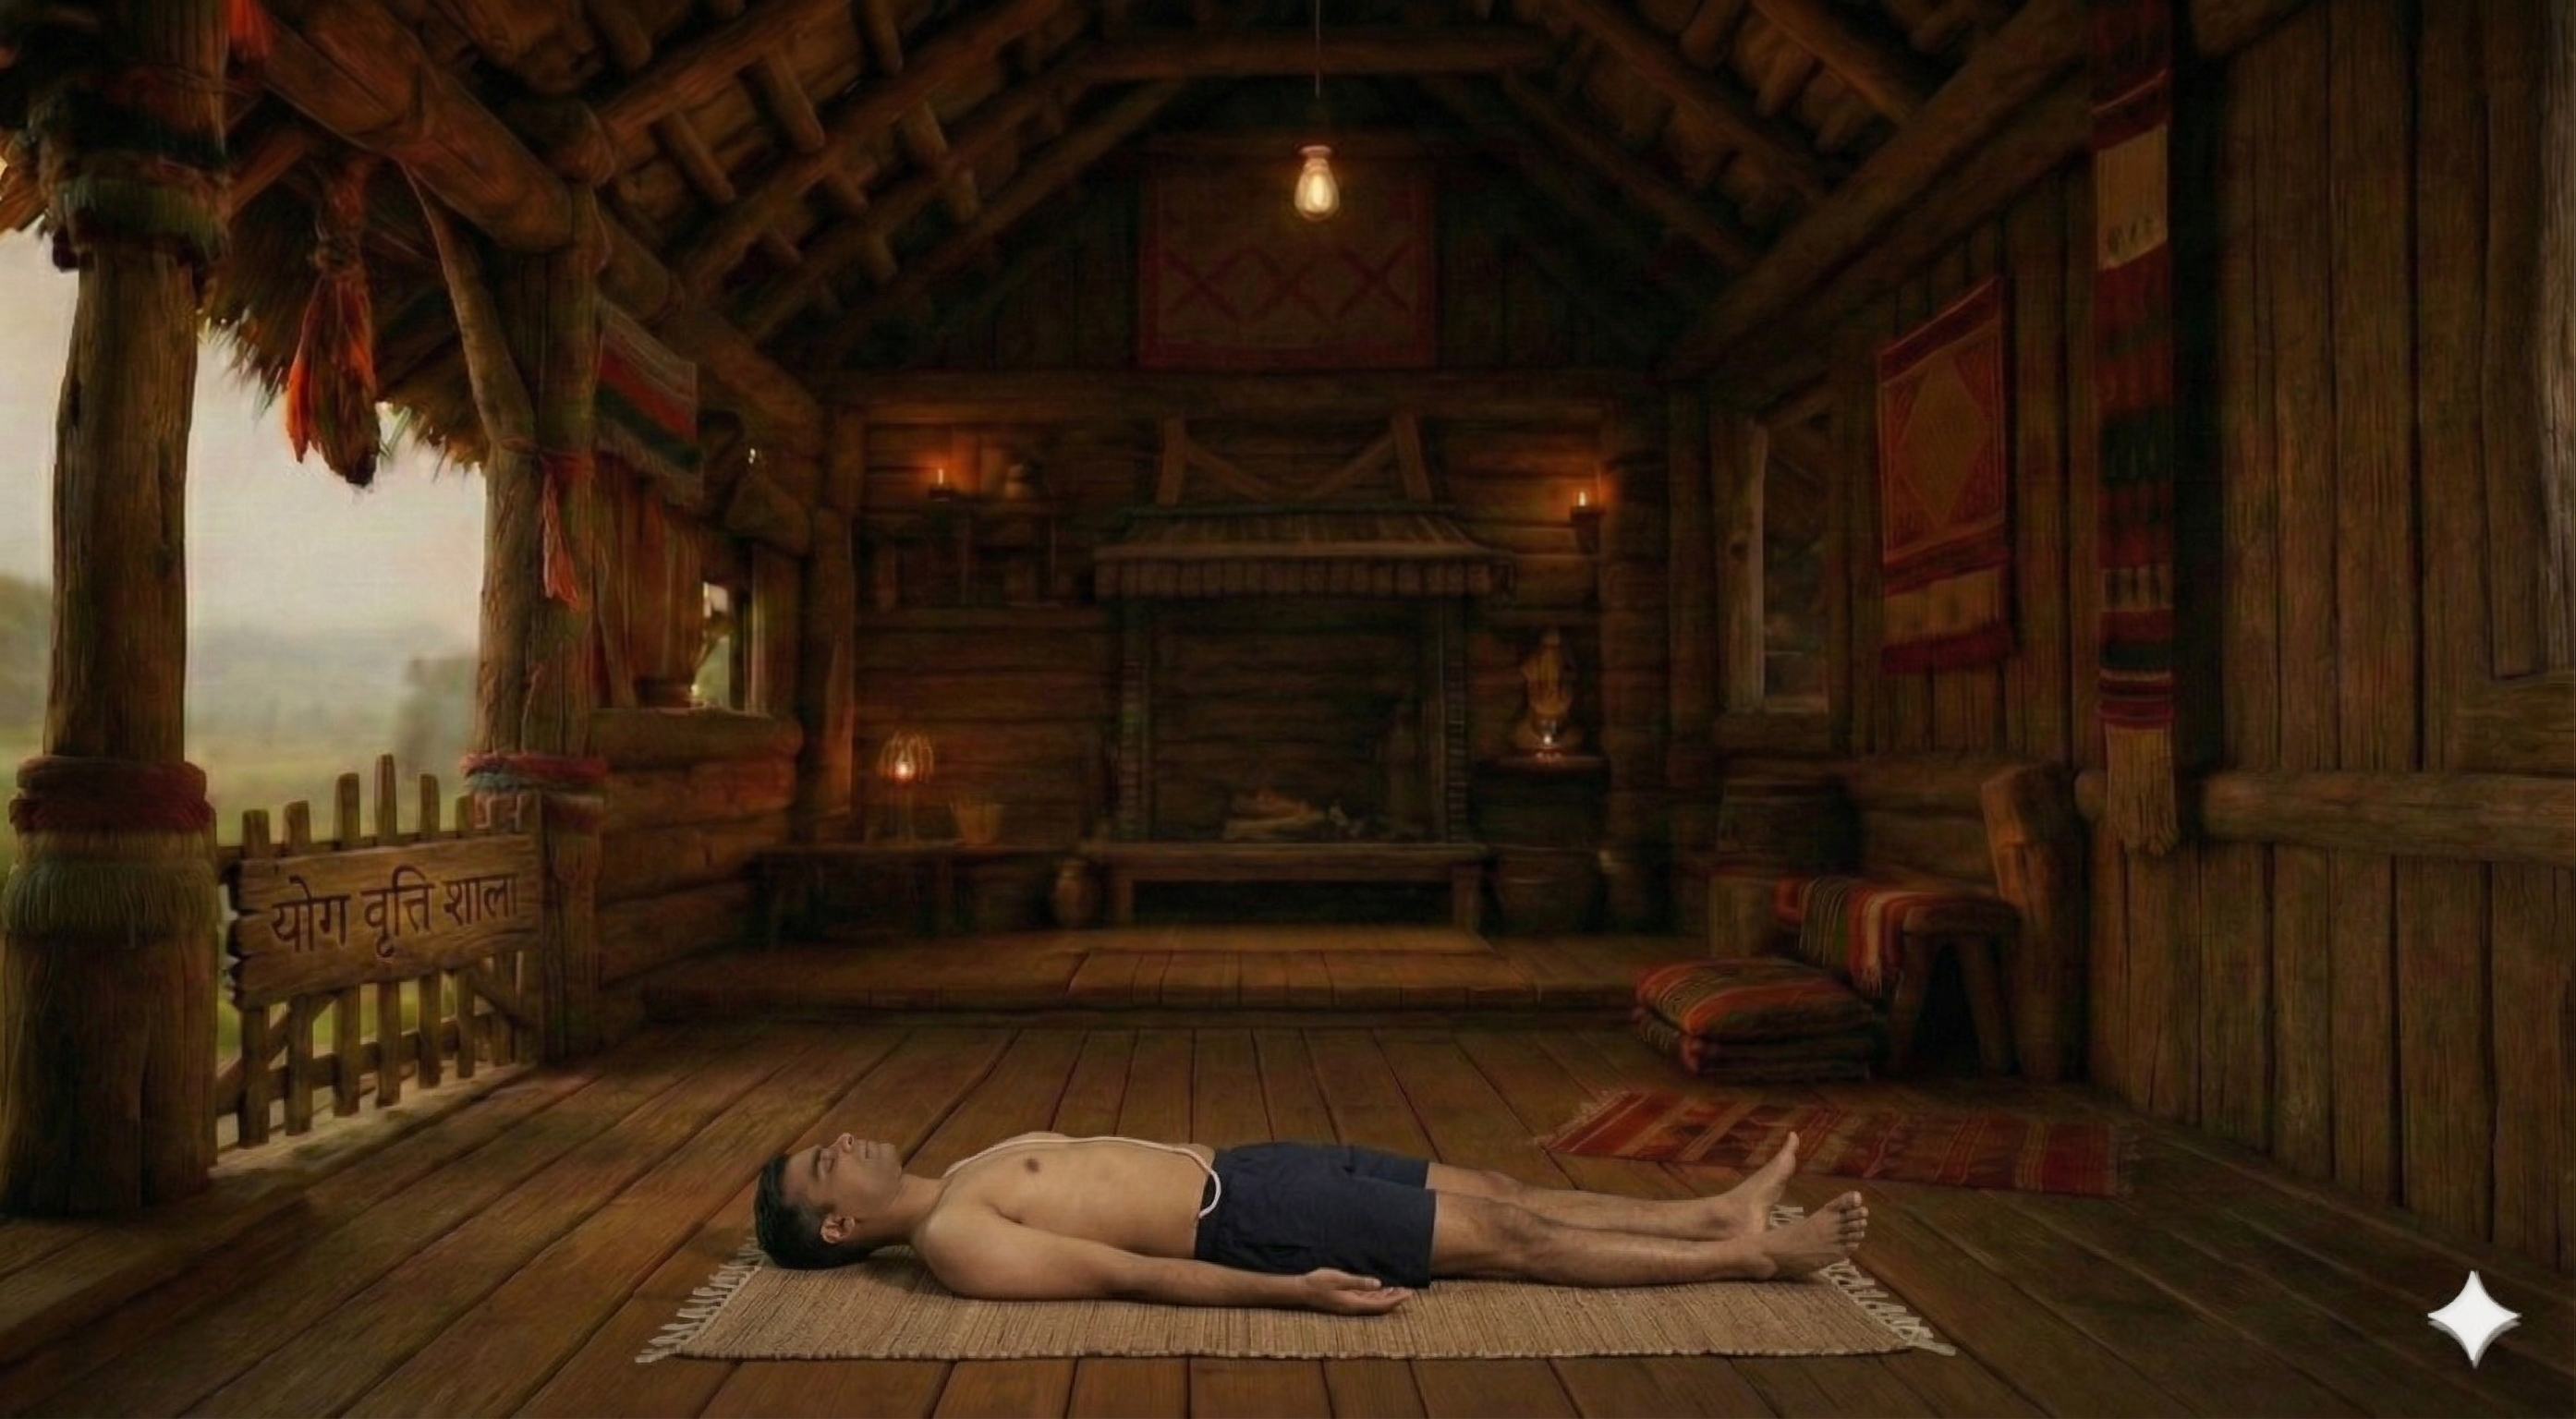
How to Practice
1. Sit on the chair, extend your right leg straight out and bend your left leg, placing the sole of your left foot against your inner right thigh.
2. Inhale and raise your left arm overhead.
3. Exhale and gently twist your torso to the right, reaching your left hand towards your right foot.
4. Place your right hand on your left thigh.
5. Relax your neck and let your head hang heavy.
5 more steps remaining
Register free to see the complete instructions
Register Free to ContinueAlready registered? Login
Frequently Asked Questions
Common questions about Parivrtta Janu Sirsasana (Chair)
What is Revolved Head-to-Knee Pose in Chair?
Revolved Head-to-Knee Pose in Chair, also called Chair Janu Sirsasana Twist is a classical yoga posture. Its Sanskrit name Parivrtta Janu Sirsasana (Chair) translates word-for-word as: Parivrtta (Revolved) · Janu (Knee) · Sirsa (Head) · Asana (Pose in Chair). Seated on the mat, the practitioner rotates the spine, creating space between each vertebra. The posture works to lengthen the hamstrings, strengthen and extend the back and release tension in the hips. Stretches the hamstrings. Gently rotates the spine. It is particularly valued for developing greater flexibility and alleviating back discomfort. Suitable for beginners and regular practitioners alike, it is a calming cool-down, particularly beneficial for seniors and beginners. A chair can be used to make the posture more accessible and support correct alignment. Practitioners with spinal injury and abdominal surgery should approach with care or consult a qualified teacher.
What are the benefits of Revolved Head-to-Knee Pose in Chair?
Opens the side body and intercostal muscles. Stretches the hamstrings. Gently rotates the spine. Improves breathing capacity. Accessible for those with limited floor mobility.
Who should avoid Revolved Head-to-Knee Pose in Chair?
Avoid this pose if you have: Acute back pain, Severe hamstring injury, Diarrhoea.
How many steps are in Revolved Head-to-Knee Pose in Chair?
Revolved Head-to-Knee Pose in Chair is practiced in 10 steps. Sit on the chair, extend your right leg straight out and bend your left leg, placing the sole of your left foot against your inner right thigh.
Is Revolved Head-to-Knee Pose in Chair suitable for beginners?
Yes, Revolved Head-to-Knee Pose in Chair is a beginner-friendly pose suitable for all levels.
What props are needed for Revolved Head-to-Knee Pose in Chair?
You may use: chair. Props make the pose more accessible and comfortable.
What conditions does Revolved Head-to-Knee Pose in Chair help with?
Revolved Head-to-Knee Pose in Chair is therapeutic for: flexibility, back pain, posture correction, digestive problems, shoulder injury.
What poses should I do before Revolved Head-to-Knee Pose in Chair?
Prepare with: Supta Tadasana, Apanasana, Seated Tadasana. These warm up the relevant muscles and joints.
Related Poses
Similar poses you might enjoy
Build Your Own Sequence
Combine Parivrtta Janu Sirsasana (Chair) with other poses