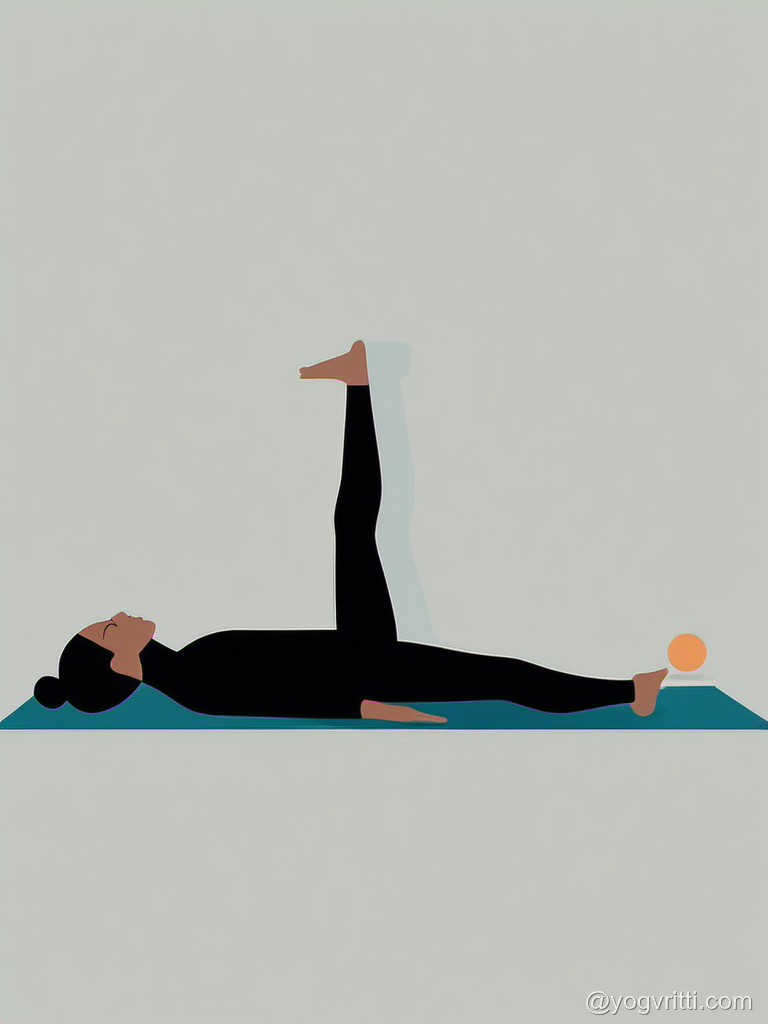
Reclined Big Toe Pose at Wall
Supta Padangusthasana I at wall · सुप्त पादांगुष्ठासन I (दीवार)
Also known as: Wall Leg Raise
Reclined Big Toe Pose at Wall, also called Wall Leg Raise is a classical yoga posture. Its Sanskrit name Supta Padangusthasana I at wall translates word-for-word as: Supta (Reclining) · Pada (Foot) · Angustha (Big Toe) · Asana (Pose — I). Performed lying down, the body releases into the support of the floor, allowing gravity to assist. The posture works to lengthen the hamstrings and release tension in the hips. Wall provides feedback for the grounded leg. Deeper stretch with less compensatory movement. Suitable for beginners and regular practitioners alike, it is a calming cool-down, particularly beneficial for beginners and seniors. A wall and strap can be used to make the posture more accessible and support correct alignment. Practitioners with groin injury and hip injury should approach with care or consult a qualified teacher.
Anatomy Involved
Benefits
Hamstrings(lengthening)
While the hamstrings of the lifted leg are still lengthening, the wall's steadfast support for the grounded leg creates an unparalleled foundation. This stability allows for a more profound and uninhibited surrender into the stretch, as the practitioner is freed from the subtle effort of maintaining pelvic equilibrium. The stretch can therefore penetrate deeper into the belly of the muscle, addressing more ingrained tension without compensatory tightening elsewhere.
Calves(lengthening)
The calves of the lifted leg continue their lengthening journey, but with the added benefit of the wall-supported grounded leg. This enhanced stability ensures that the entire posterior chain of the lifted leg can extend with greater integrity and consistency. The practitioner can experience a more sustained and even stretch through the gastrocnemius and soleus, as the body is less prone to shifting or compensating.
Hip Flexors (grounded leg)(activating | stabilizing)
In the root pose, these muscles primarily release as the leg extends along the floor. Here, the hip flexors of the grounded leg, particularly the iliopsoas, are actively engaged in an isometric contraction, pressing the thigh and femur firmly into the wall. This engagement ensures the entire grounded leg remains flush against the surface, preventing the hip from lifting and cultivating a deep sense of grounding and stability through the pelvis.
- Full anatomical benefits — muscles, joints, organs →
Avoid If
Hamstring Injury
Aggressive stretching of a torn or strained hamstring can reinjure muscle fibres — the attachment near the sitting bone is especially vulnerable.
Bend the knees significantly to remove tension from the hamstrings; fold only as far as the spine stays long.
Hip Injury
Deep hip flexion, external rotation, or weight-bearing can aggravate labral tears, impingement, or bursitis.
Limit the range of hip movement, avoid positions that cause clicking or sharp pain, and use props to support the hip.
Props That Can Help
Optional supports — use when helpful, not required
Wall
Place hands on the wall at hip height and walk back to create a right angle — a gentler version that still provides deep spinal decompression.
Yoga Strap
Loop a strap around the feet when the hands cannot reach — this maintains proper spinal length and prevents rounding the lower back to close the gap.
Common Mistakes to Avoid
Teaching Cues
For yoga teachers — verbal cues to guide students
6 cues
Teaching Cues
For yoga teachers — verbal cues to guide students
- 1Press the back of the head gently into the floor
- 2Keep the lower back in its natural curve
- 3Relax the shoulders away from the ears
- 4Soften the facial muscles and jaw
- 5Breathe deeply into the belly
- 6Hinge from the hips, leading with the chest
Pose Details
Helps With
Pose Type
Body Focus
Focus Areas
Best For
Yoga Styles
When to Practice
Position
Modify If You Have
hamstring injury
Keep the knee of the lifted leg slightly bent, don't push into pain.
sciatica
Bend the knee of the lifted leg more, focus on gentle stretch, not pushing.
knee injury
Keep the knee bent, use a strap around the foot if needed for gentle pull.
back pain
Ensure the lower back is neutral on the floor, place a blanket under sacrum if needed.
pregnancy
Use a bolster under the head, ensure comfort, avoid overstretching.
Target Areas
Practice Flow
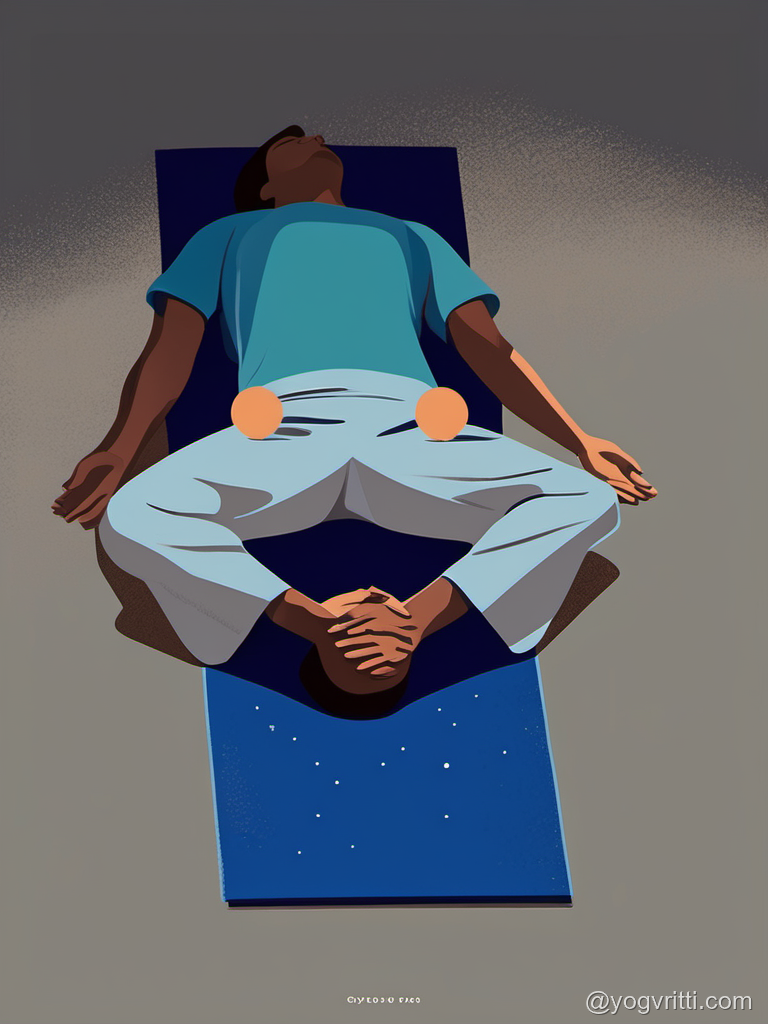
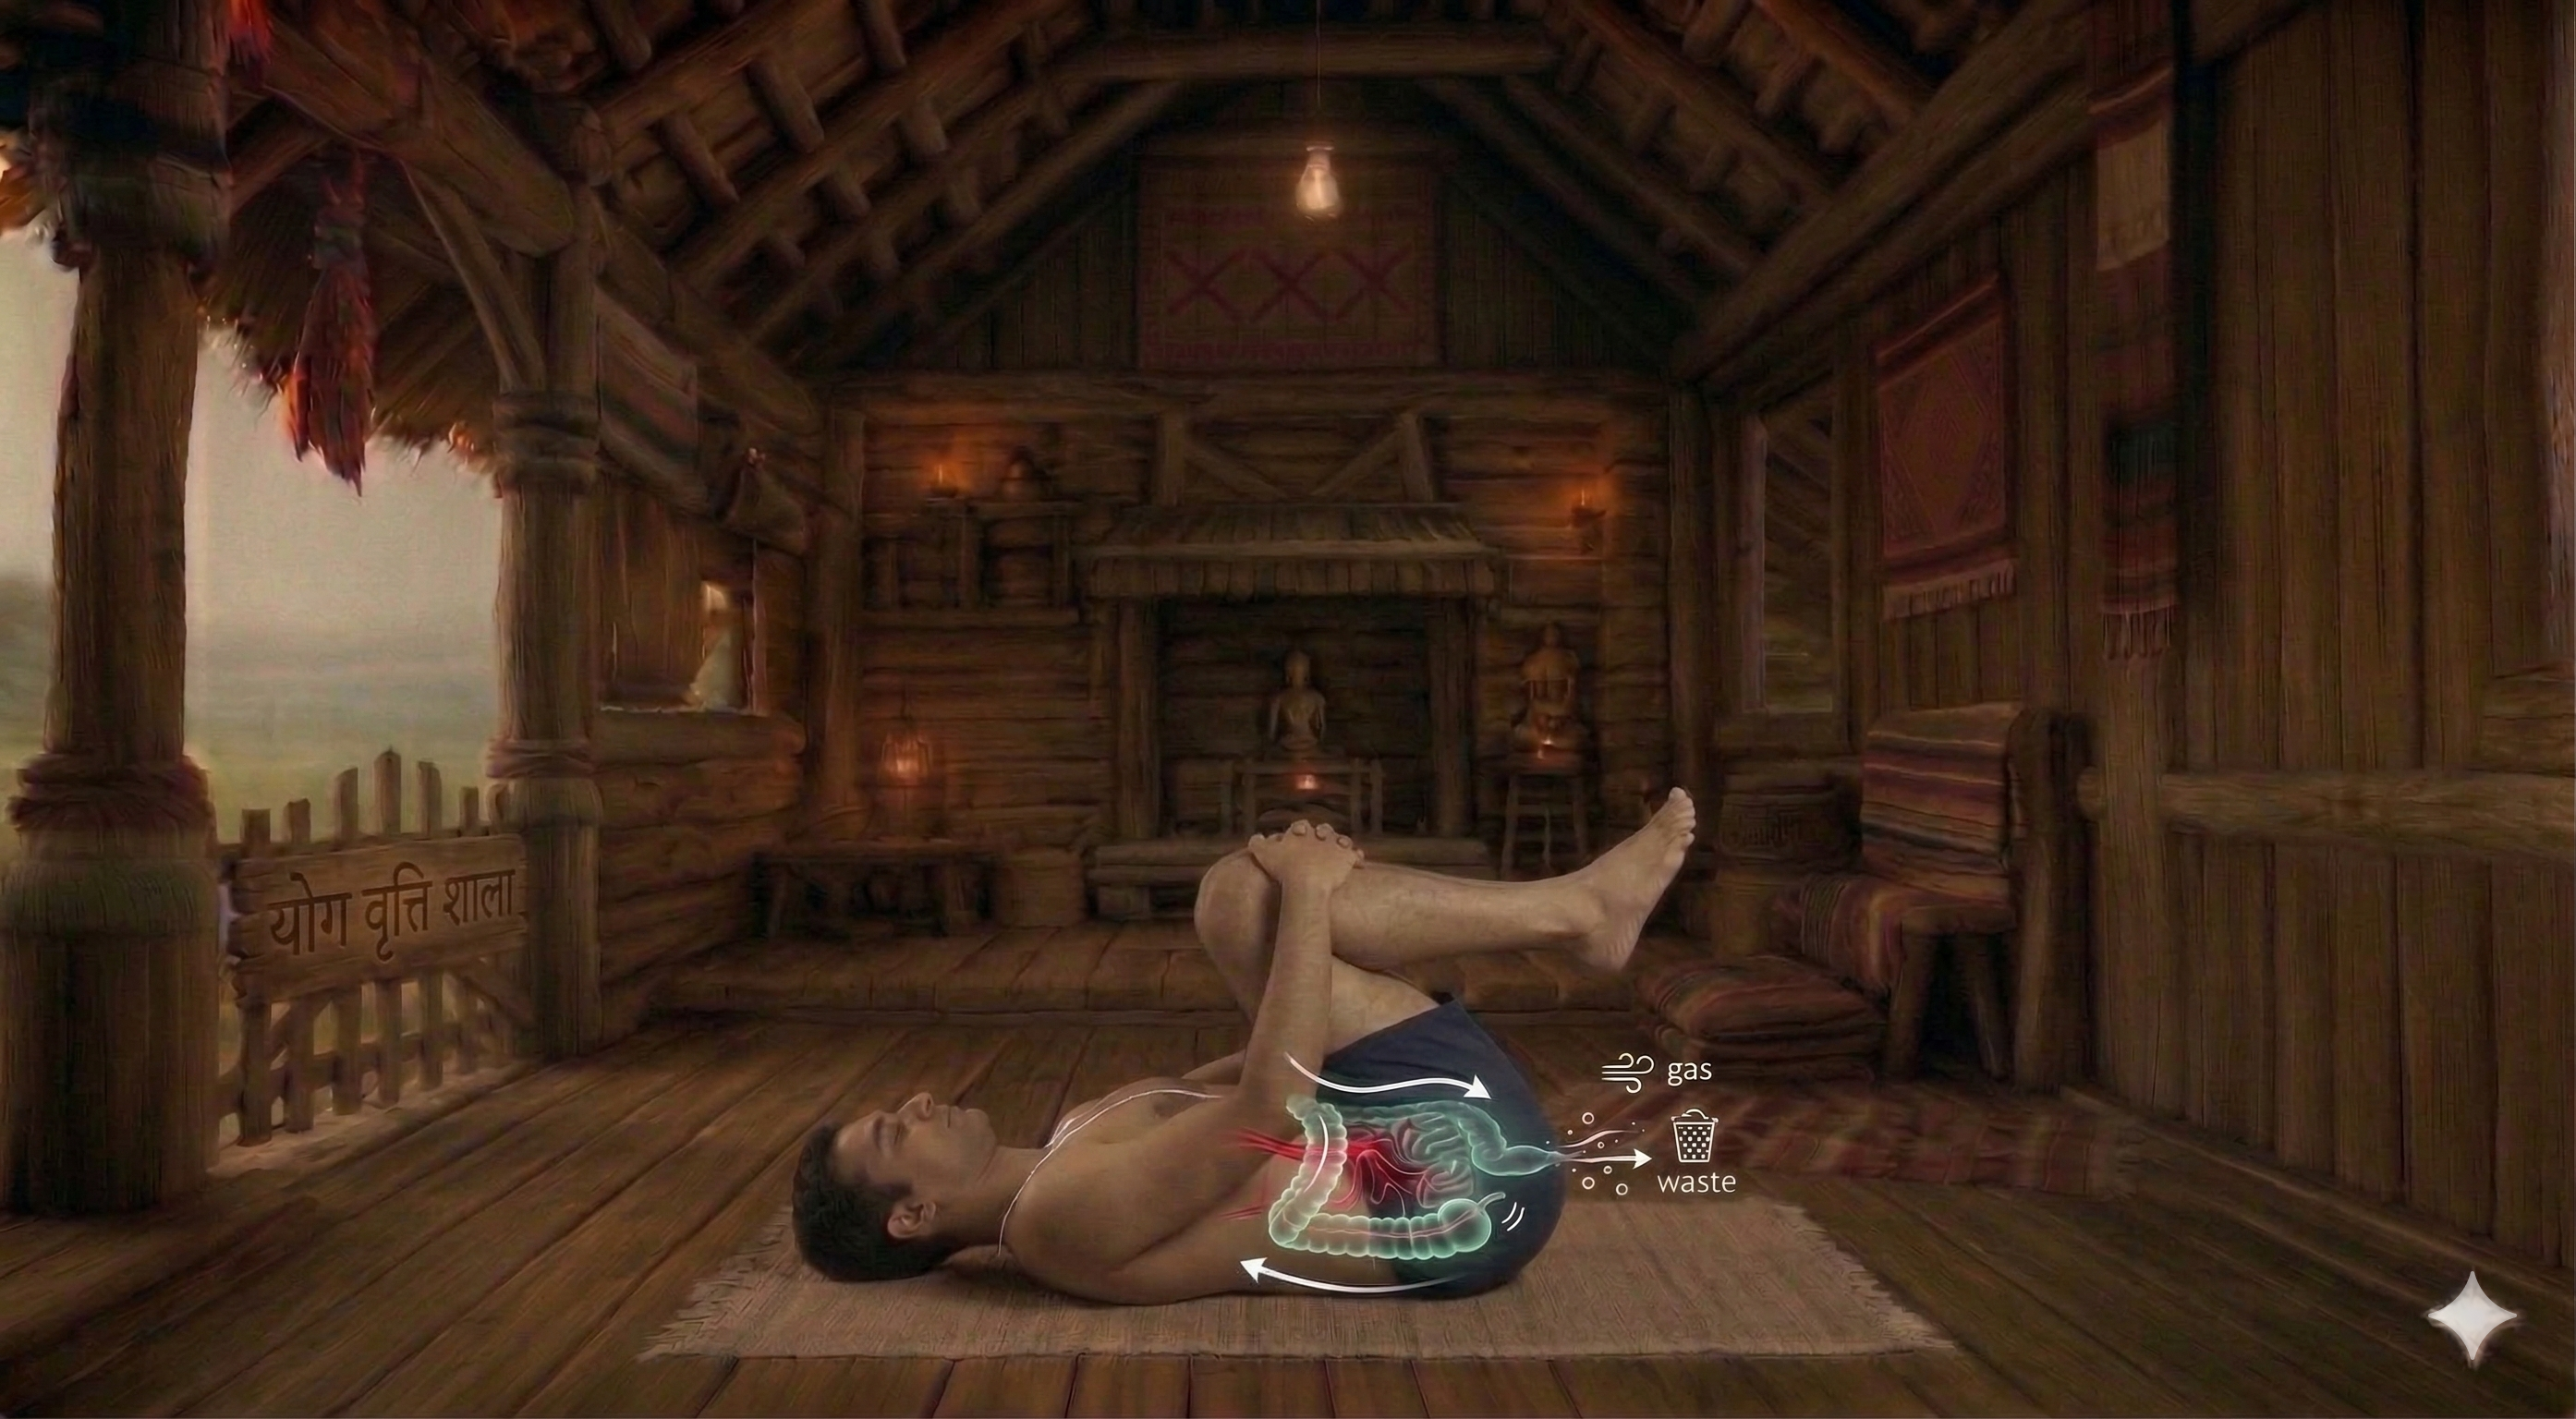

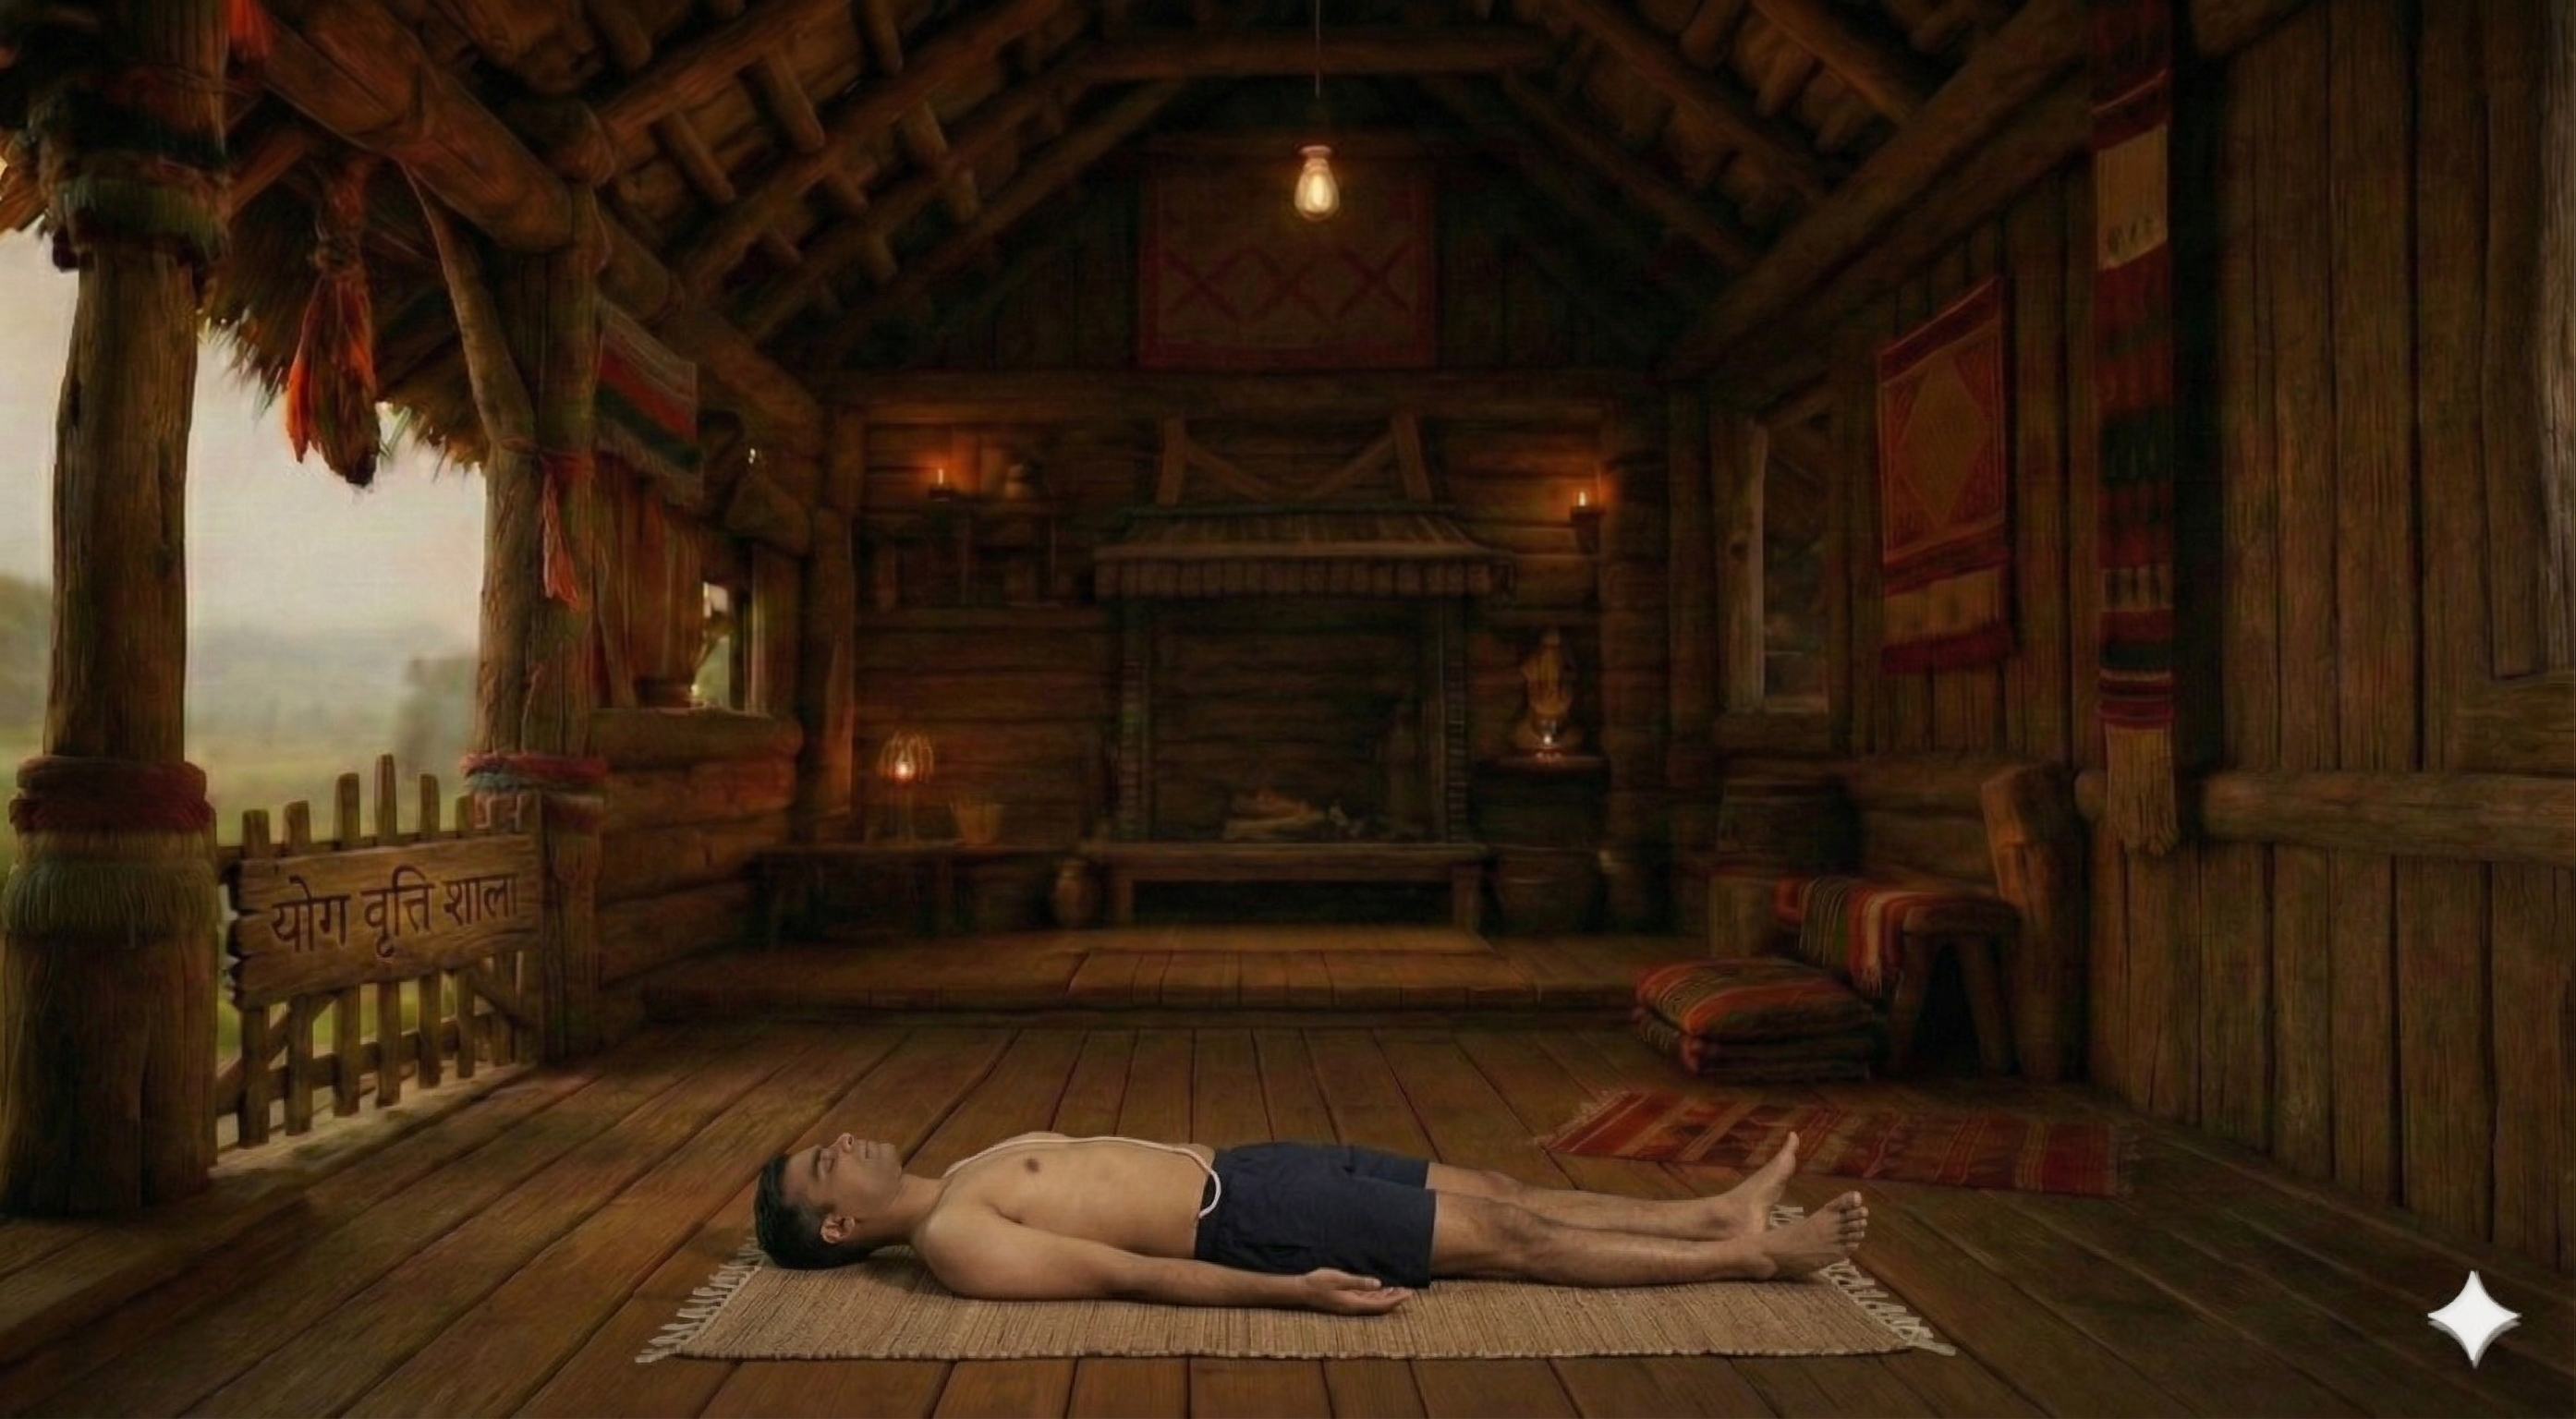
How to Practice
1. Lie on your back facing a wall, with your hips close to the wall.
2. Raise your right leg up the wall, keeping your leg straight.
3. Keep your left leg straight on the floor, or bend your knee and place your foot on the floor.
4. Keep your arms by your sides, palms facing up.
5. Press your right foot into the wall until you feel a stretch in your hamstring.
5 more steps remaining
Register free to see the complete instructions
Register Free to ContinueAlready registered? Login
Featured in Sequences
Practice Supta Padangusthasana I at wall as part of these guided sequences
Frequently Asked Questions
Common questions about Supta Padangusthasana I at wall
What is Reclined Big Toe Pose at Wall?
Reclined Big Toe Pose at Wall, also called Wall Leg Raise is a classical yoga posture. Its Sanskrit name Supta Padangusthasana I at wall translates word-for-word as: Supta (Reclining) · Pada (Foot) · Angustha (Big Toe) · Asana (Pose — I). Performed lying down, the body releases into the support of the floor, allowing gravity to assist. The posture works to lengthen the hamstrings and release tension in the hips. Wall provides feedback for the grounded leg. Deeper stretch with less compensatory movement. Suitable for beginners and regular practitioners alike, it is a calming cool-down, particularly beneficial for beginners and seniors. A wall and strap can be used to make the posture more accessible and support correct alignment. Practitioners with groin injury and hip injury should approach with care or consult a qualified teacher.
What are the benefits of Reclined Big Toe Pose at Wall?
Ensures proper alignment during hamstring stretch. Wall provides feedback for the grounded leg. Deeper stretch with less compensatory movement. Excellent for beginners learning alignment. Therapeutic for lower back pain.
Who should avoid Reclined Big Toe Pose at Wall?
Avoid this pose if you have: Acute hamstring tear, Severe hip pain.
How many steps are in Reclined Big Toe Pose at Wall?
Reclined Big Toe Pose at Wall is practiced in 10 steps. Lie on your back facing a wall, with your hips close to the wall.
Is Reclined Big Toe Pose at Wall suitable for beginners?
Yes, Reclined Big Toe Pose at Wall is a beginner-friendly pose suitable for all levels.
What props are needed for Reclined Big Toe Pose at Wall?
You may use: wall, strap. Props make the pose more accessible and comfortable.
What conditions does Reclined Big Toe Pose at Wall help with?
Reclined Big Toe Pose at Wall is therapeutic for: hamstring injury, hip injury, flexibility, sciatica, back pain.
What poses should I do before Reclined Big Toe Pose at Wall?
Prepare with: Reclined Big Toe Pose, Supta Tadasana, Apanasana. These warm up the relevant muscles and joints.
Build Your Own Sequence
Combine Supta Padangusthasana I at wall with other poses