Reclined Revolved Wind-Relieving Pose
Reclined Revolved Half Wind-Relieving Pose · सुप्त परिवृत्त अर्ध पवनमुक्तासन
Also known as: Supine Revolved Knee Hug
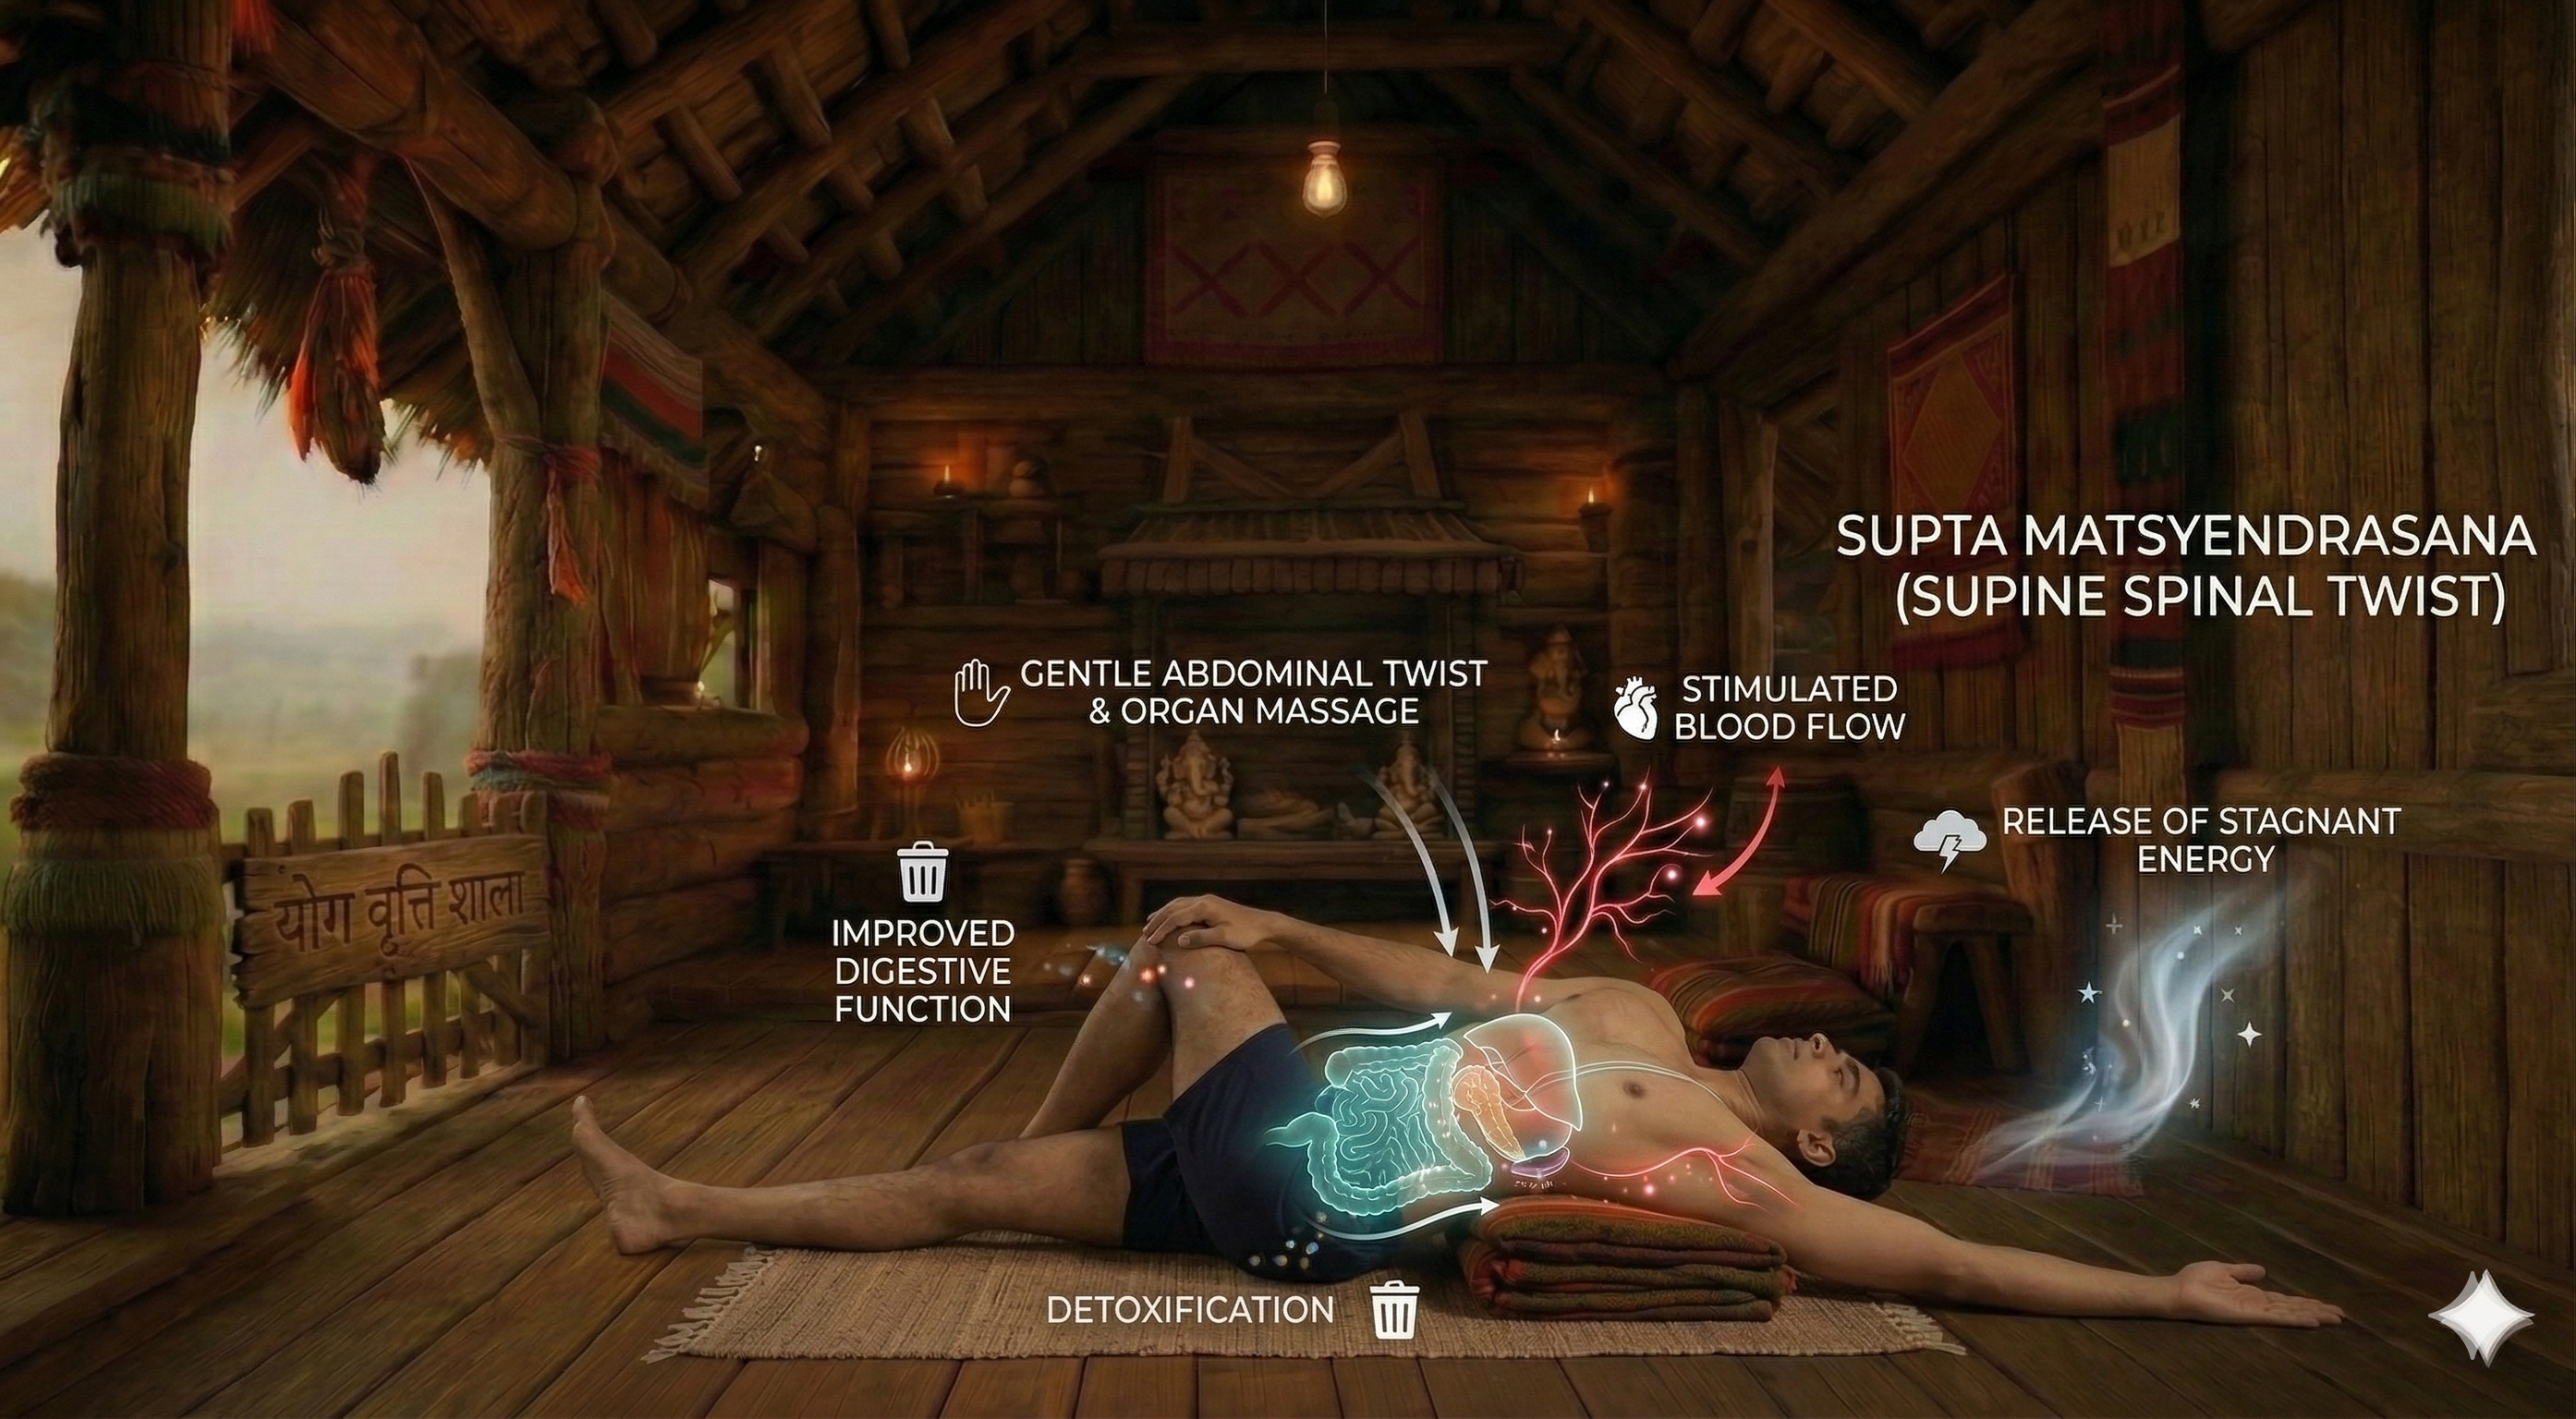
Reclined Revolved Wind-Relieving Pose, also called Supine Revolved Knee Hug is a classical yoga posture in the Iyengar tradition. In this posture, the body rotates the spine, creating space between each vertebra. The posture works to engage the obliques, activate the glutes and stretch the hip flexors. Improves spinal flexibility. Stimulates abdominal organs. It is particularly valued for alleviating back discomfort. Suitable for beginners and regular practitioners alike, it is a calming cool-down, particularly beneficial for beginners and seniors. A blanket can be used to make the posture more accessible and support correct alignment. Practitioners with abdominal surgery and spinal injury should approach with care or consult a qualified teacher.
Anatomy Involved
Benefits
Obliques(releasing)
These core muscles run along the sides of your torso, responsible for twisting and bending. In this pose, one side gently lengthens while the other contracts, creating a spiral action around your waist. This mindful engagement and release helps to wring out stagnant energy from the abdominal cavity, promoting a feeling of lightness and openness in the core. It directly supports the detoxification process by encouraging fresh circulation to the internal organs.
Glutes(releasing)
The large muscles of your buttocks and hips are gently stretched and released, particularly on the side of the twisted leg. This unwinding helps to alleviate tightness that often accumulates from prolonged sitting or standing, which can pull on the lower back. Energetically, releasing the glutes allows apana vayu – the downward and outward moving energy – to flow more freely, fostering a sense of groundedness and stability in the pelvic region.
Hip Flexors(releasing)
Deep within the front of your hip and groin, these muscles often become chronically tight, contributing to lower back pain and postural imbalances. In this twist, the hip flexors on the side of the bent knee experience a gentle, sustained release, especially if the knee is drawn closer to the chest before twisting. This therapeutic lengthening helps to free the pelvis, releasing not only physical tension but also deeply held emotional patterns often stored in this area, fostering a sense of emotional lightness.
- Full anatomical benefits — muscles, joints, organs →
Avoid If
Recent Surgery
Surgical wounds and healing tissues need time before being subjected to the mechanical stress of yoga postures.
Wait for full medical clearance from your surgeon; begin with gentle breath work and progress only as healing allows.
Back Injury / Back Pain
Spinal flexion, extension, or rotation under load can compress vertebral discs or strain the paraspinal muscles.
Initiate the twist from the upper spine and ribs rather than forcing from the waist; keep both sitting bones grounded.
Sciatica
Certain hip stretches and forward bends pull on the sciatic nerve, temporarily increasing radiating pain down the leg.
Keep both sitting bones grounded and initiate the twist from the mid-back; stop if any shooting sensation occurs.
Disc Herniation
Spinal flexion and rotation under load increase intradiscal pressure and can push herniated material toward spinal nerves.
Initiate the rotation from the upper thoracic spine; avoid forceful lumbar rotation.
Props That Can Help
Optional supports — use when helpful, not required
Folded Blanket
Use a blanket for cushioning, elevation, or support — it adapts the pose to your body's current needs without compromising alignment.
Common Mistakes to Avoid
Teaching Cues
For yoga teachers — verbal cues to guide students
7 cues
Teaching Cues
For yoga teachers — verbal cues to guide students
- 1Lengthen the spine on the inhalation, deepen the twist on the exhalation
- 2Initiate the rotation from the navel, then the chest, finally the head
- 3Keep both sitting bones grounded equally
- 4Maintain the length of the spine — do not collapse into the twist
- 5Use the breath to create space for the rotation
- 6Allow the hip joints to open gradually — never force
- 7Surrender the weight of the body to the props and the floor
Pose Details
Helps With
Pose Type
Body Focus
Focus Areas
Best For
Yoga Styles
When to Practice
Position
Modify If You Have
back pain
Place a block or blanket under the knee to support it if it doesn't reach the floor.
spinal injury
Perform a very gentle twist, keeping the movement minimal and pain-free.
Target Areas
Practice Flow
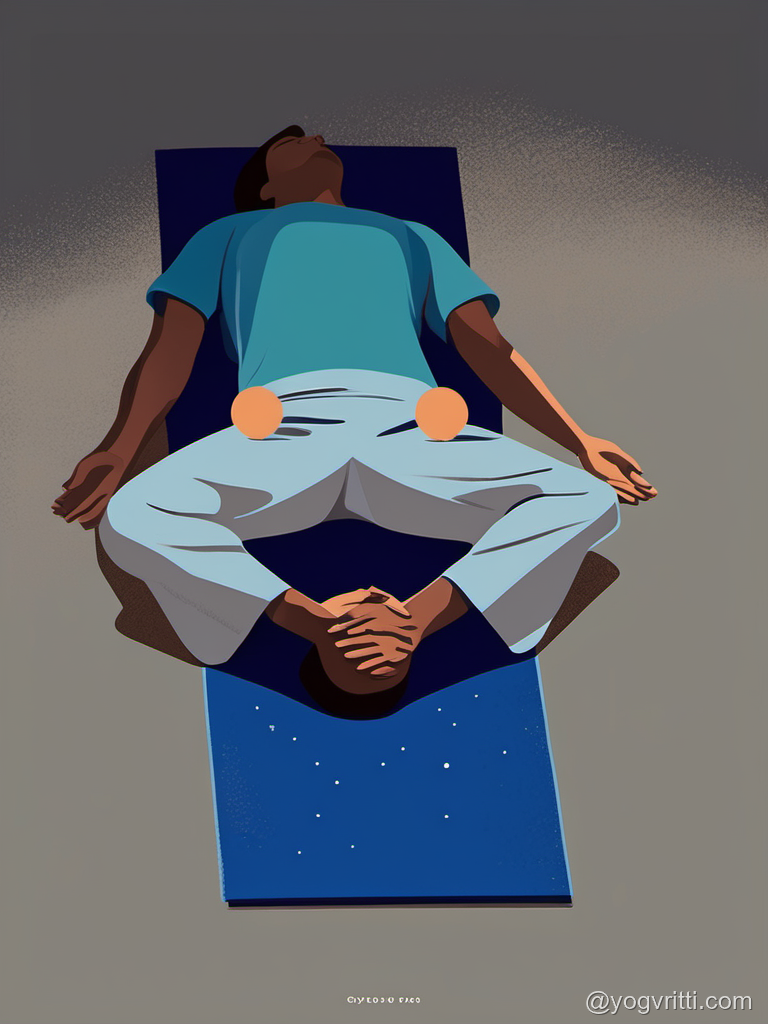
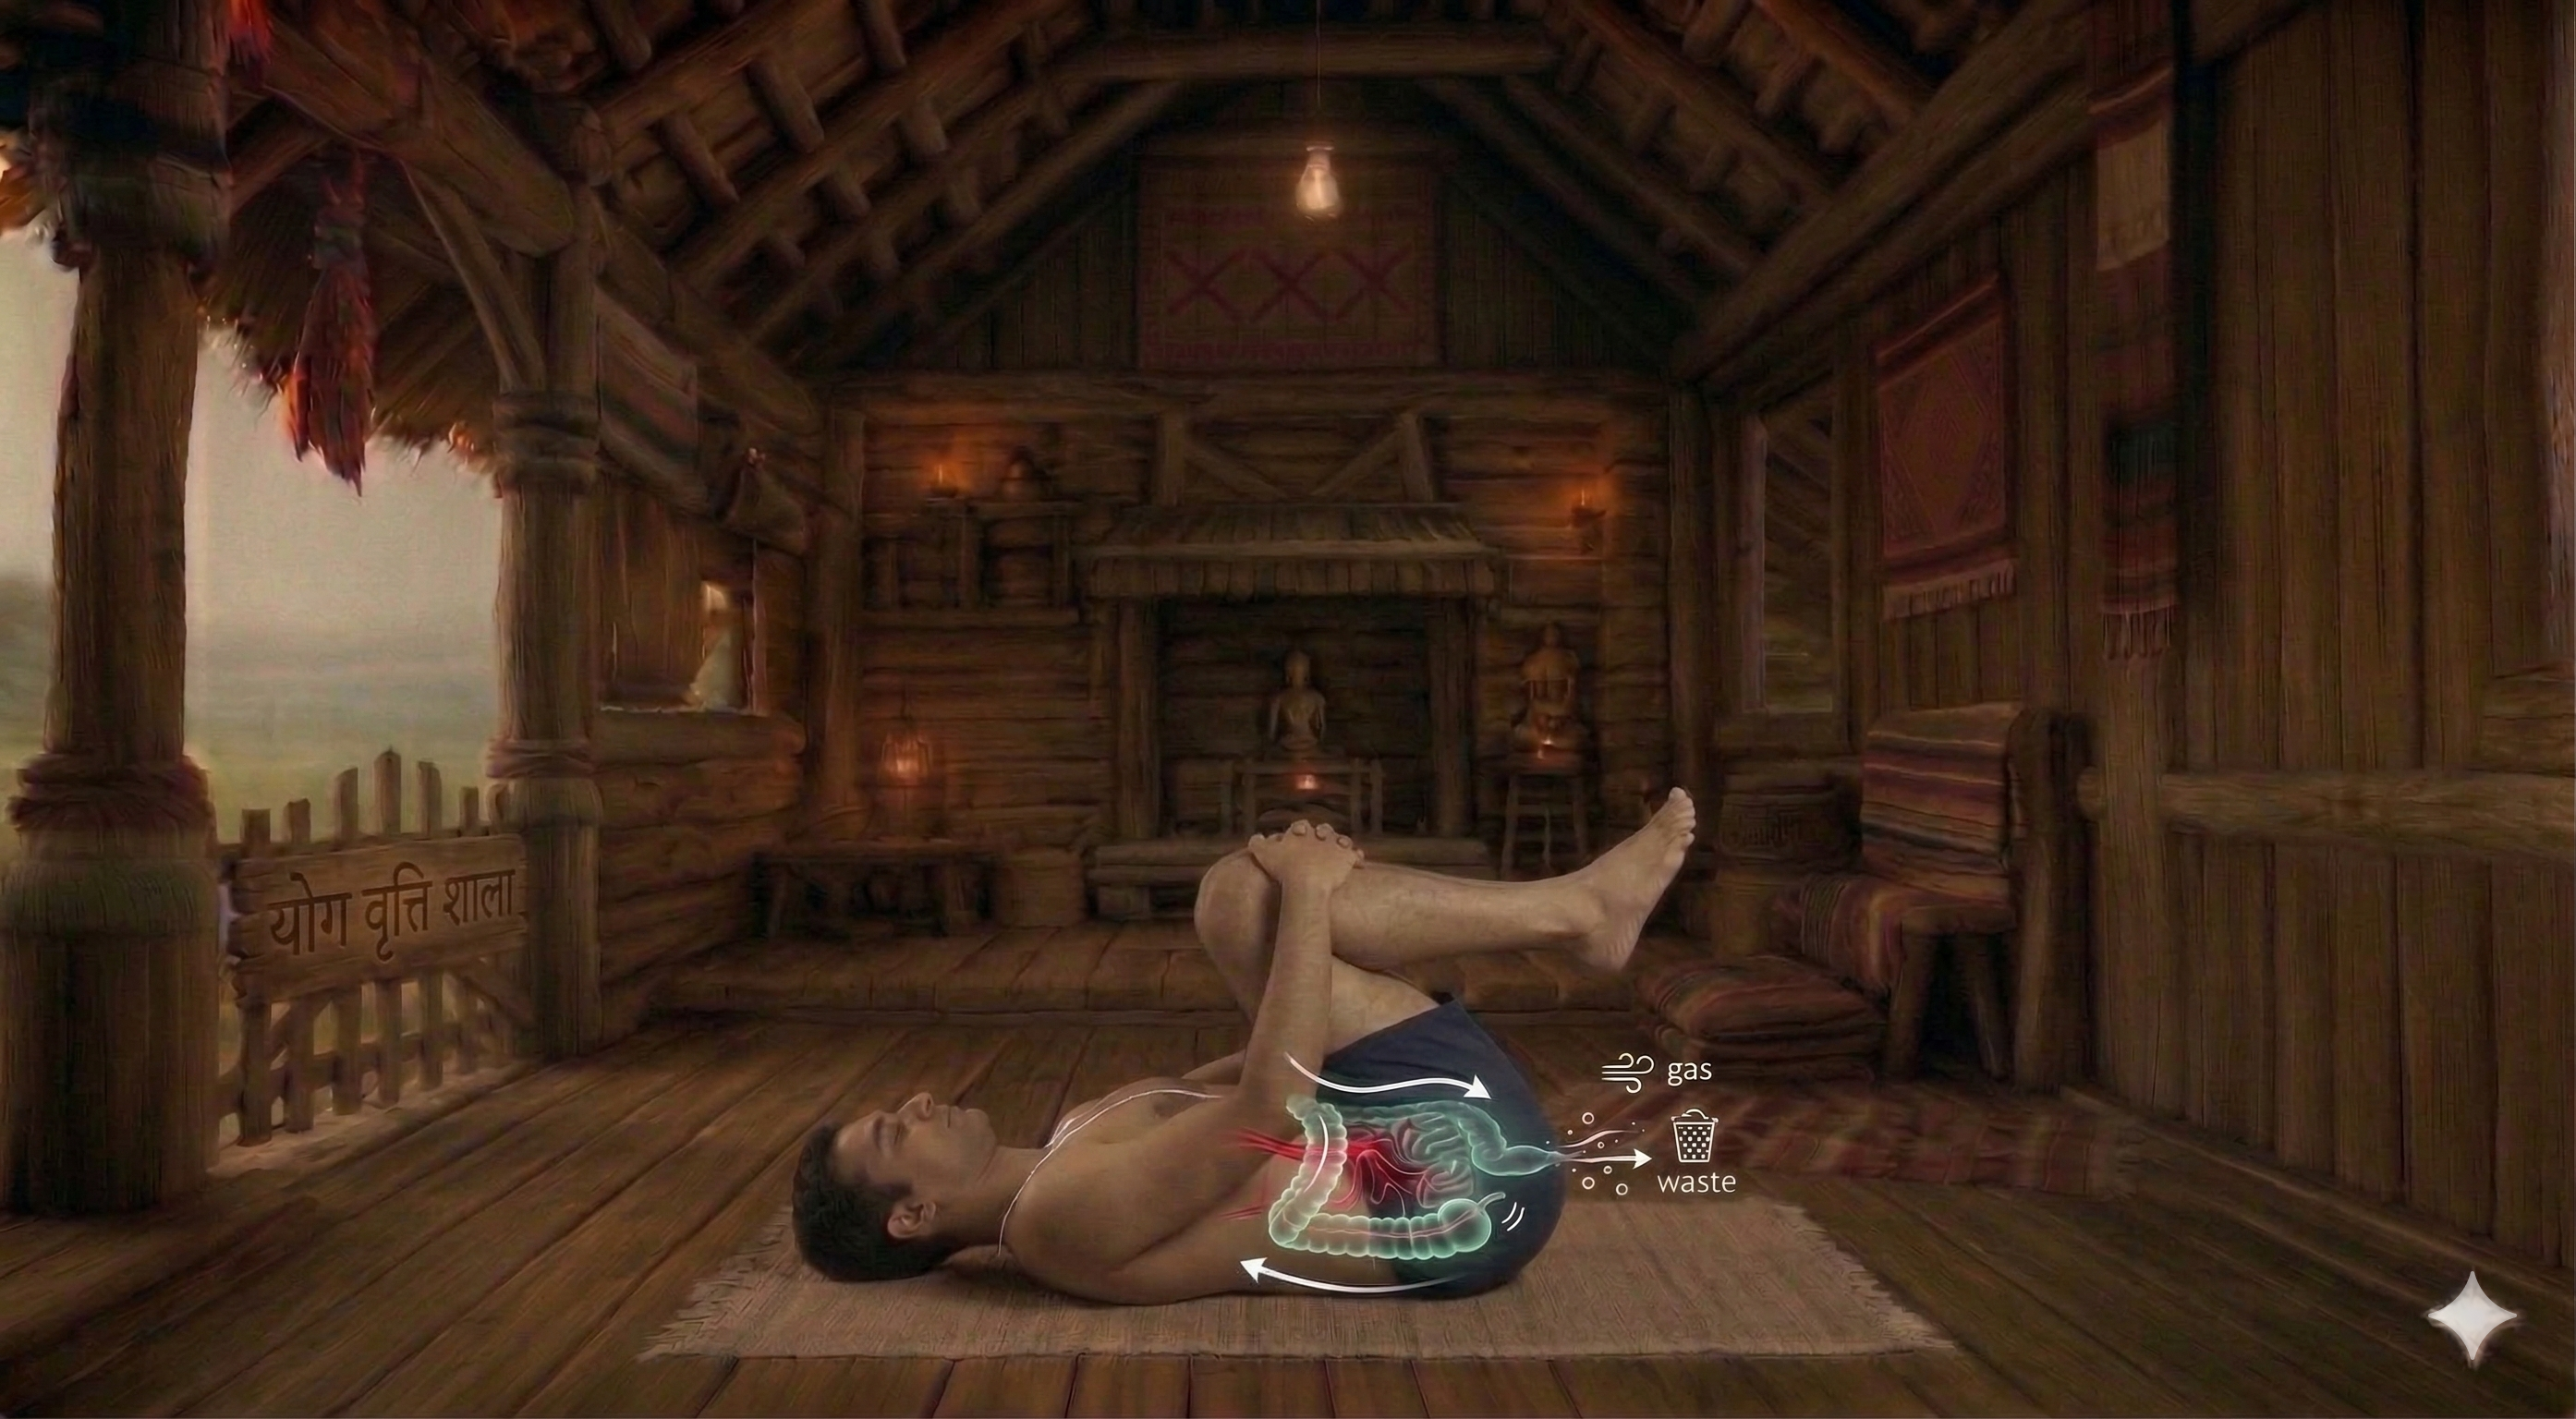
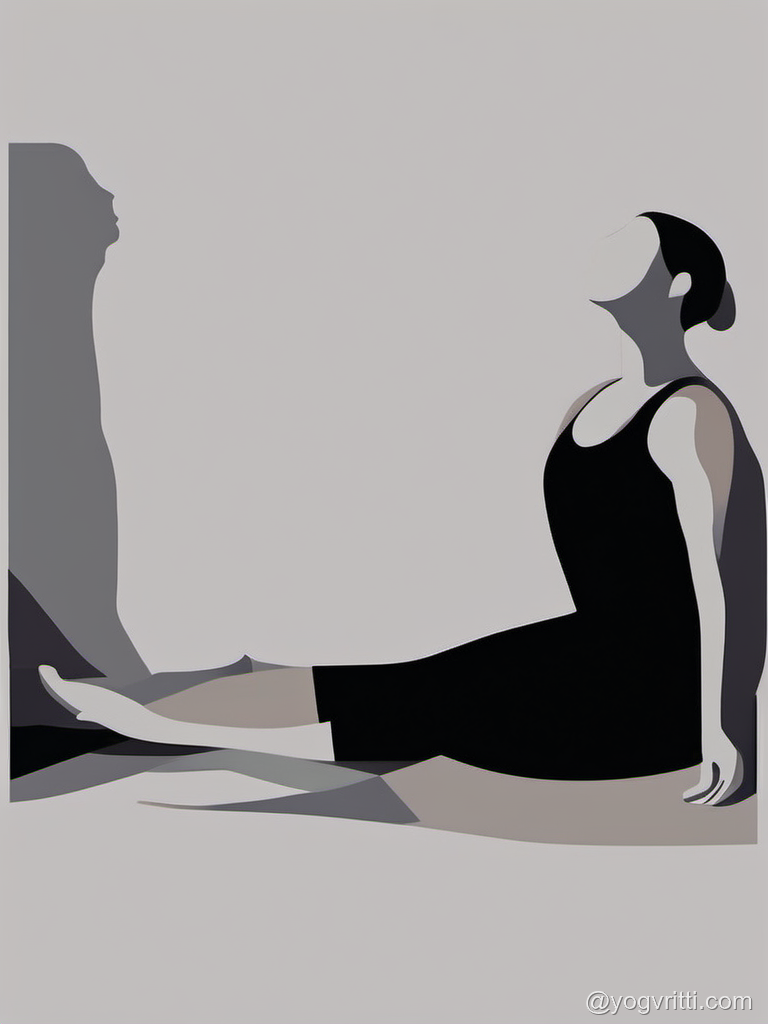

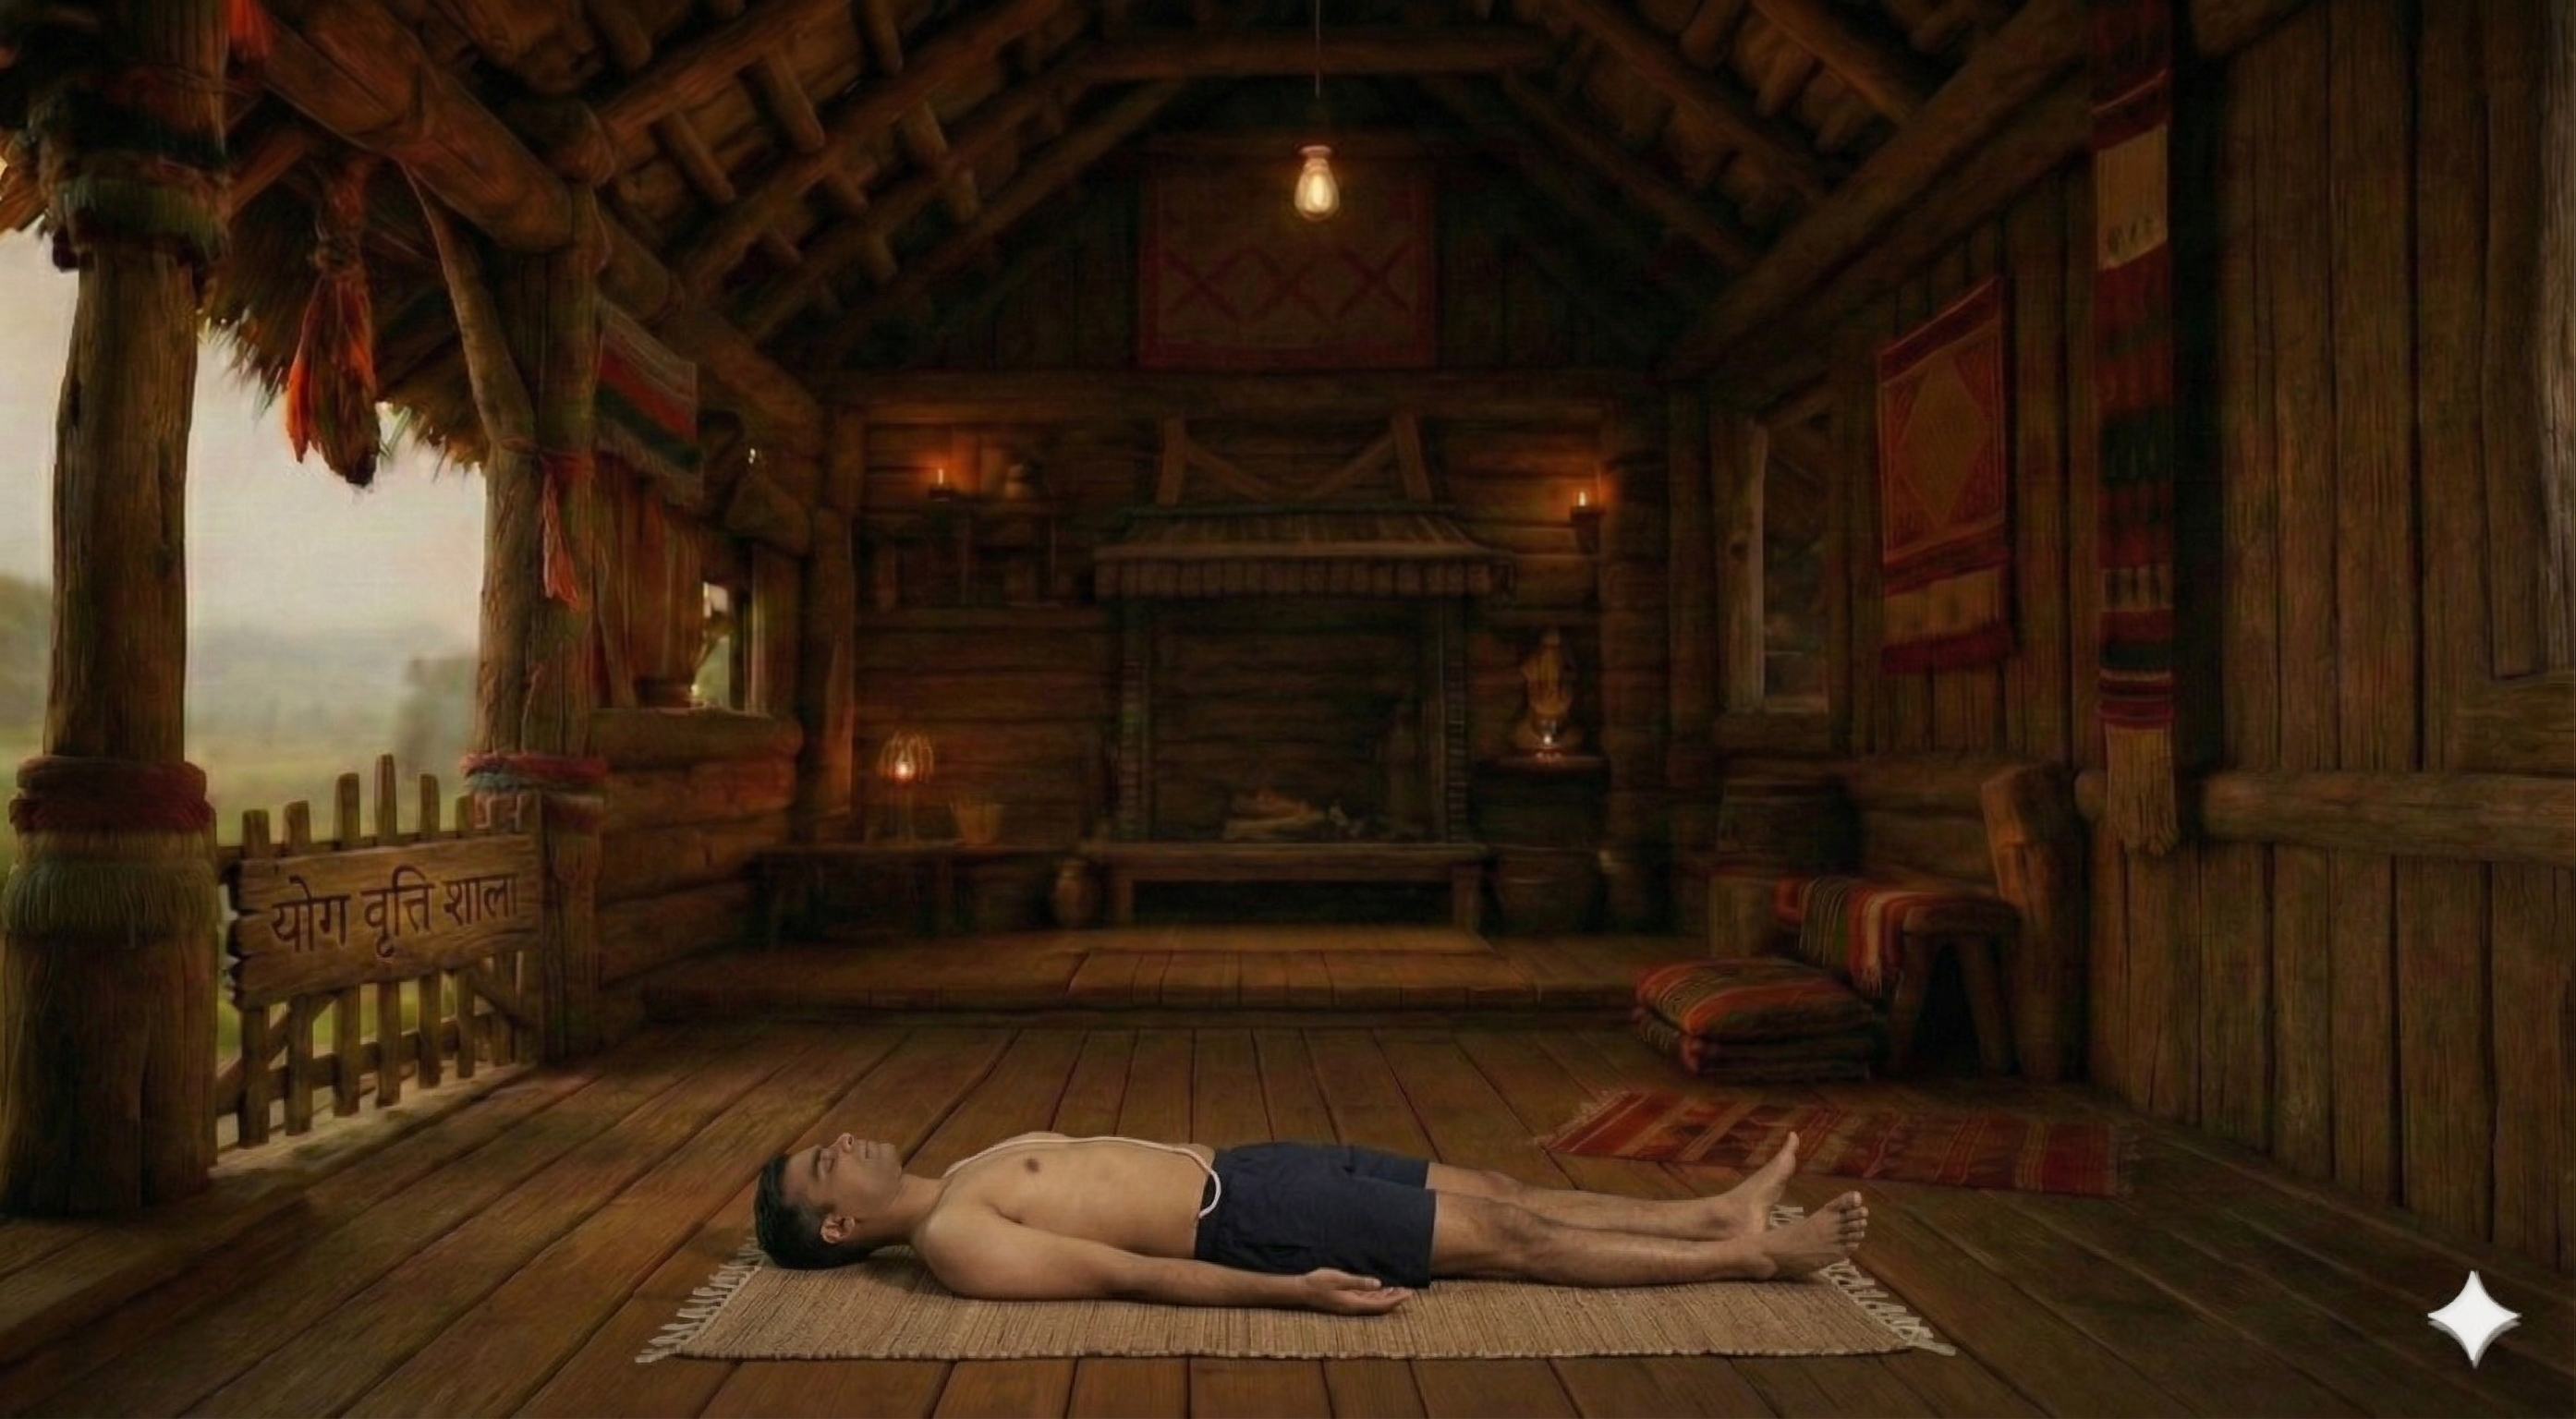
How to Practice
1. Lie supine on your mat with your head supported by a folded blanket, knees bent and feet flat on the floor, hip-width apart.
2. Inhale, draw your right knee towards your chest, clasping your shin with your hands. Keep your left foot grounded.
3. Exhale, and with your left hand, gently guide your right knee across your body towards the floor on your left side.
4. Extend your right arm out to the side at shoulder height, palm facing up, keeping your right shoulder grounded.
5. Turn your head to the right, gazing along your right arm, ensuring your neck is relaxed and long.
5 more steps remaining
Register free to see the complete instructions
Register Free to ContinueAlready registered? Login
Frequently Asked Questions
Common questions about Reclined Revolved Half Wind-Relieving Pose
What is Reclined Revolved Wind-Relieving Pose?
Reclined Revolved Wind-Relieving Pose, also called Supine Revolved Knee Hug is a classical yoga posture in the Iyengar tradition. In this posture, the body rotates the spine, creating space between each vertebra. The posture works to engage the obliques, activate the glutes and stretch the hip flexors. Improves spinal flexibility. Stimulates abdominal organs. It is particularly valued for alleviating back discomfort. Suitable for beginners and regular practitioners alike, it is a calming cool-down, particularly beneficial for beginners and seniors. A blanket can be used to make the posture more accessible and support correct alignment. Practitioners with abdominal surgery and spinal injury should approach with care or consult a qualified teacher.
What are the benefits of Reclined Revolved Wind-Relieving Pose?
Relieves lower back pain. Improves spinal flexibility. Stimulates abdominal organs. Calms the nervous system. Releases hip tension. Aids digestion.
Who should avoid Reclined Revolved Wind-Relieving Pose?
Avoid this pose if you have: Recent abdominal surgery, Severe spinal injury, Sciatica flare-up, Herniated disc, Pregnancy (late stages).
How many steps are in Reclined Revolved Wind-Relieving Pose?
Reclined Revolved Wind-Relieving Pose is practiced in 10 steps. Lie supine on your mat with your head supported by a folded blanket, knees bent and feet flat on the floor, hip-width apart.
Is Reclined Revolved Wind-Relieving Pose suitable for beginners?
Yes, Reclined Revolved Wind-Relieving Pose is a beginner-friendly pose suitable for all levels.
What props are needed for Reclined Revolved Wind-Relieving Pose?
You may use: blanket. Props make the pose more accessible and comfortable.
What conditions does Reclined Revolved Wind-Relieving Pose help with?
Reclined Revolved Wind-Relieving Pose is therapeutic for: back pain, digestive problems, anxiety, flexibility, posture correction.
What poses should I do before Reclined Revolved Wind-Relieving Pose?
Prepare with: Supta Tadasana, Apanasana, Seated Tadasana. These warm up the relevant muscles and joints.
Related Poses
Similar poses you might enjoy
Build Your Own Sequence
Combine Reclined Revolved Half Wind-Relieving Pose with other poses